In this guide, we’ll provide step-by-step instructions on how to create a listing on Tripadvisor!
Properties listed on TripAdvisor are exposed to nearly 490 million unique monthly visitors on its group of sites.
Although as a traveler you can have access to all the TripAdvisor group of sites if you want to list your property you need to create a new account here: https://rentals.tripadvisor.com/register.


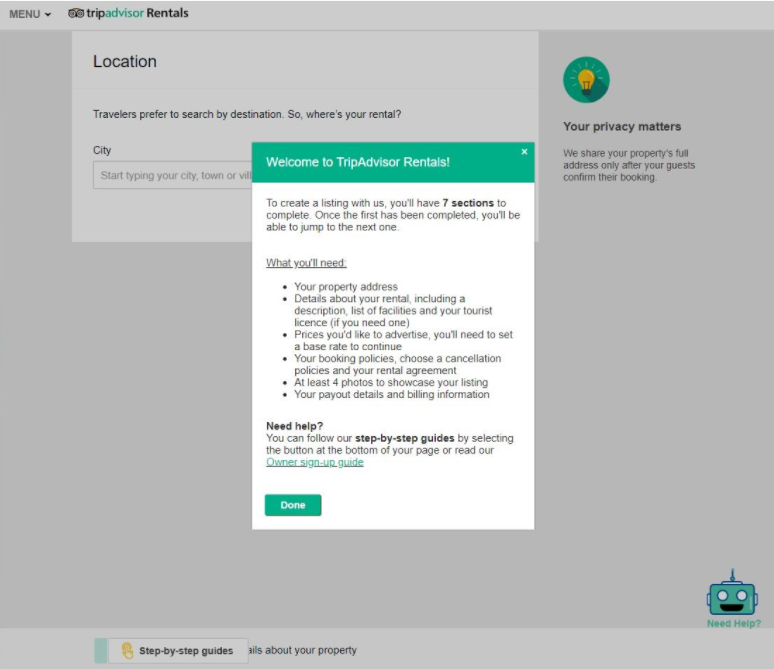
Once your account registration is verified and you log in to the platform (https://rentals.tripadvisor.com/login), there are 7 steps to take before your listing is published.
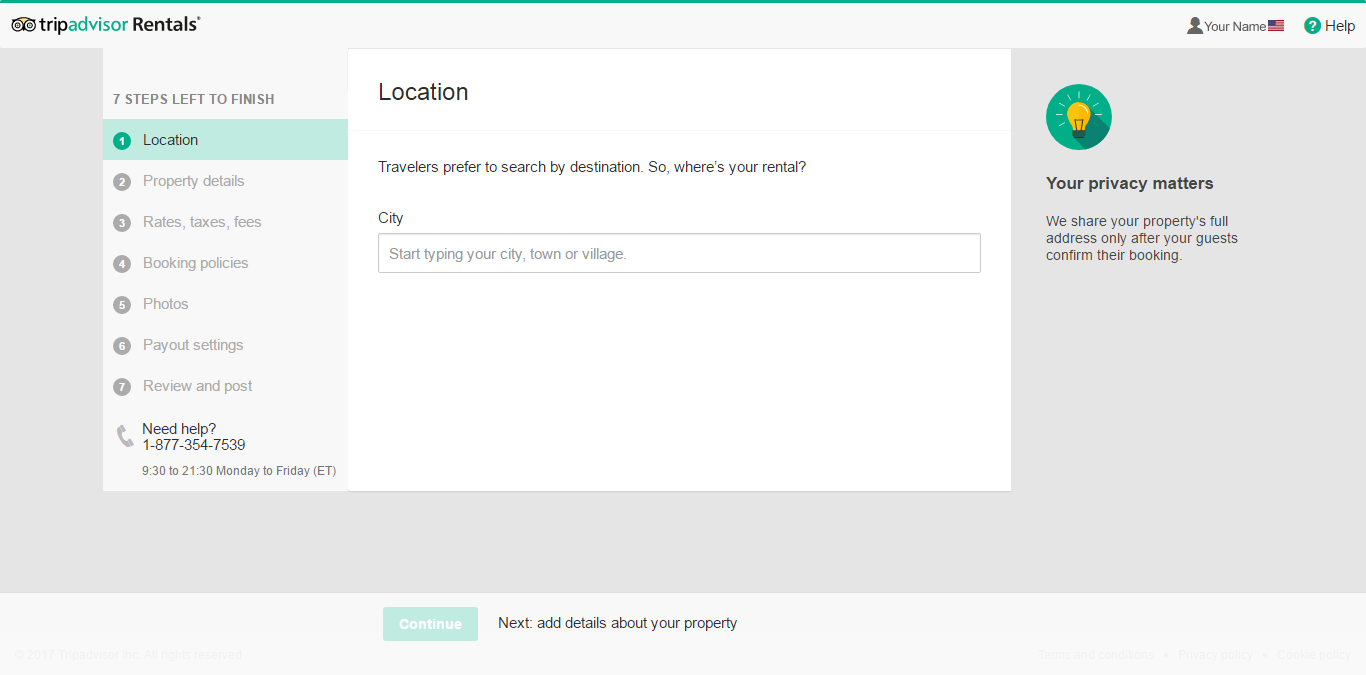
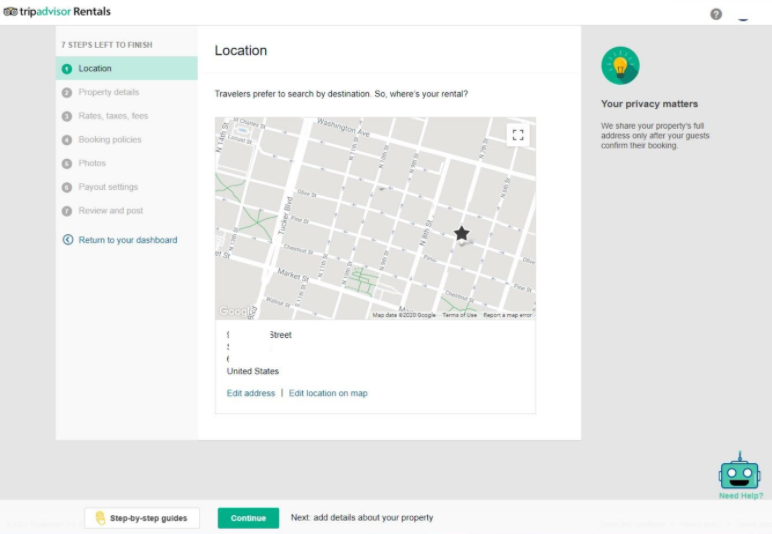
STEP 1: Location
Enter the City and Address of your place and the system will ask you to verify its location on the map.
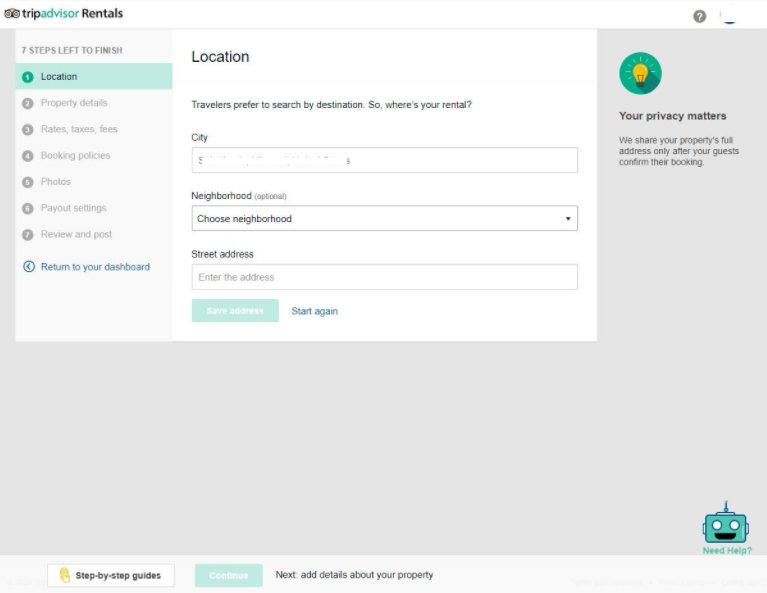
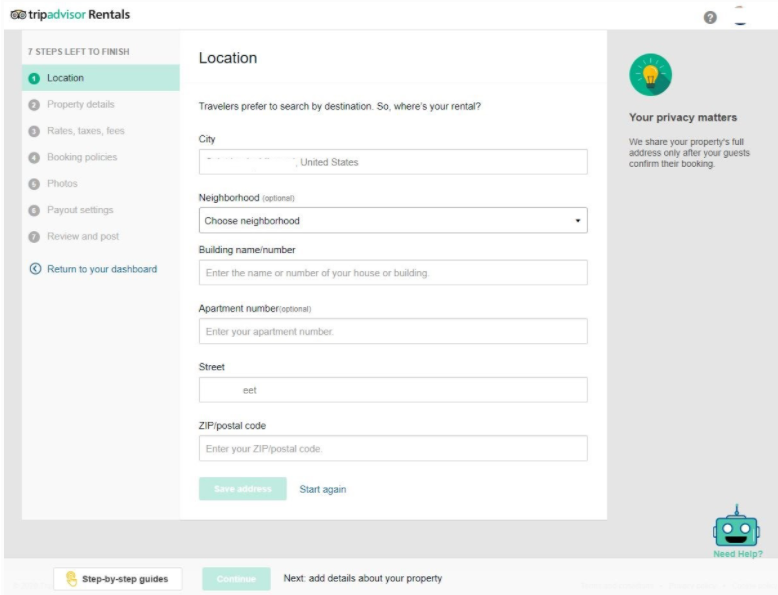
You have the option to hide the location to guests until they complete the reservation.
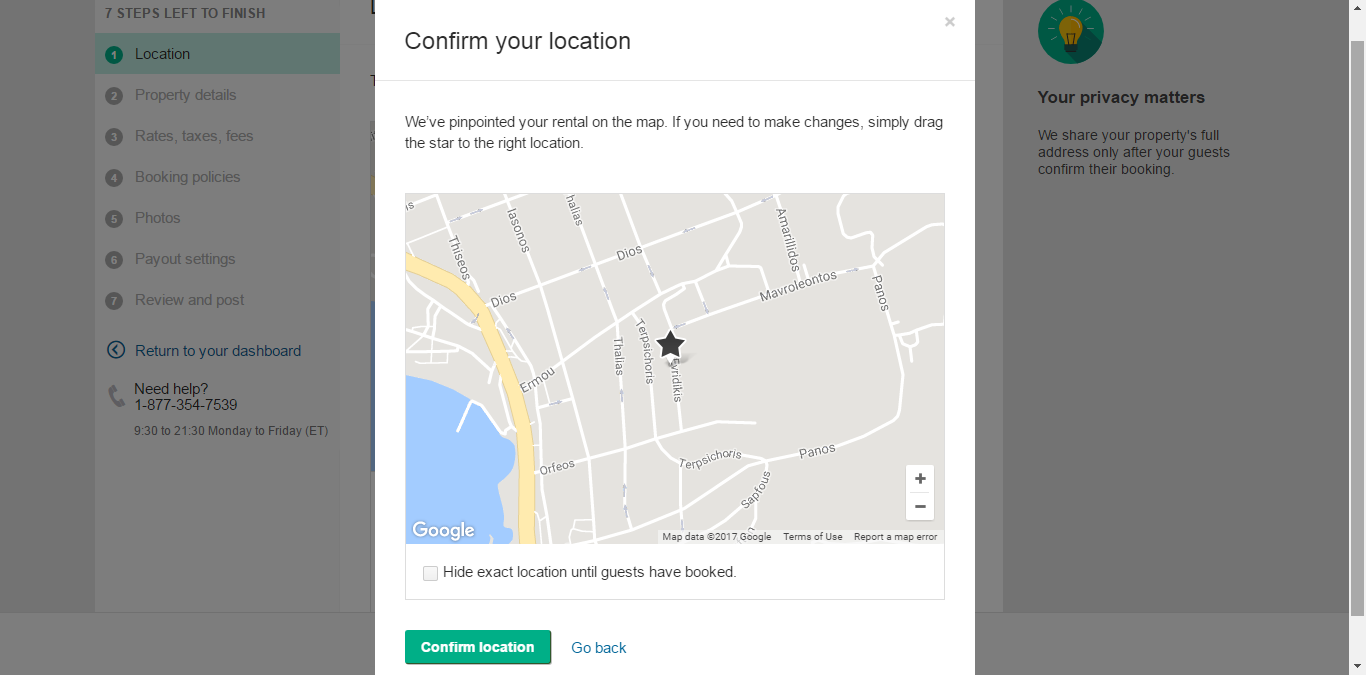
Click ”continue” if everything looks fine.
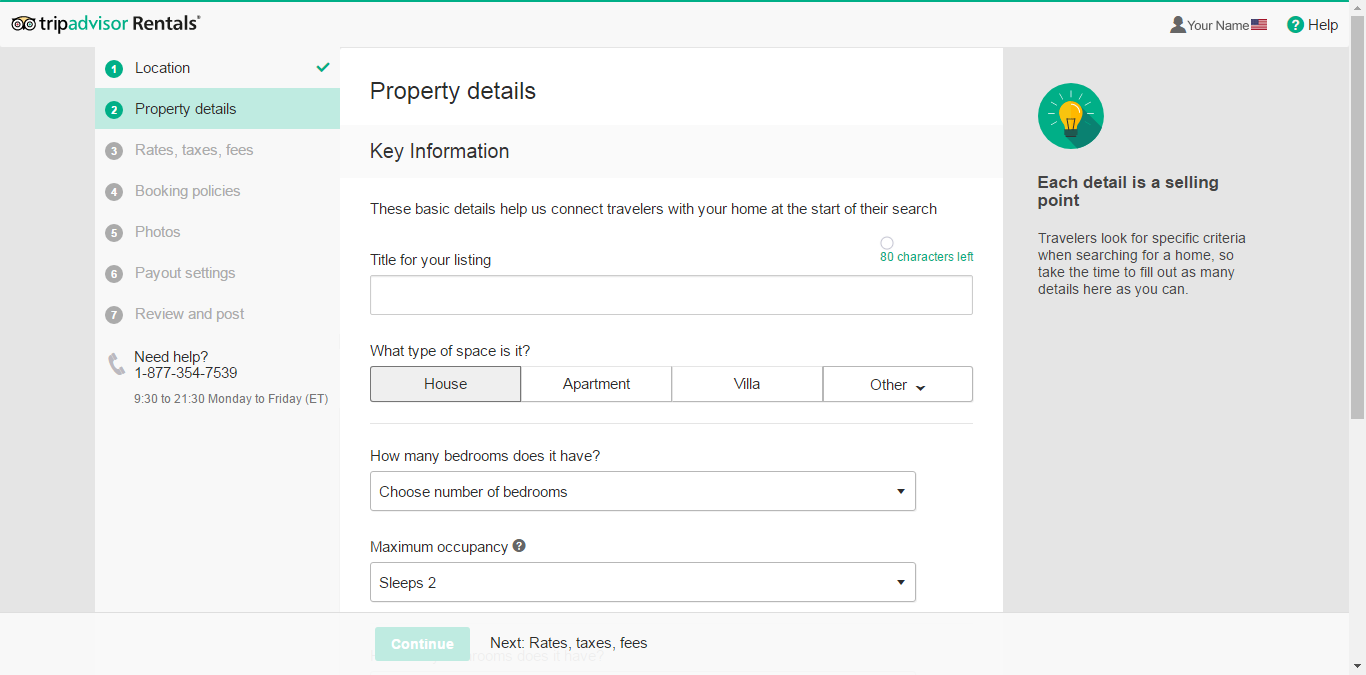
STEP 2: Property details
In the “Property details” section, you need to enter/specify some “Key Information“, including:
- Title of your listing
- Type of space (i.e. house, apartment, villa, etc.)
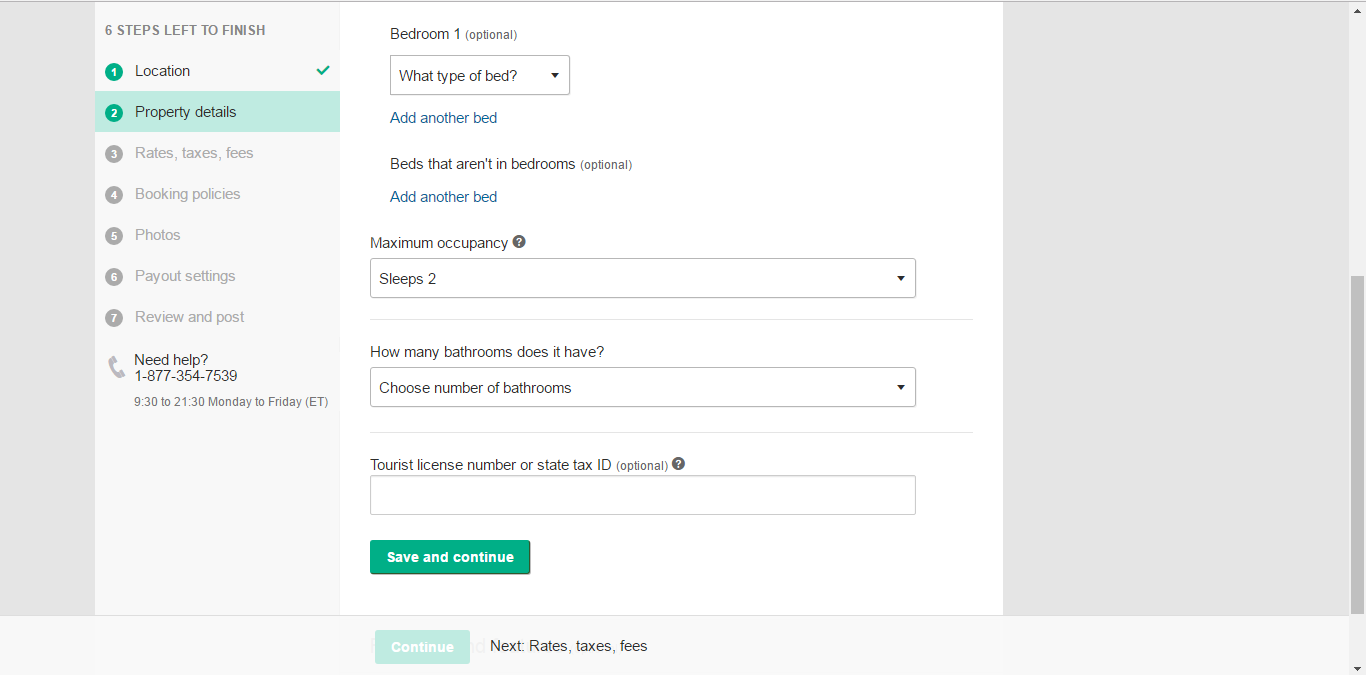
- How many bedrooms does it have?
- Maximum occupancy
- How many bedrooms
- Tourist license number or state tax ID (if applicable) – in some states, they also require a TDT number. If the system won’t allow you to proceed, please contact TripAdvisor.
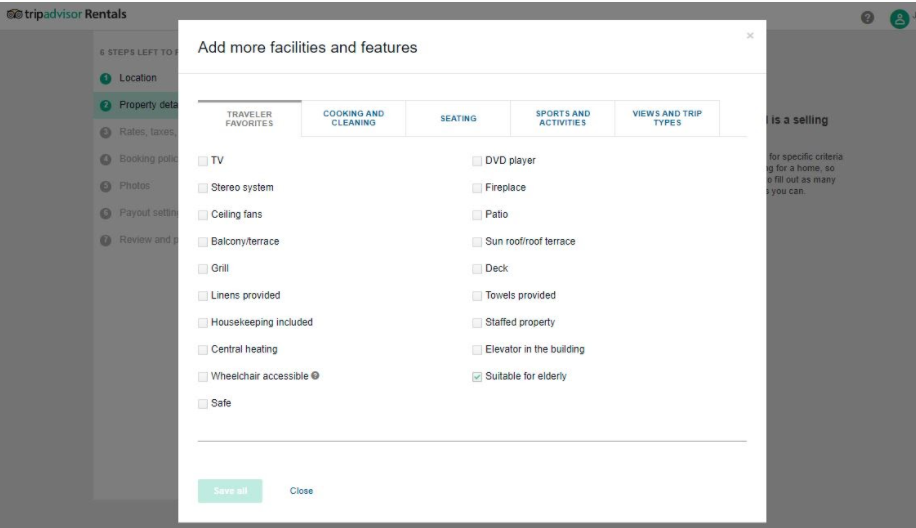
Under “Facilities and features” you can enter all the amenities that your place offers.
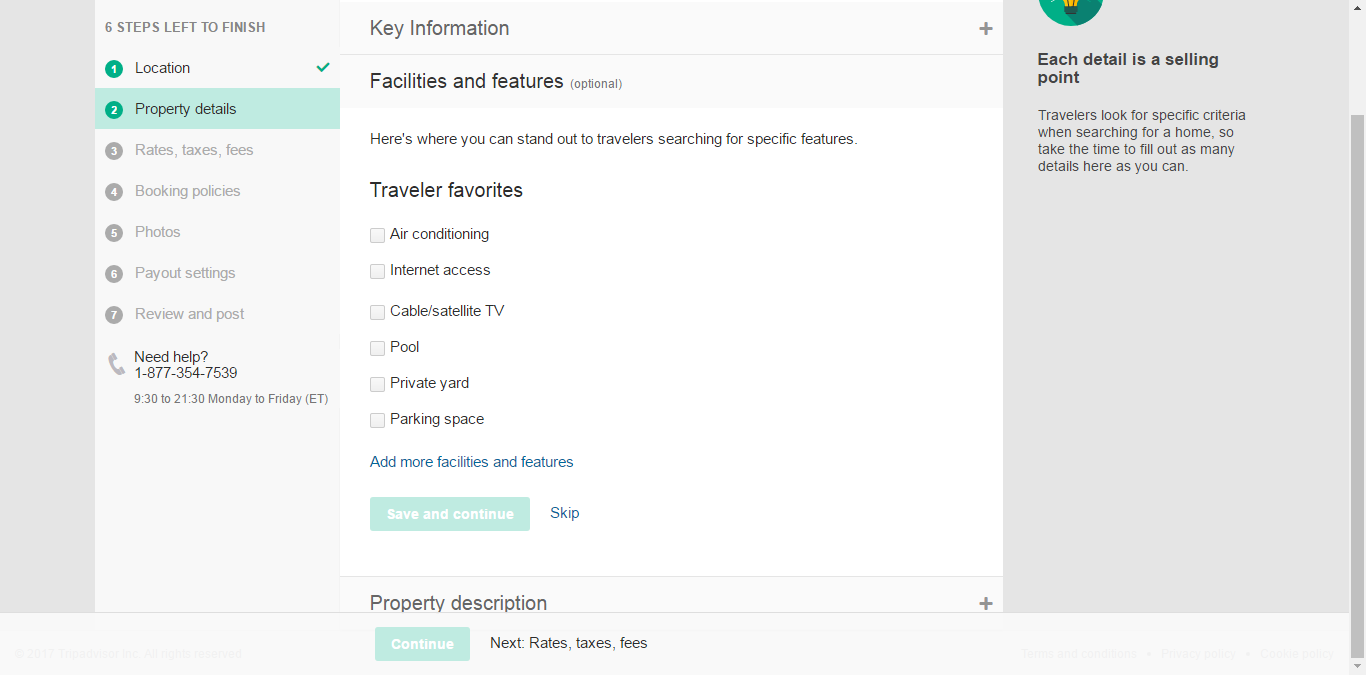
Click on “add more facilities and features” to see more details.
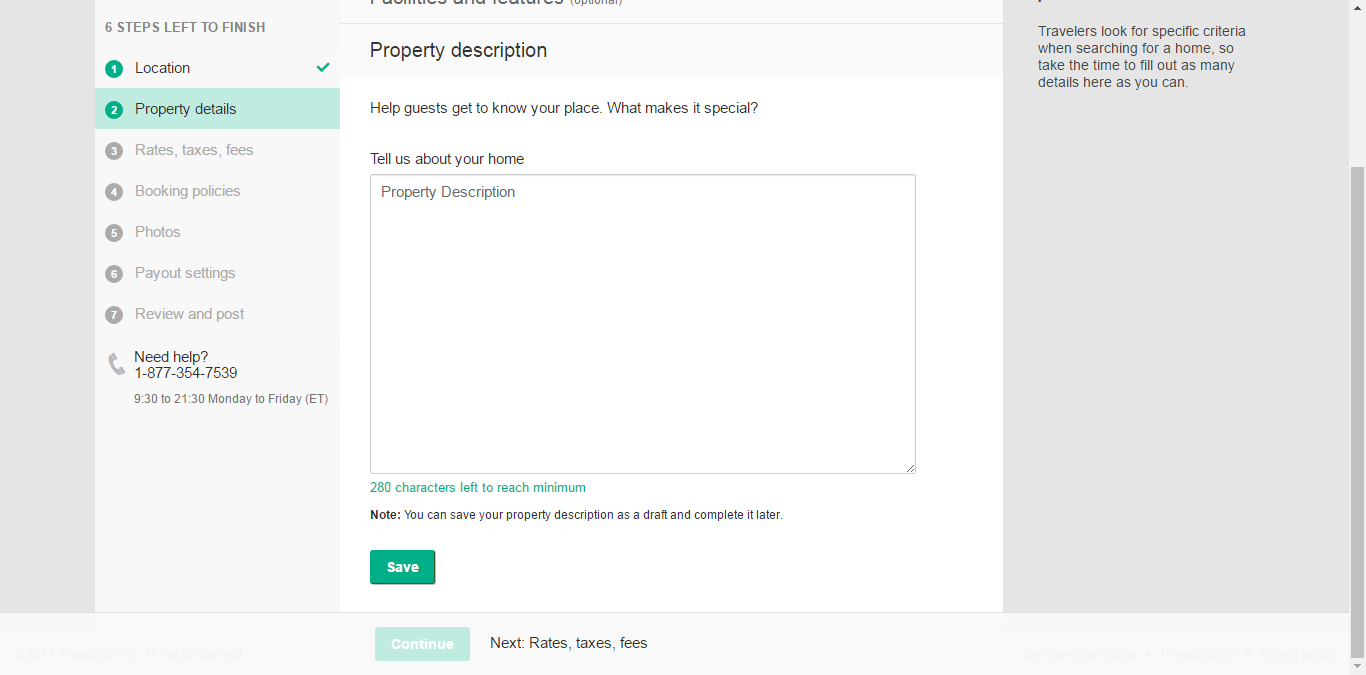
Describe what makes your property stand out from the rest.
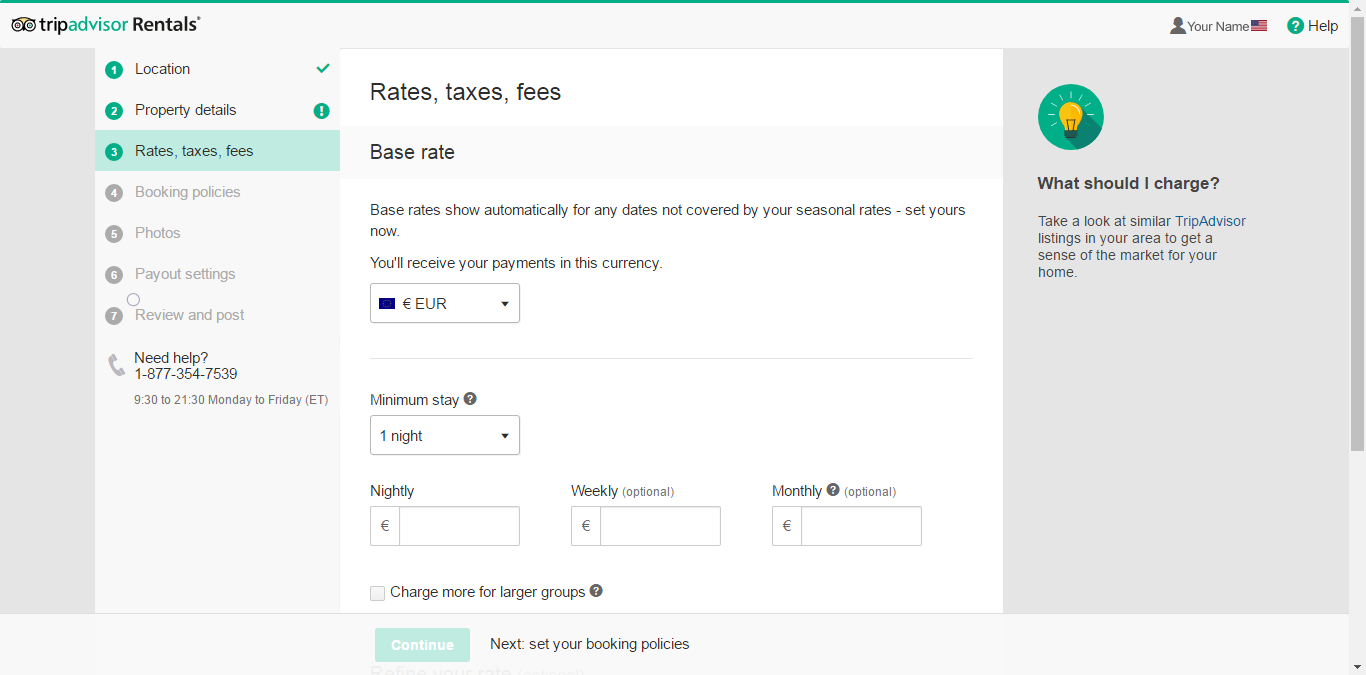
STEP 3: Rates, taxes, fees
In this section, you need to enter:
- Preferred currency (options: EUR, GBP, USD, CAD, AUD)
- Minimum stay: This is the minimum number of nights you’ll allow for a reservation. Flexibility here could attract more travelers.
- Rates: Nightly (mandatory) as well as weekly, monthly, weekend, or seasonal (all the latter are optional). You can also get data-driven pricing powered by Wheelhouse (also optional).
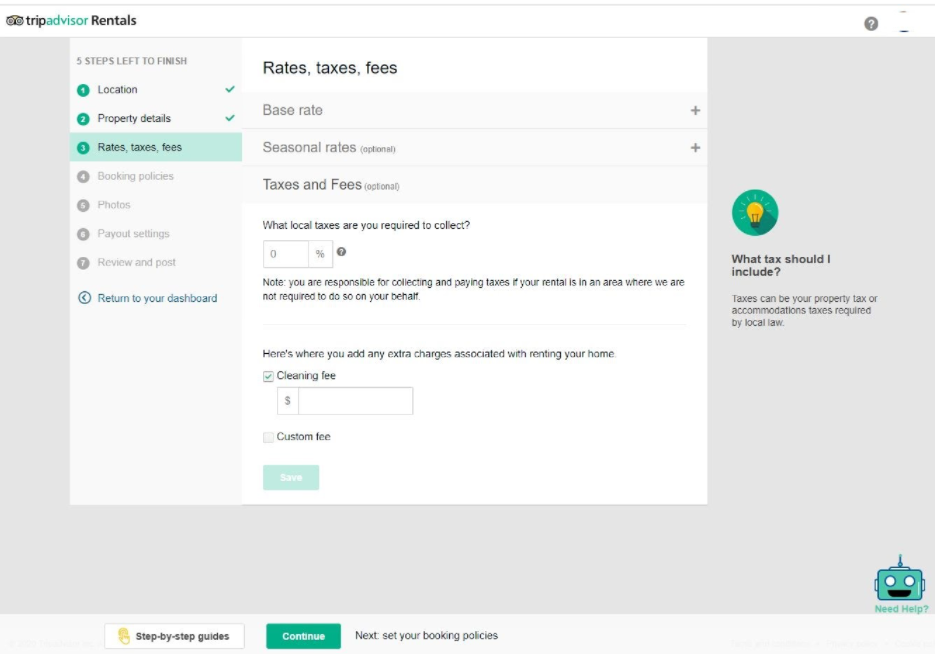
- Taxes: You are responsible for collecting and paying taxes if your rental is in an area where TripAdvisor is not required to do so on your behalf.
- Cleaning or other fees (optional)
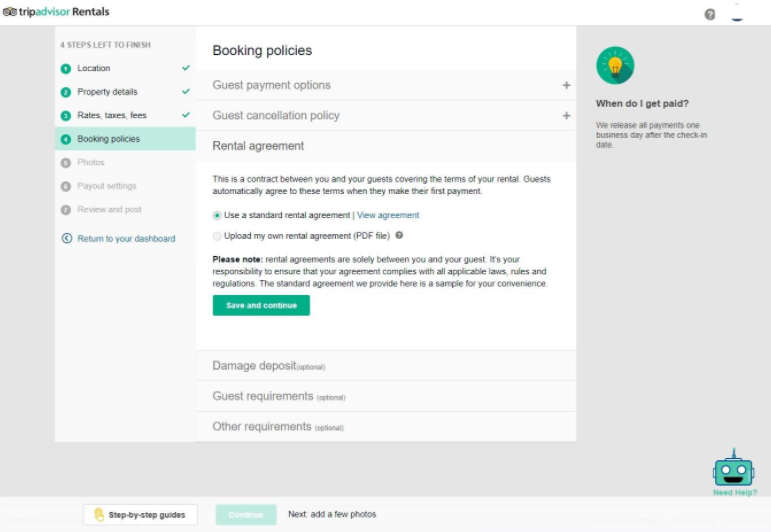
STEP 4: Booking policies
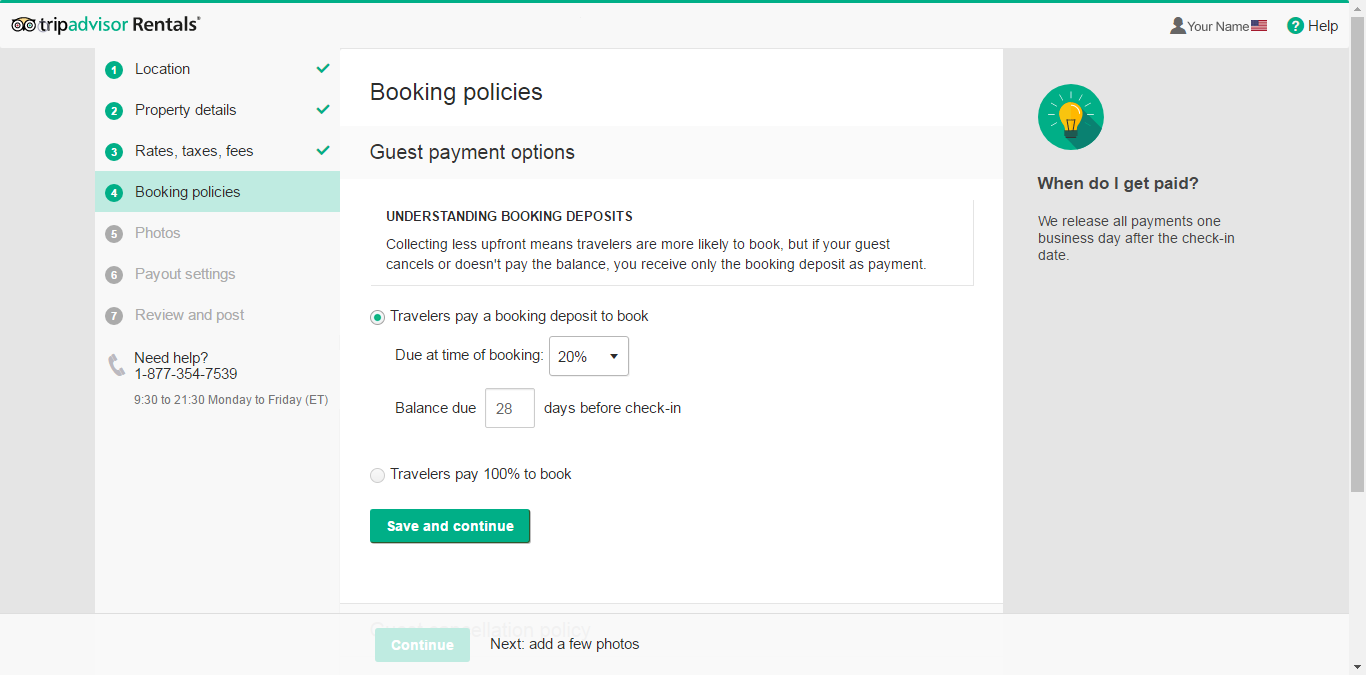
- Booking Deposits: You can set a 20% initial payment and collect the balance on X days before the check-in or simply let the guest pay 100%
- Standard rental agreement: TripAdvisor provides a standard agreement that you can use or you may upload your own (.pdf file).
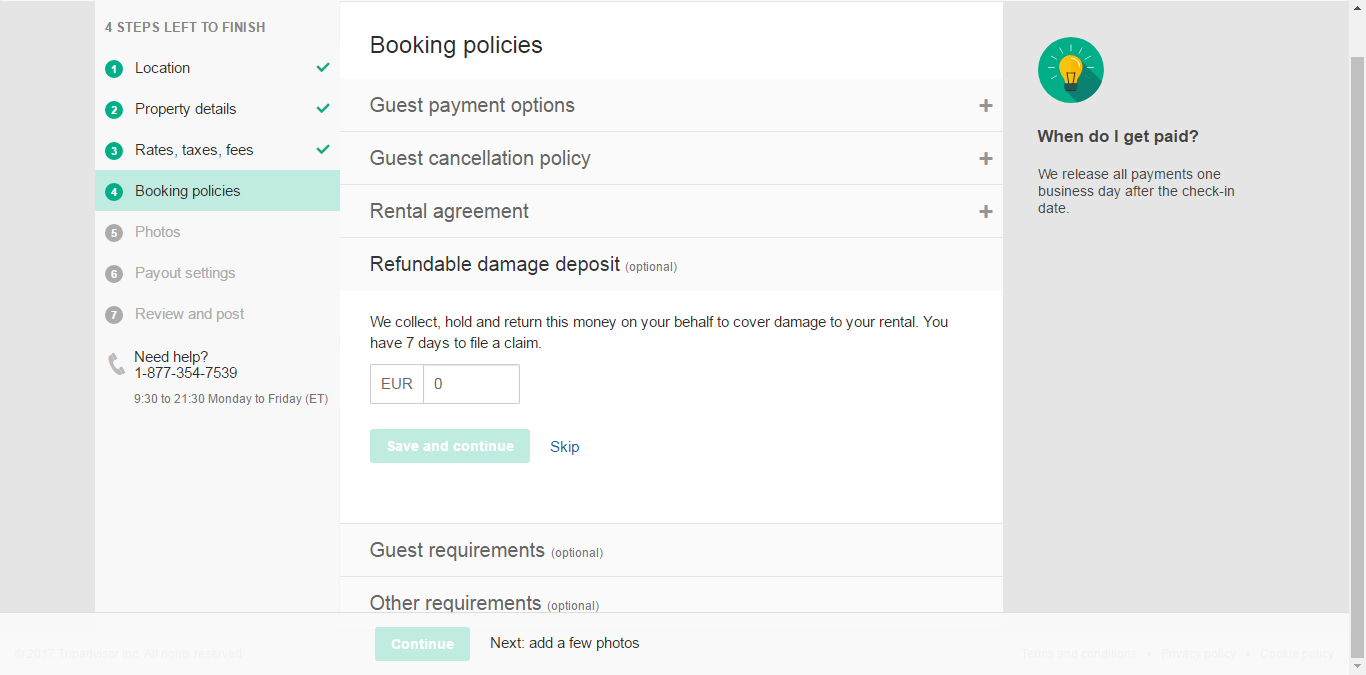
- Refundable damage deposit (optional): TripAdvisor will collect, hold and return this money on your behalf to cover damage to your rental. You have 7 days to file a claim.
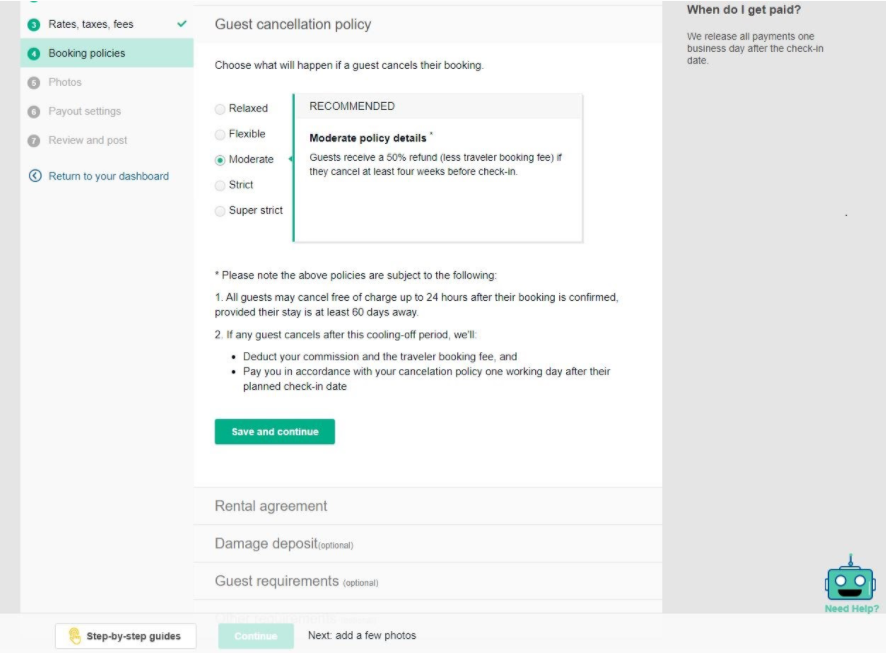
- Guest requirements (optional): Set guest requirements (i.e. suitable for kids, pets allowed, smoking allowed) to get bookings that are right for your rental.
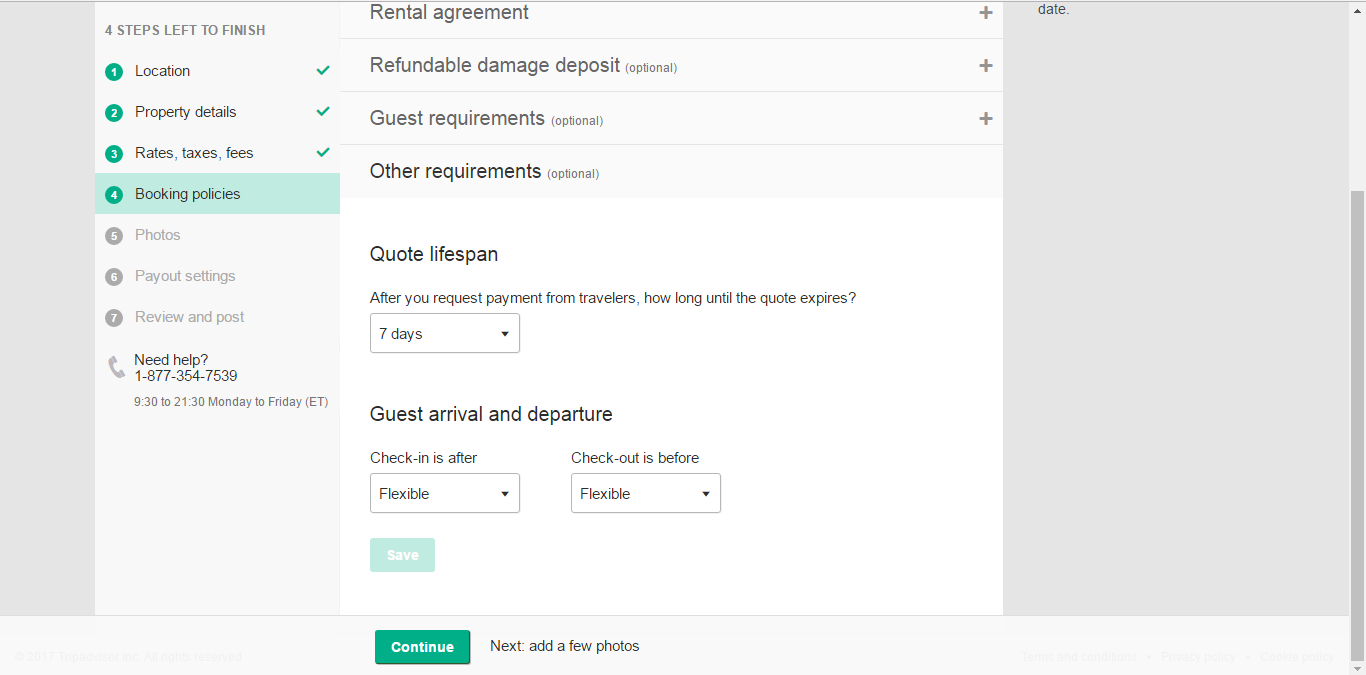
- Quote lifespan: After your request payment from travelers, how long until the quote expires?
- Guest arrival and departure: check-in and check-out times (flexible or specific)

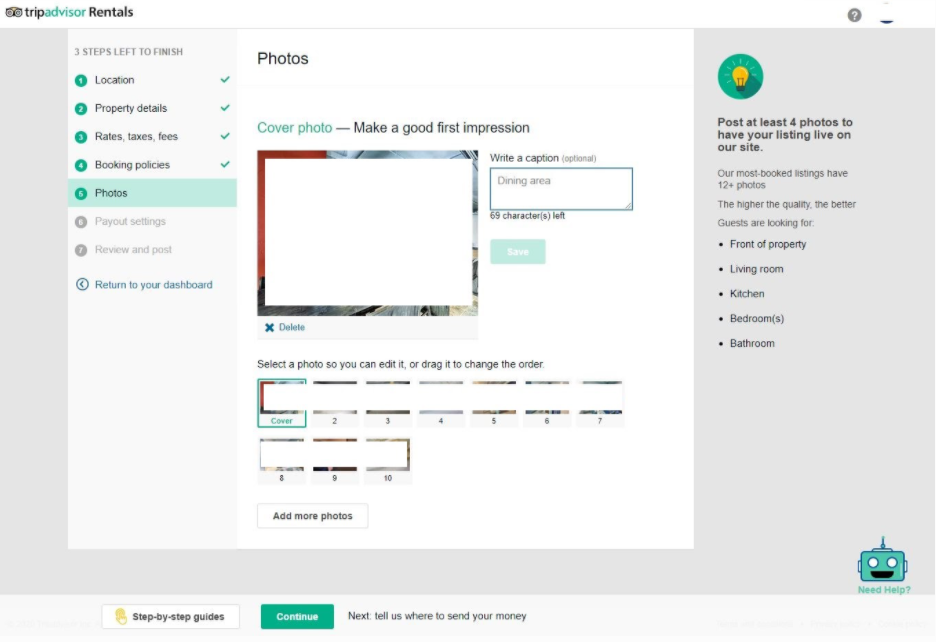
STEP 5: Photos
Post at least 4 photos to have your listing live on TripAdvisor. Their most-booked listings have 12+ photos. Guests are looking for: front of the property, living room, kitchen, bedroom(s), and bathroom.

You can add a short caption after uploading all the photos.
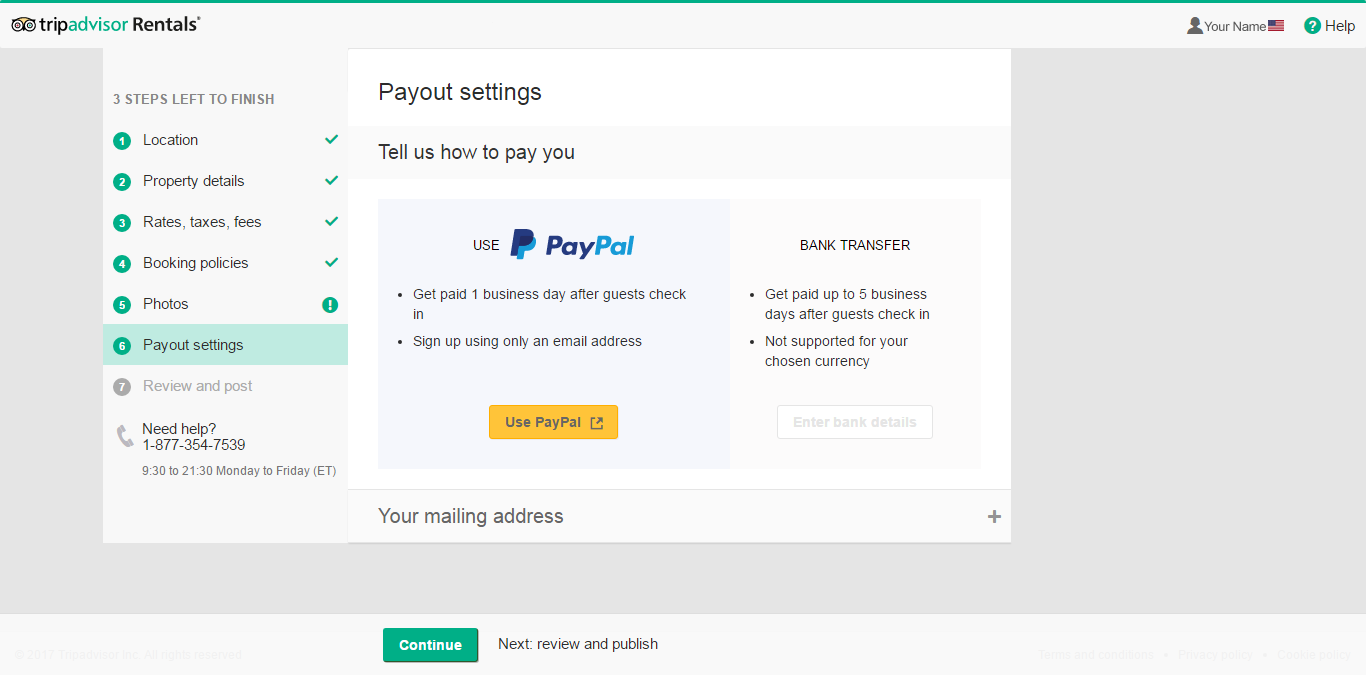
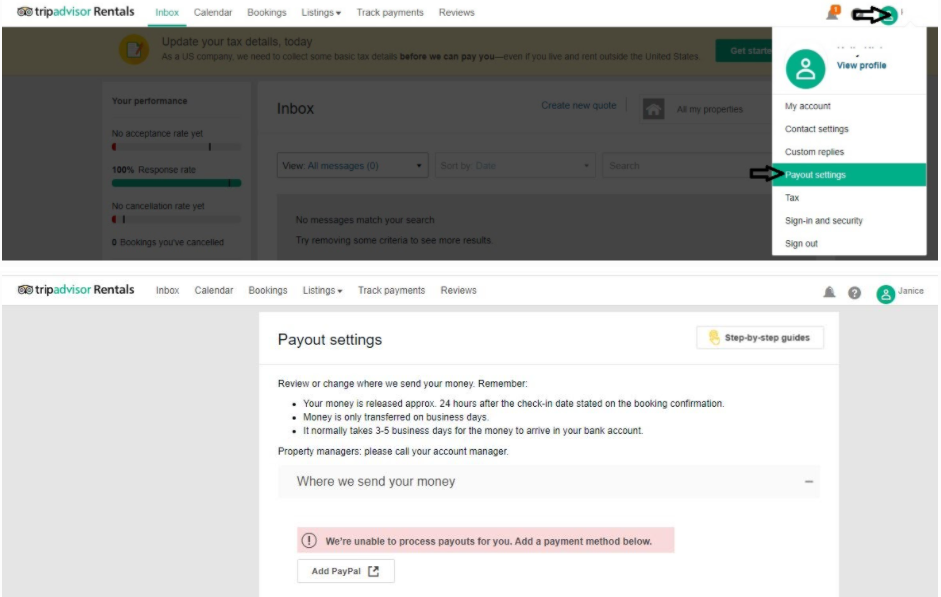
STEP 6: Payout settings
In the payout settings section, you specify how you want TripAdvisor to pay you. You have the option of getting paid by bank transfer or PayPal. If you provide both, they’ll prioritize bank transfers.
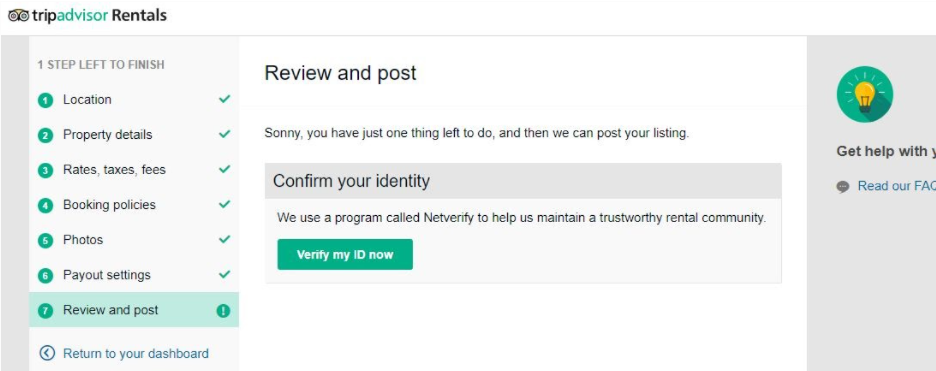
STEP 7: Review and post your listing
This can also be done later if you have more than one property.
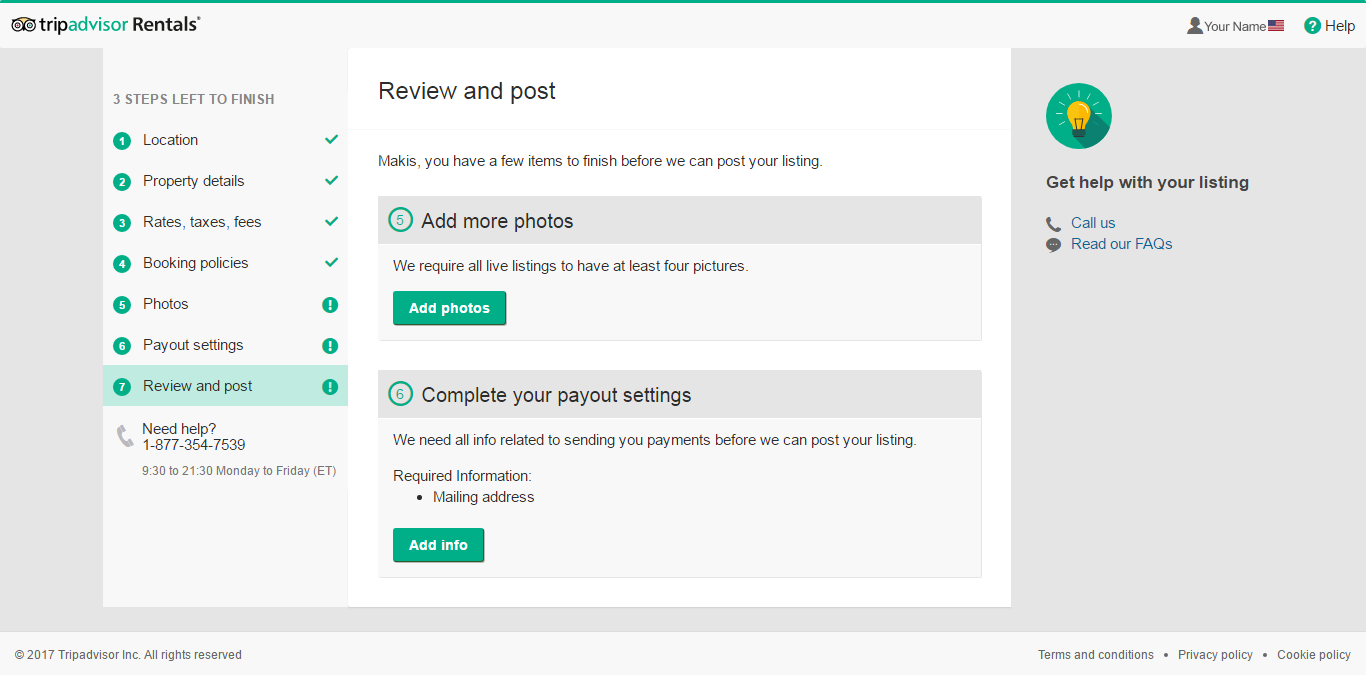
As mentioned above, if you are done creating all your properties, click on your name and fill out your payout settings. It will be applied to all your listings.
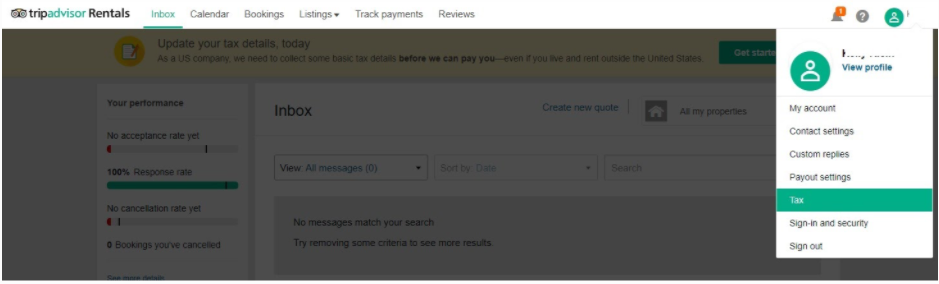
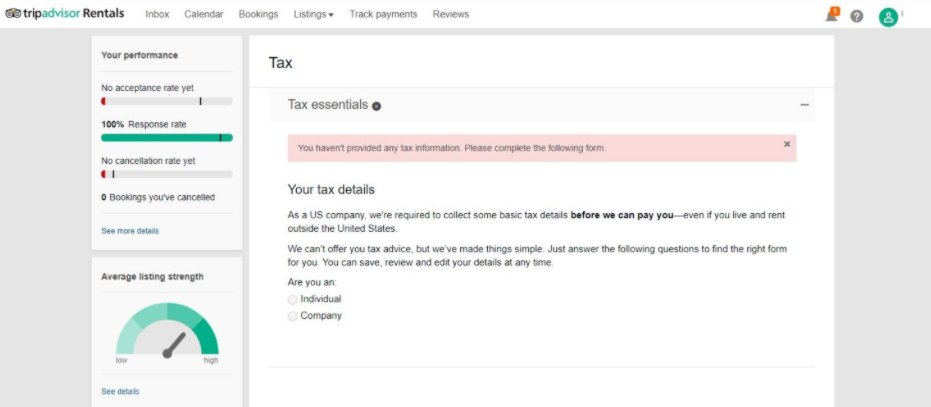
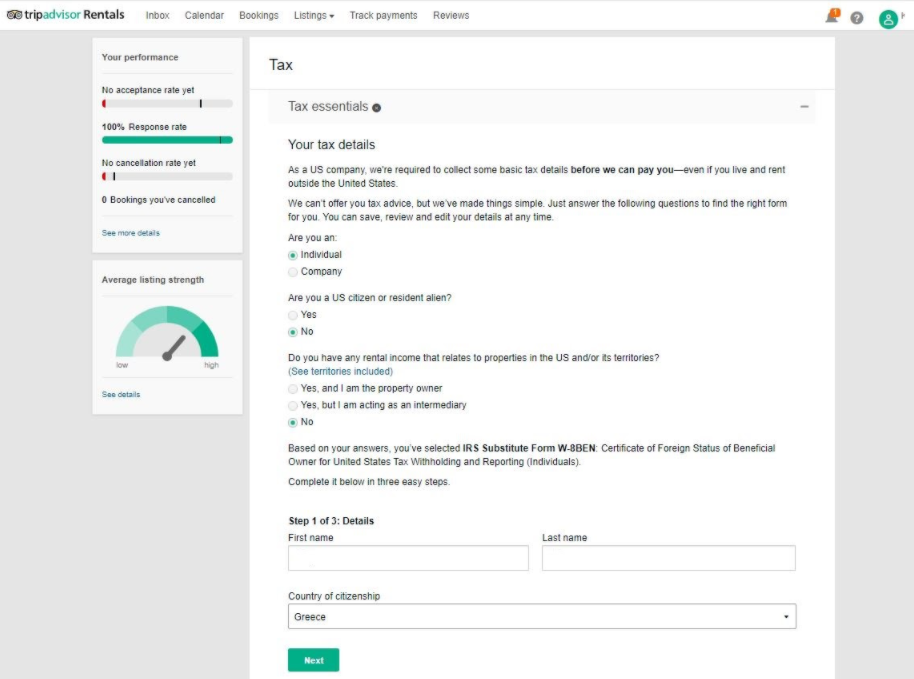
You must accomplish your tax details to make sure that your payout will be transferred without any delays.
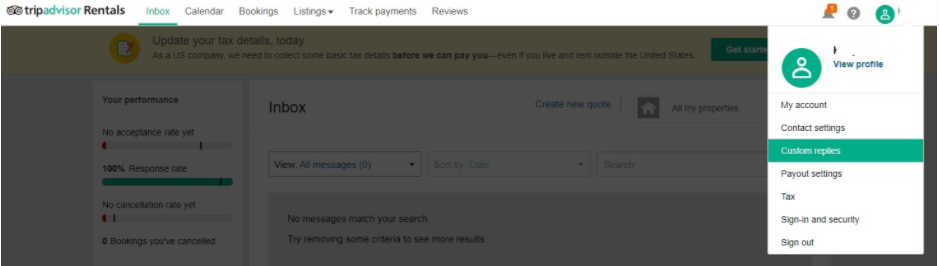
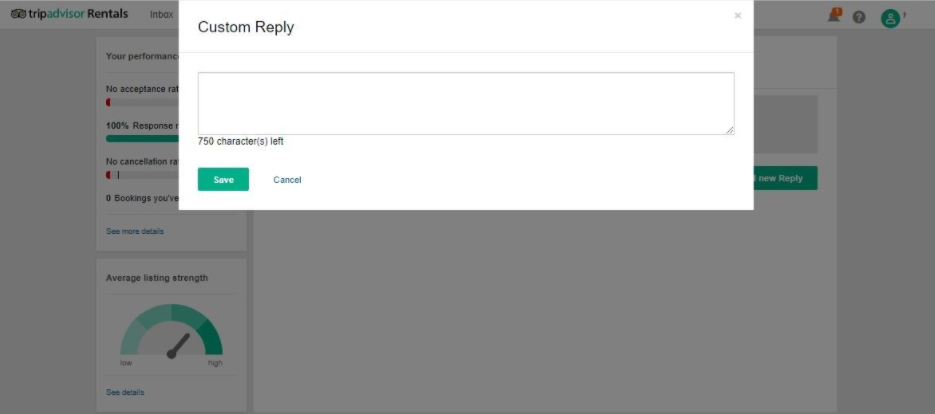
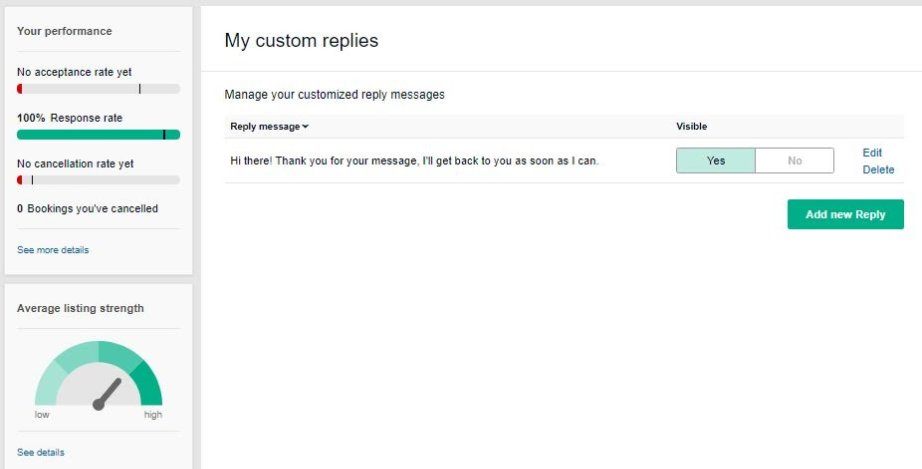
You can set a “custom reply” to the inquiries if you wish.
If you have not published your liting/s yet or are unsure if you were able to publish them all, click on “listings” to see them.

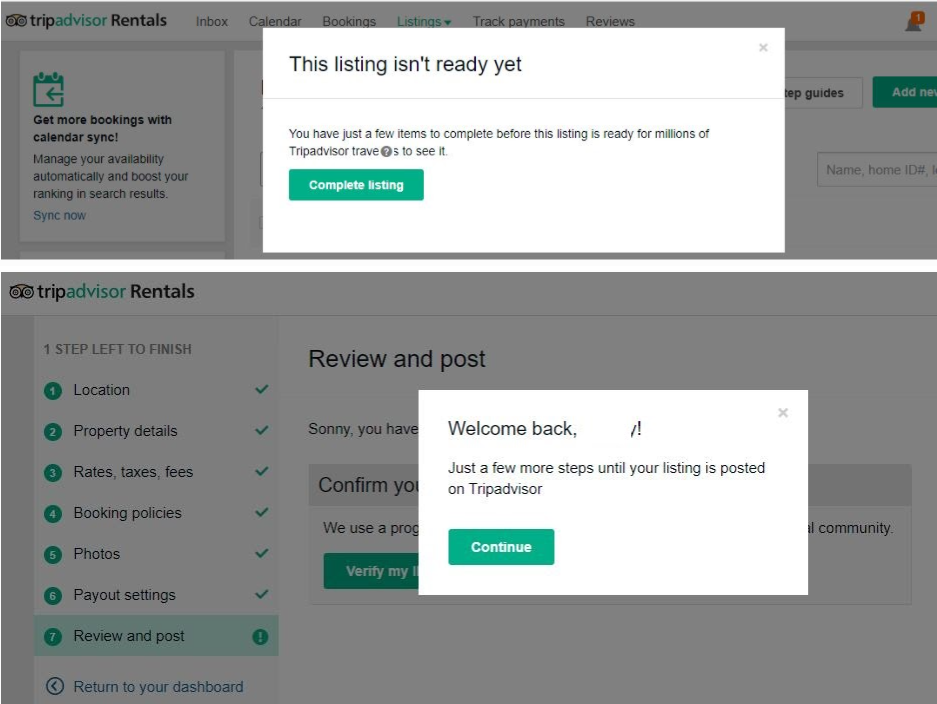
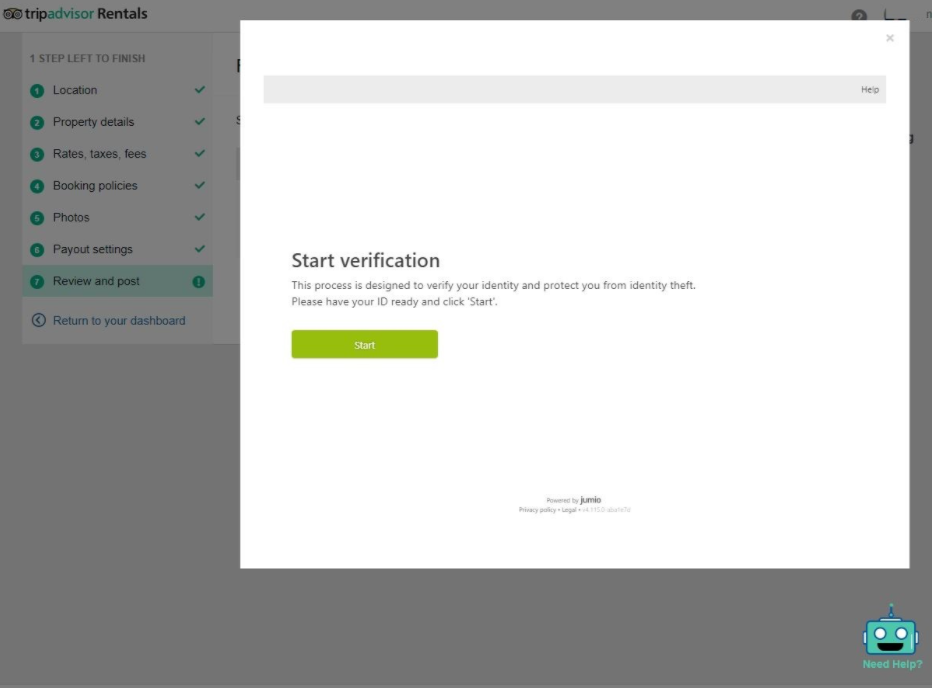
In some cases, TripAdvisor will require you to confirm your identity, just follow the steps. Remember to have your legal documents ready.
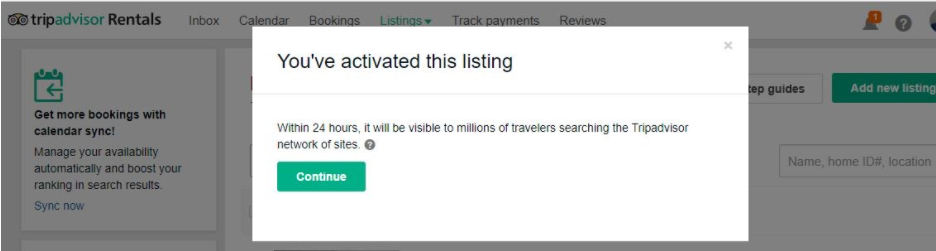
Once done, you can continue activating your listing.
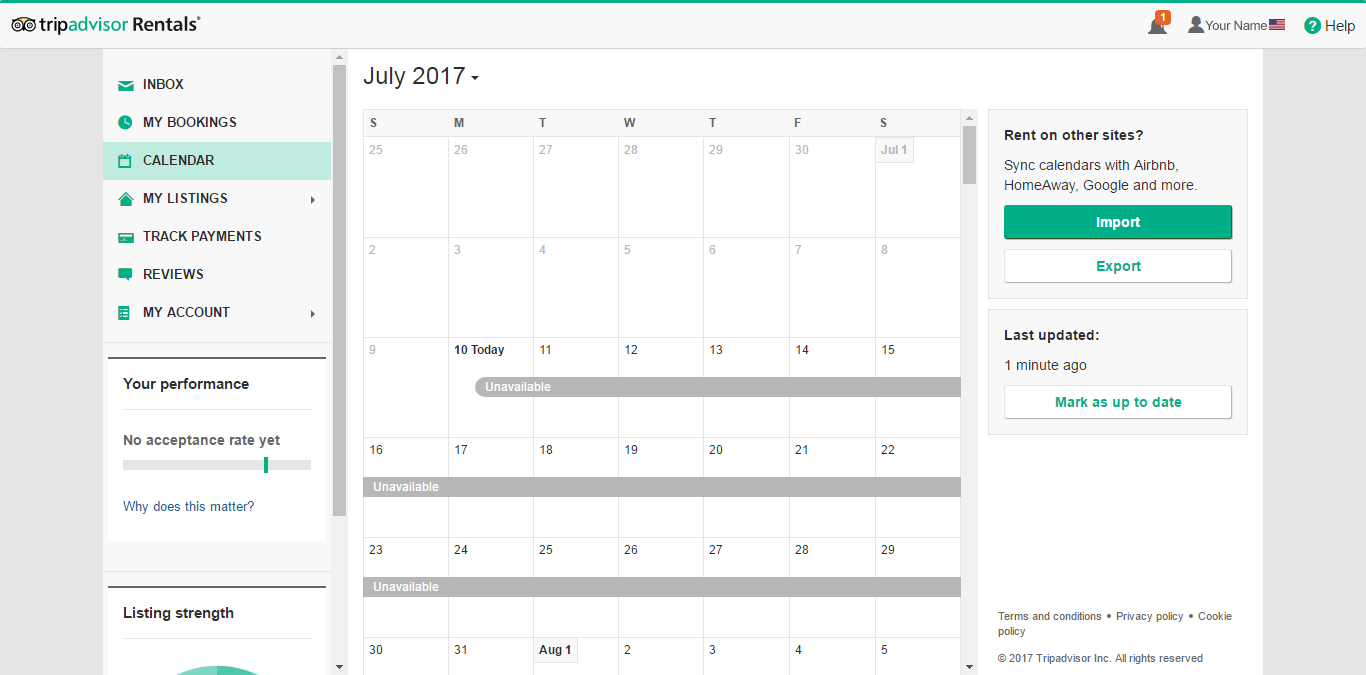
Calendar
It is important to get yourself familiar with the Calendar.
Although the calendar settings are not part of the 7-step process in order to publish your listing, make sure that you visit this section if needed (i.e. to block certain dates as “unavailable”, etc.).
The imported calendar should look like this.
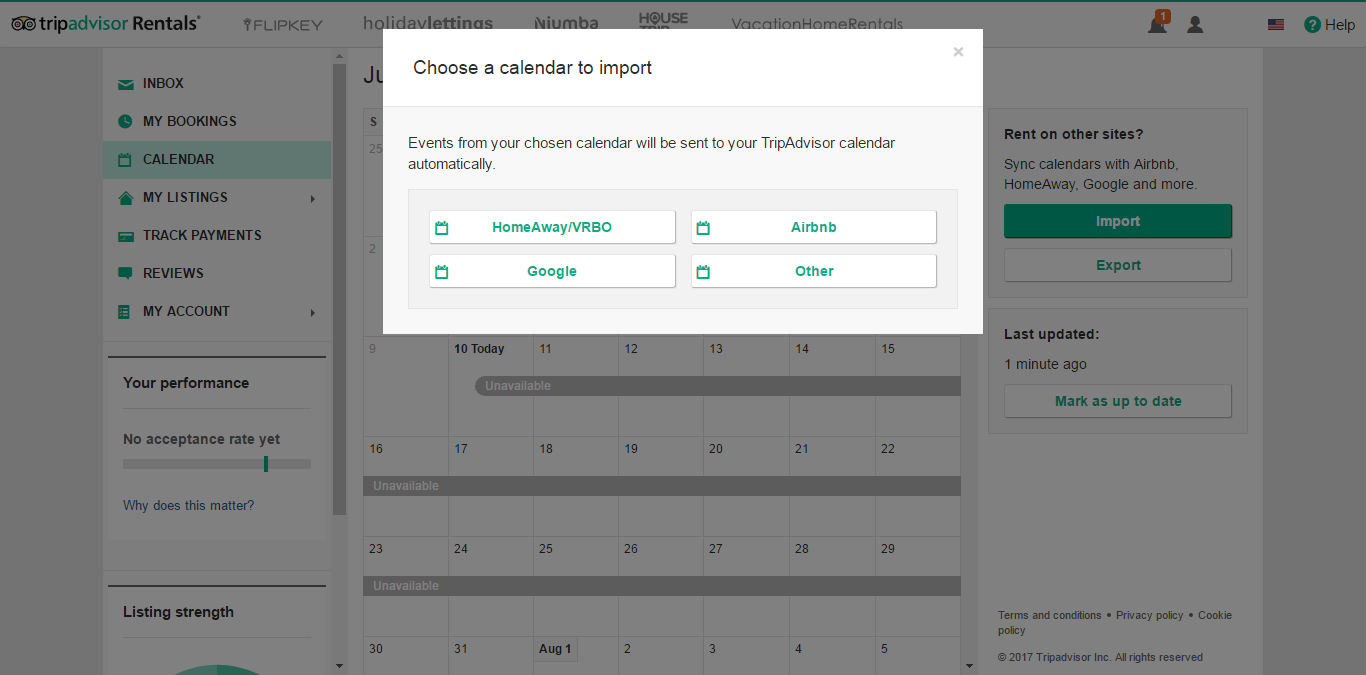
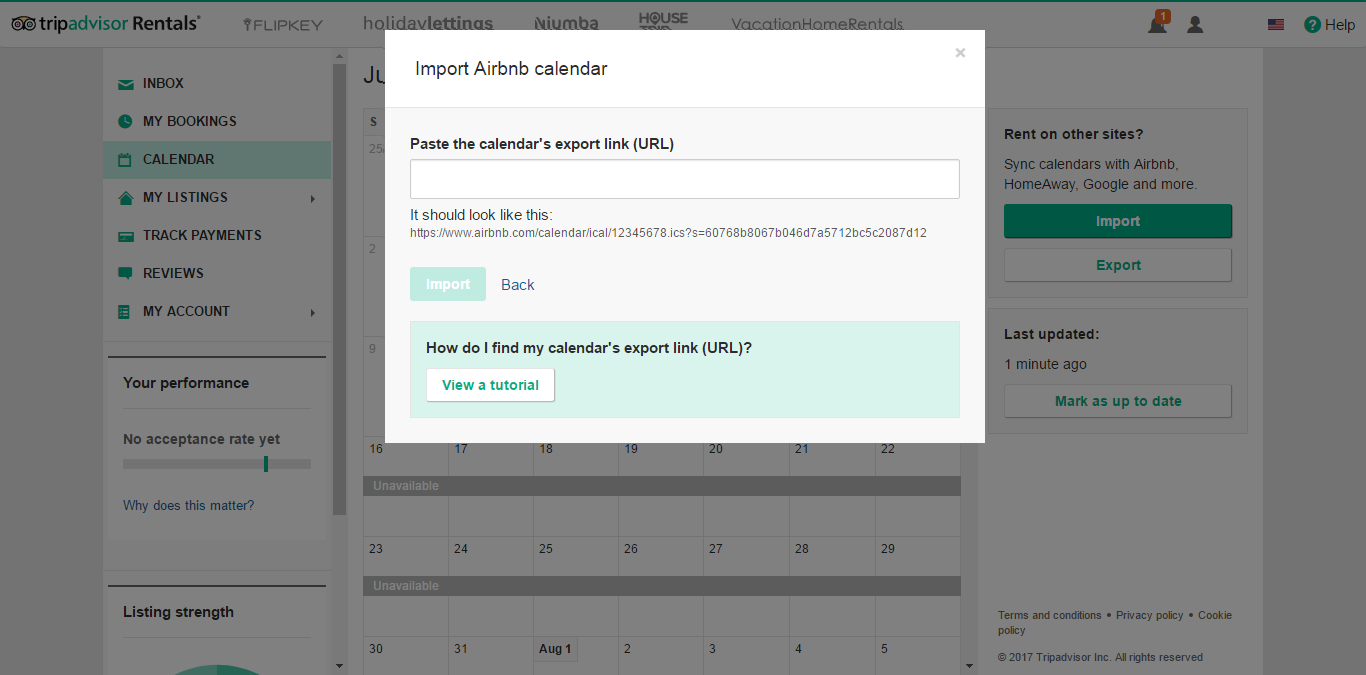
You can also and import and sync other calendars (i.e. Vrbo, Airbnb, etc.). This is a basic solution if you only have 2 channels, and we have seen many reports that many channels delay their ICAL file update for hours (we have seen cases with 10+ hour delays). During high seasons with many bookings, this could lead to double bookings. To avoid that, you can use our calendar synchronization service that guarantees under 5-minute updates and can support hundreds of simultaneous channels.
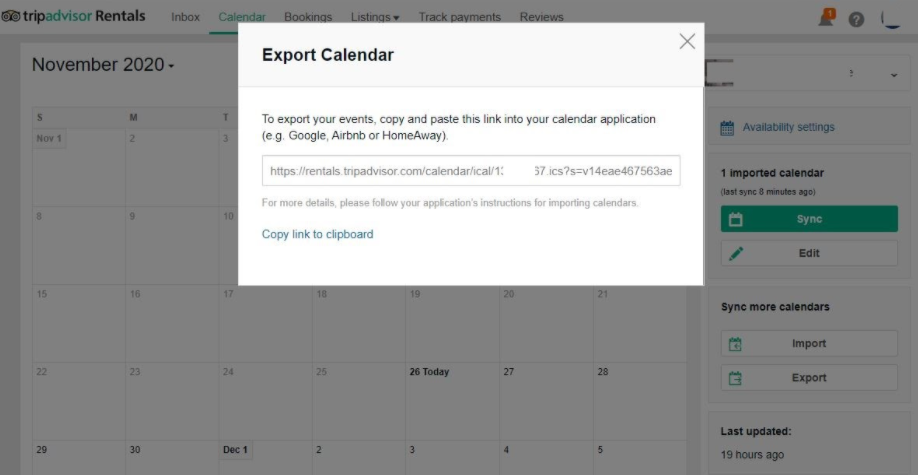
You can also export your TripAdvisor calendar to other channel listings, just make sure that you are importing and exporting the same property calendar.
Congratulations! You now have created a listing on Tripadvisor! All you need now is to keep your calendars synchronized across all your channels. The easiest way to do this is to use Hosthub’s Channel Manager and you’ll be synchronizing in no time!
If despite our guide above, you still want a professional to take care of your new listing, we can help you there too. Hosthub offers a service that can copy your content from any vacation rental channel to any other, for a very reasonable fee. Visit our Revenue Booster page to find out more.