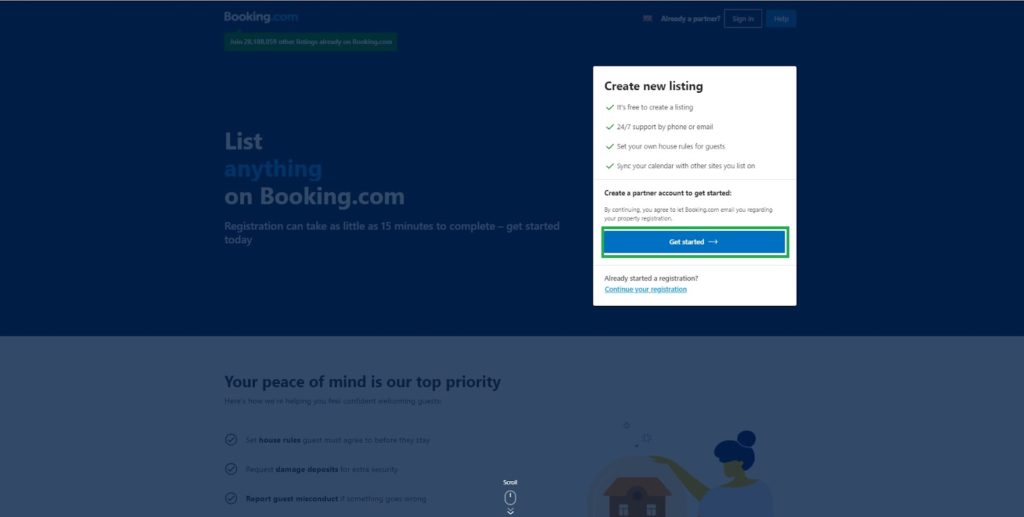
In this guide, we’ll provide step-by-step instructions on how to create a listing on Booking.com!
The Booking.com website and mobile apps are available in 40 languages, offer over 1.3M properties and cover over 115,000 destinations in 226 countries and territories worldwide.
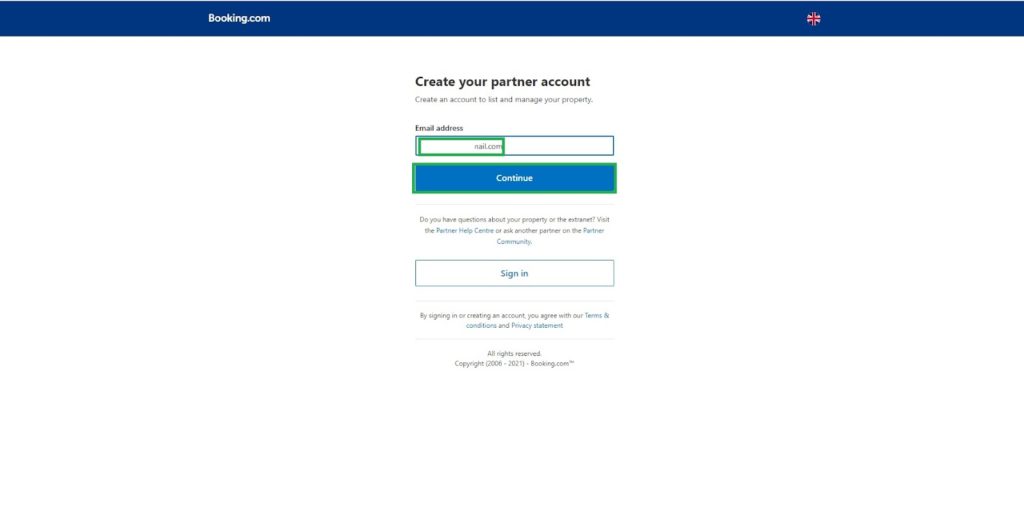
Booking.com has two completely separate platforms for travelers (to book their vacation) and property owners (to list their property/ies). As such, one can use the same email address to register in each platform (with “the same” or different passwords) or, of course, use different emails for each account.
So visit this page to create a listing of your property on Booking .com
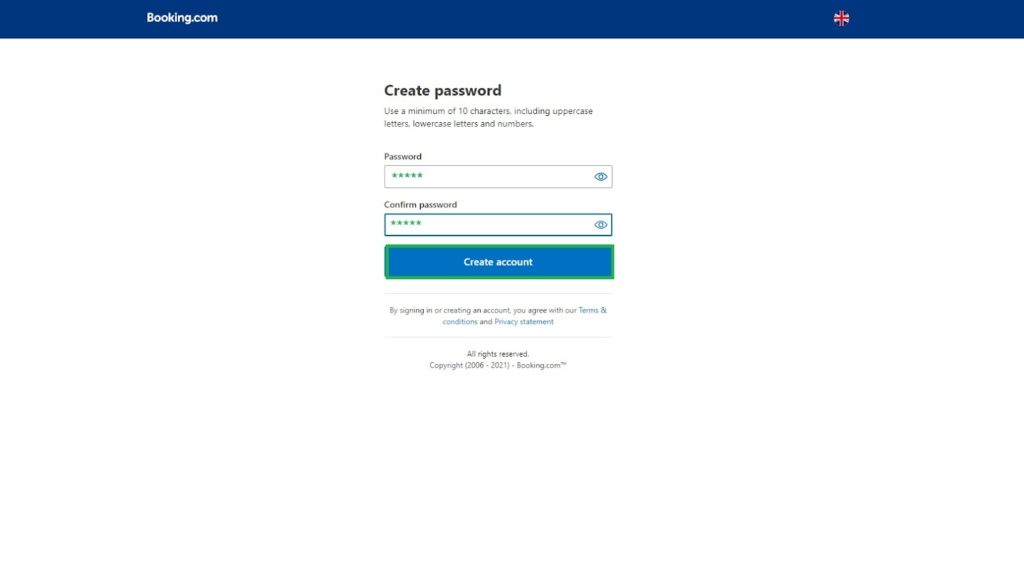
Note: The password must be at least 10 characters, and contain at least 1 number, 1 uppercase, and 1 lowercase letter.
Check your email to verify the account.

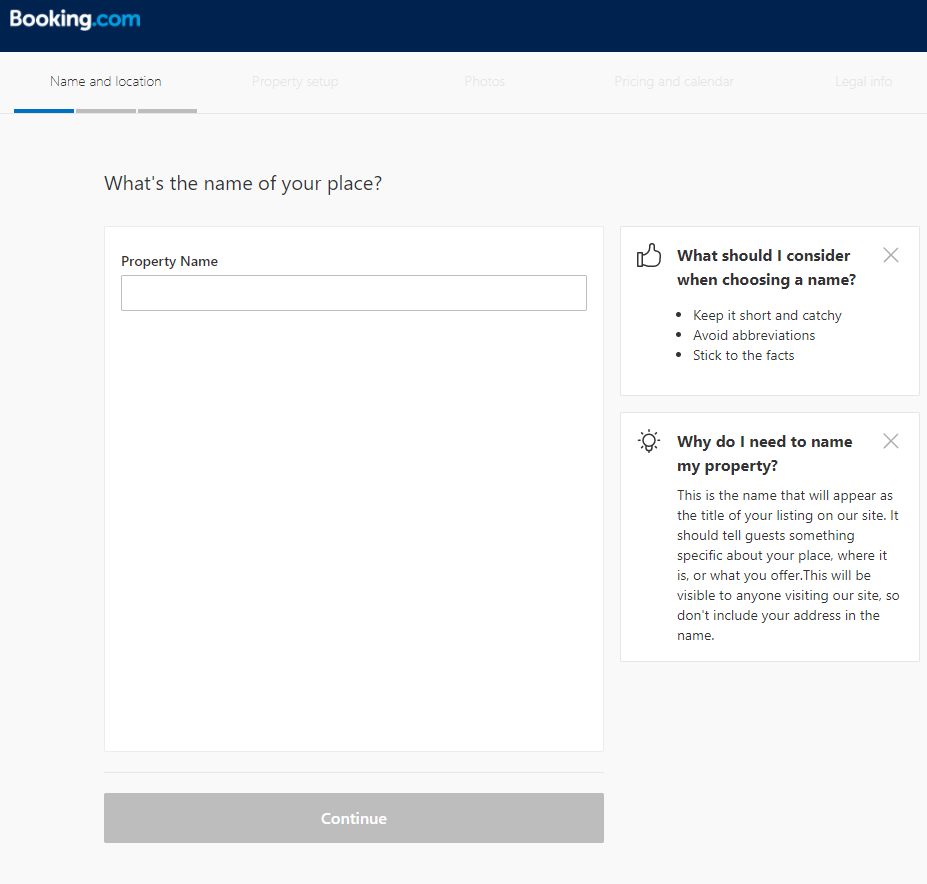
STEP 1: Basic information
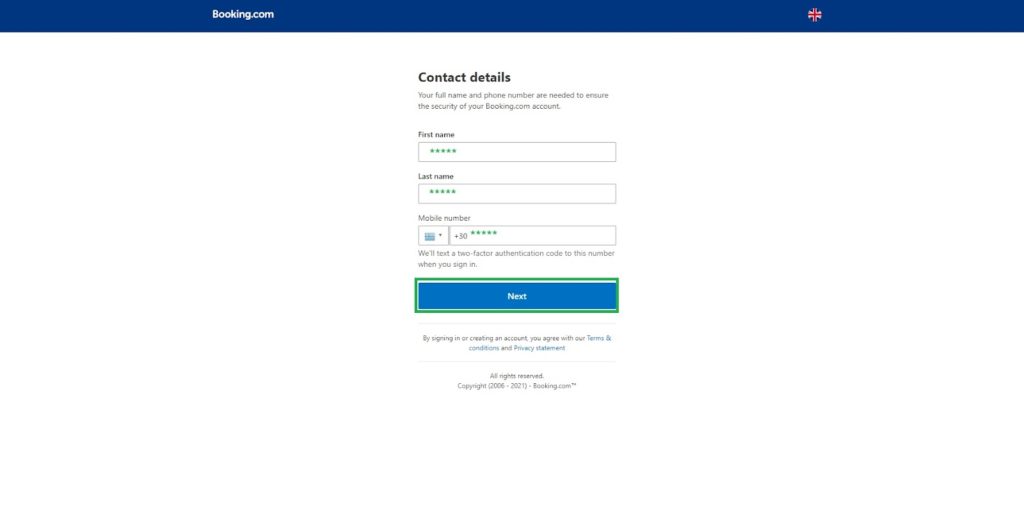
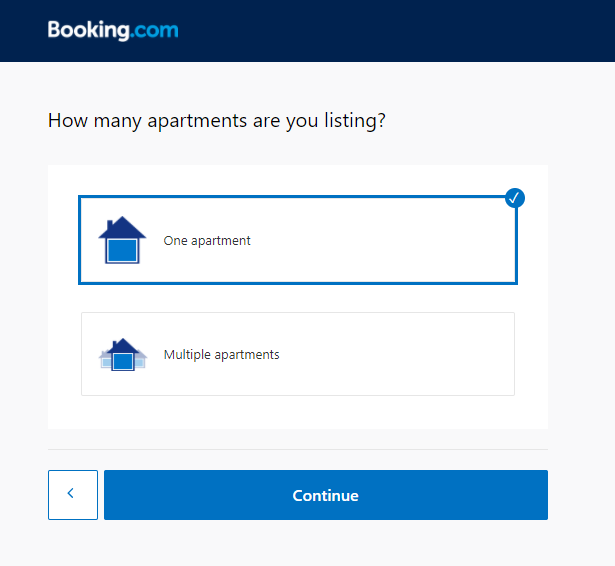
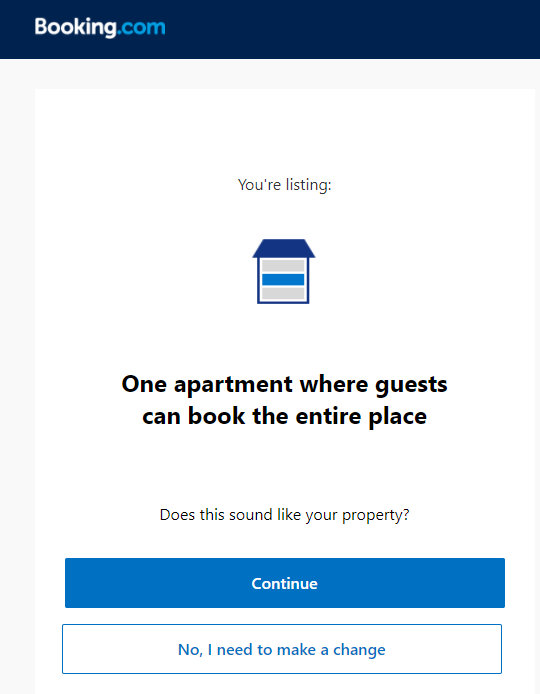
After you’ve entered your First Name, Last Name, and e-mail address on the sign-up page, you are prompted to enter some basic information about your property/listing, including:
- Property name
- Property type
- Total number of rooms
- Property website (optional)
- Your role with the property listing
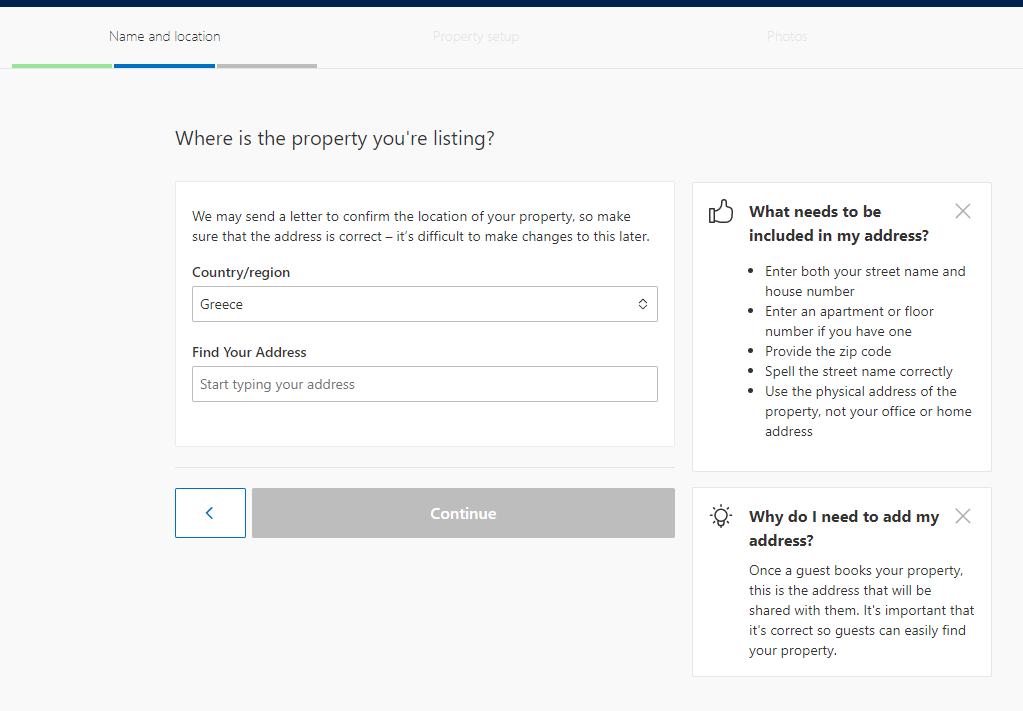
- Address of the property, and
- Contact number
⭐ Be very careful with the address and location pin, updating an inaccurate address can be challenging. You might also run the risk of redoing it from the beginning. ⭐

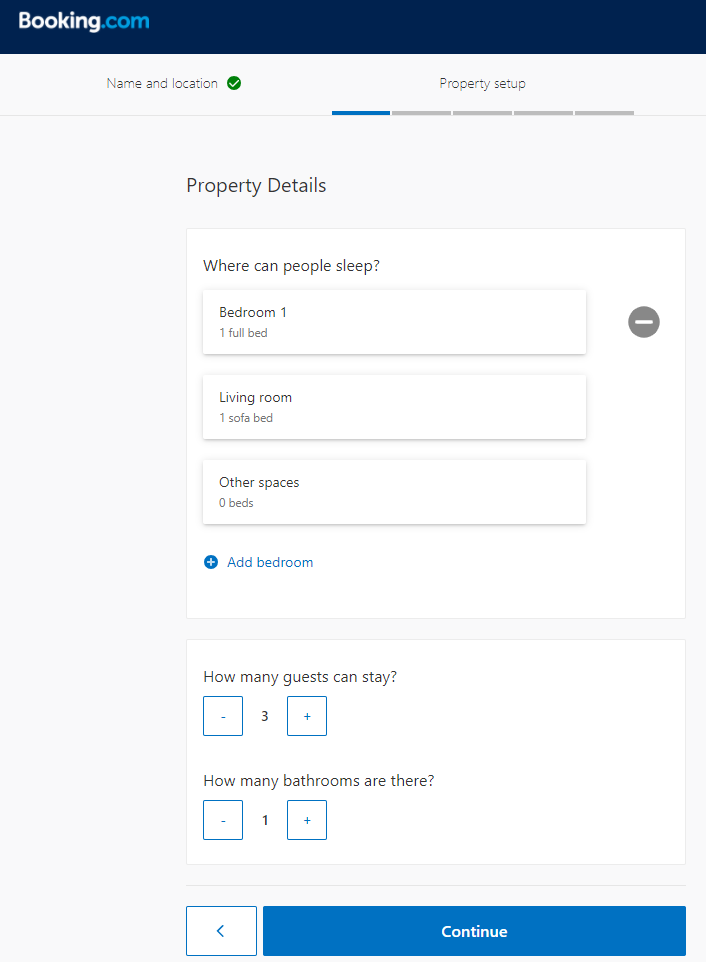
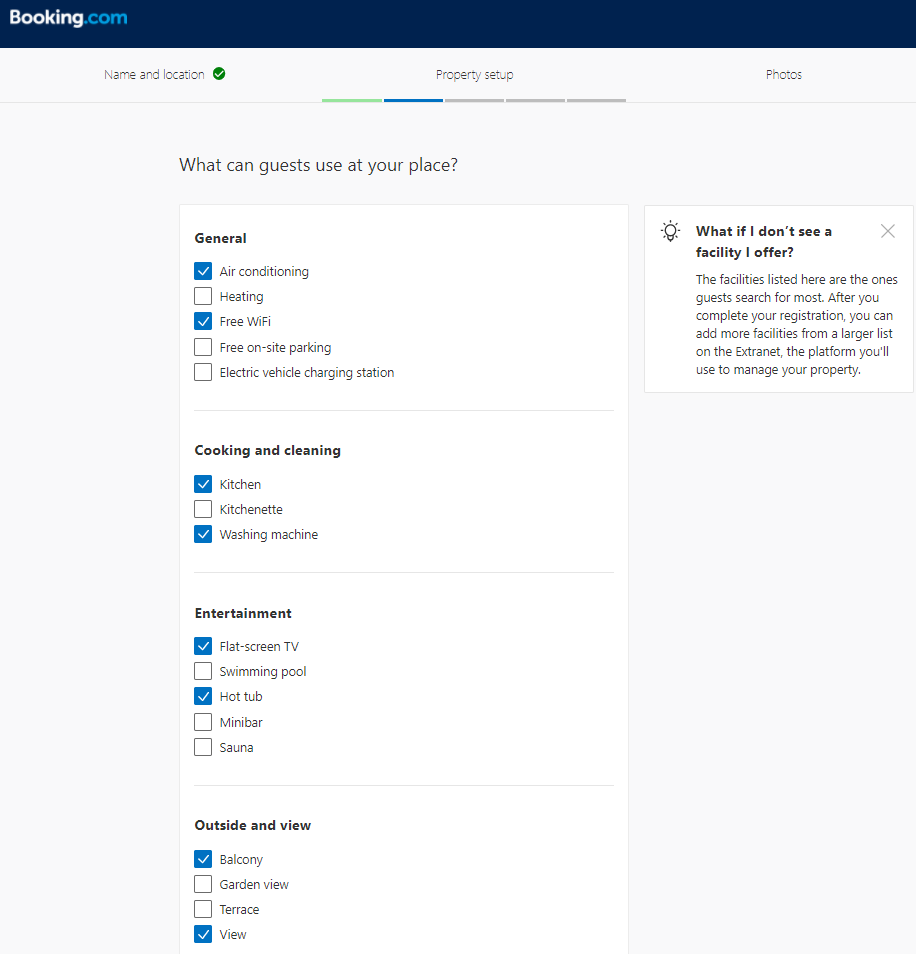
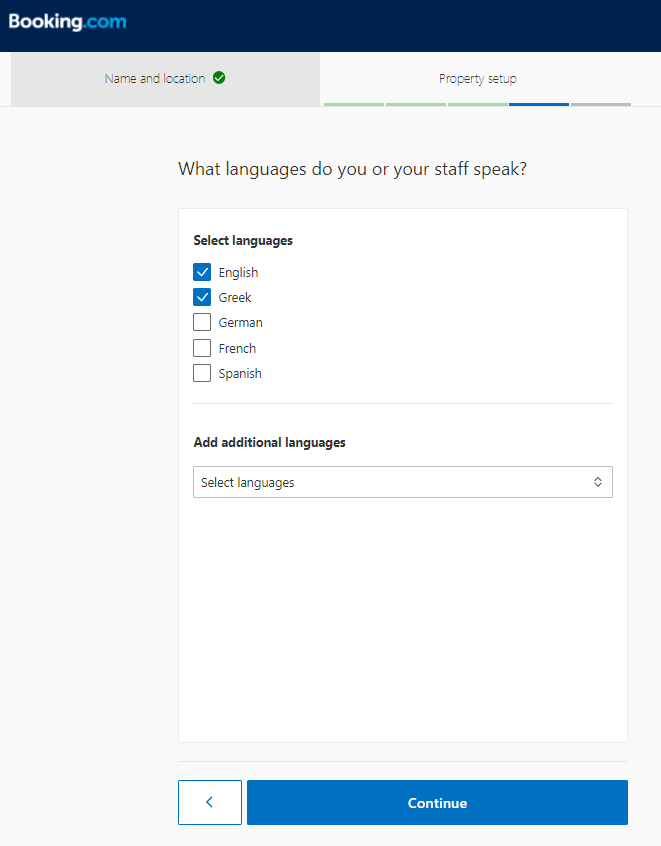
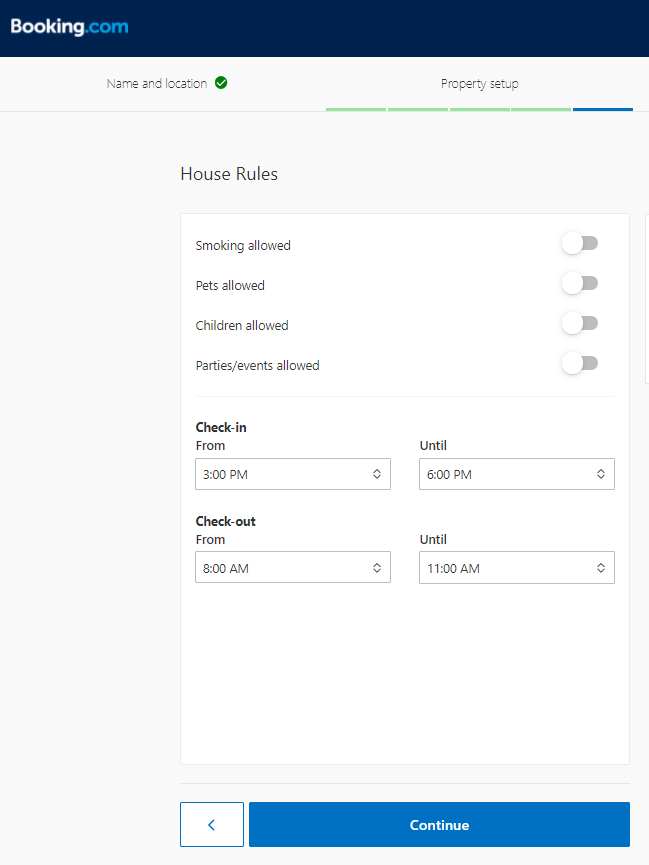
Step 2: Property Setup
Here, you should add some general details about your property like sleeping arrangements (number of guests, bedrooms, beds, bathrooms), facilities available (kitchen, internet, view, parking), if you serve breakfast, the languages you speak, and house rules.

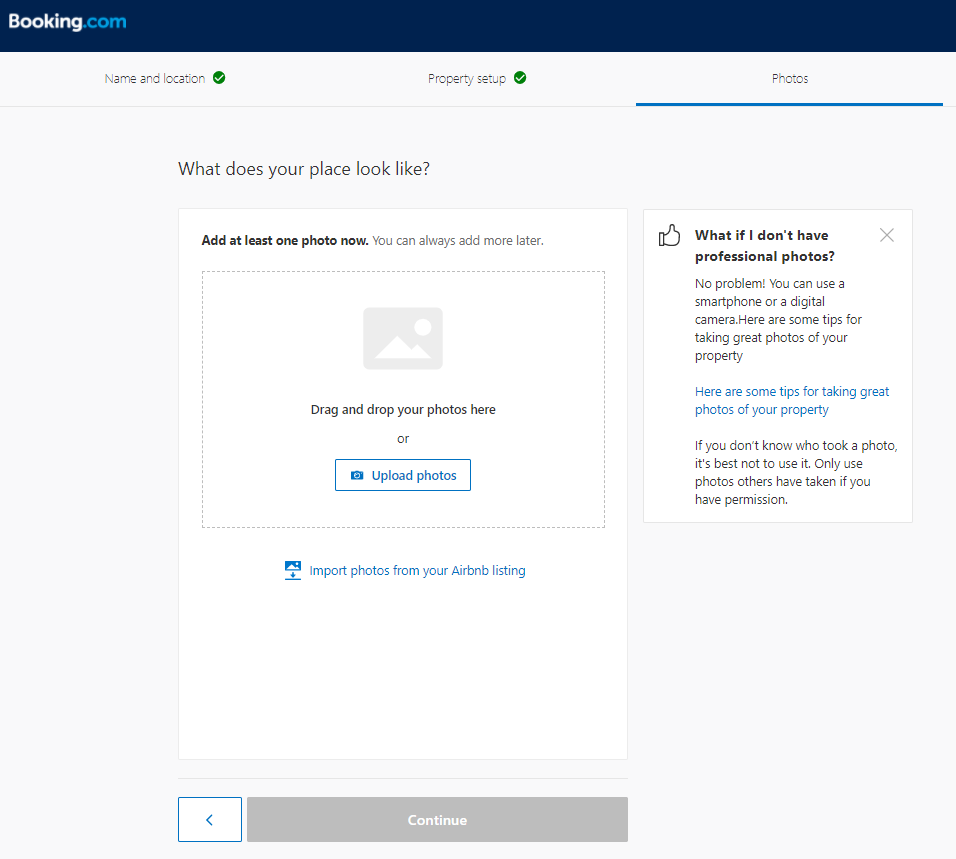
STEP 3: Photos
As Booking.com suggests, guests are more likely to book places with great photos, so upload some high-resolution photos that accurately represent all your space has to offer.
Including photos of all the spaces a guest can use (i.e. living room, bedrooms, bathrooms, additional rooms) helps guests imagine staying at your place. Choosing the right profile photo (more on that in our next article on building the perfect vacation rental listing).
Note that you can upload as many photos as you want but they’ll publish only the first 45.
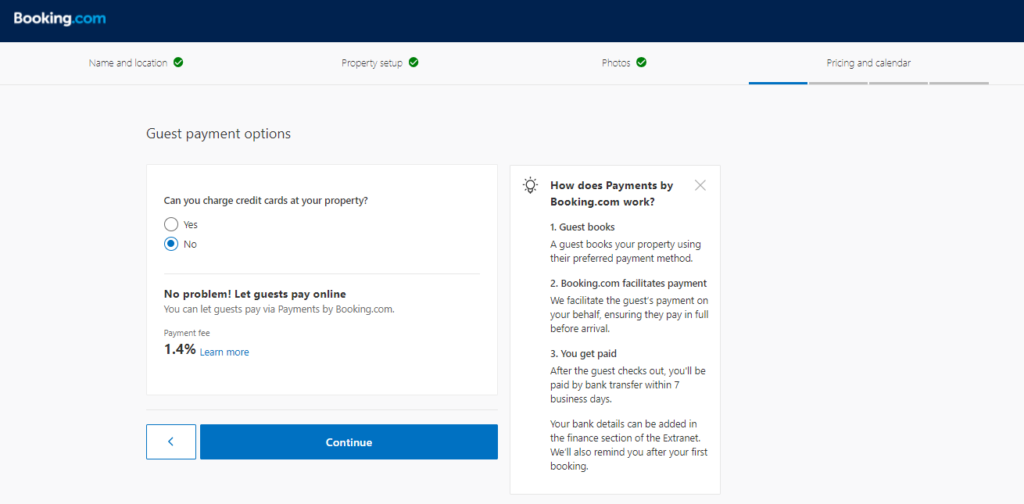
STEP 4: Pricing & Calendar
Depending on the type of property you selected previously, you will be prompted to provide additional information, including:
- Can you charge with a credit card on-site?
- How much do you want to earn per night?
- Rate plans (standard and non-refundable) and cancellation policy
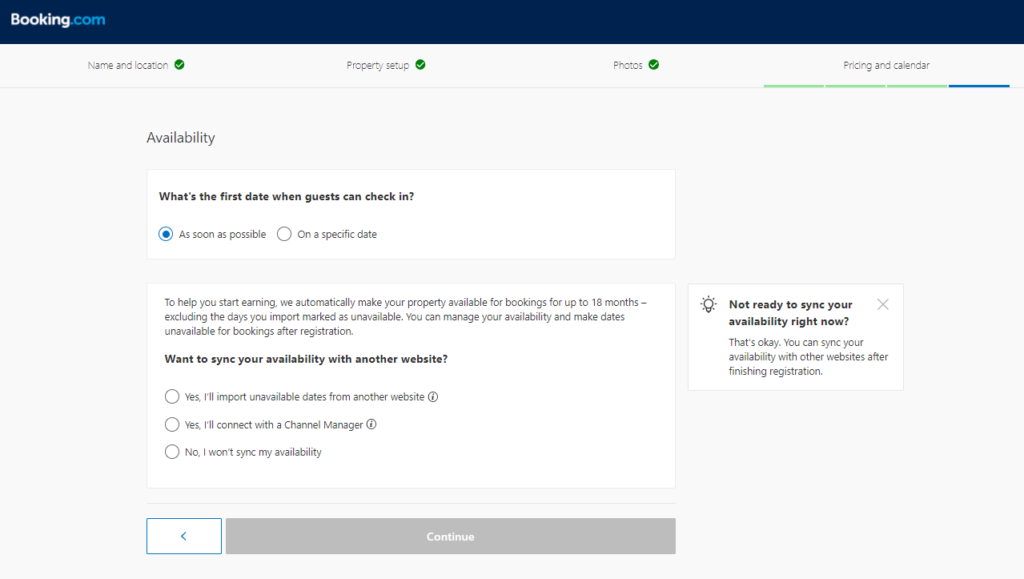
- Availability- to make sure that you won’t get any double bookings, you can count on us!
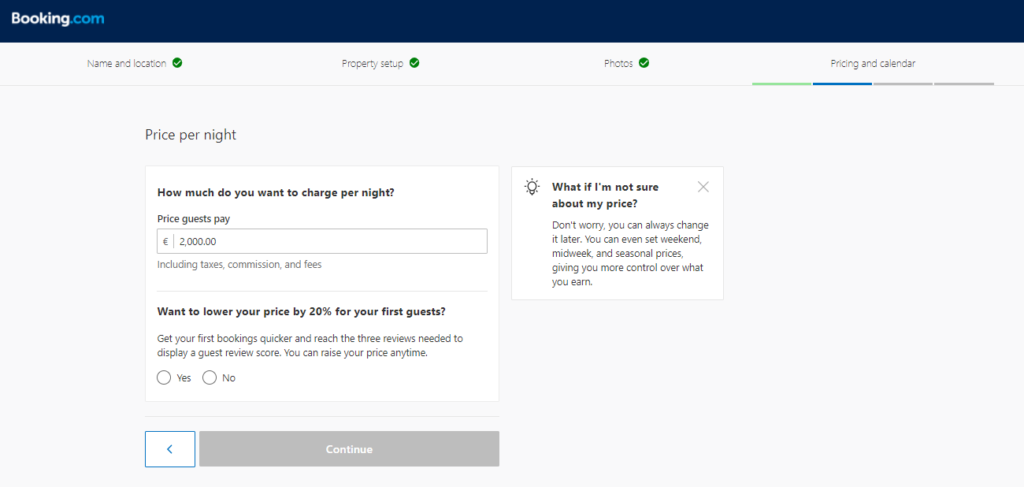
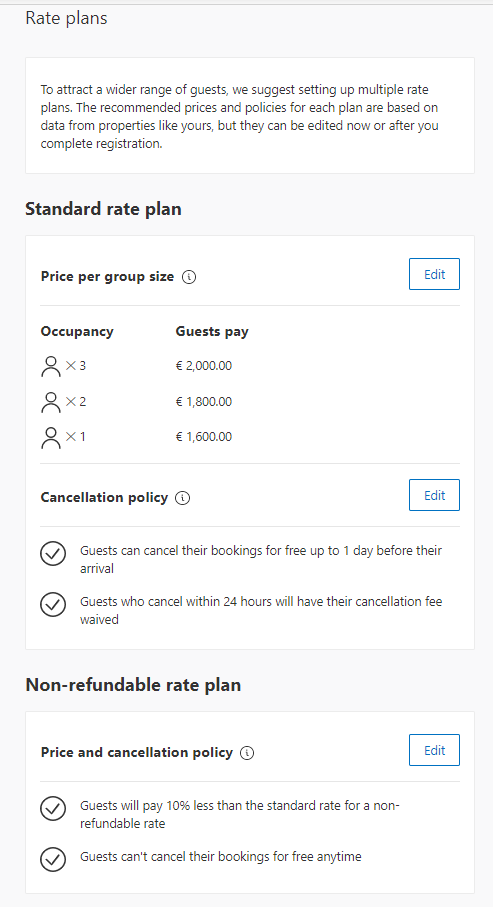
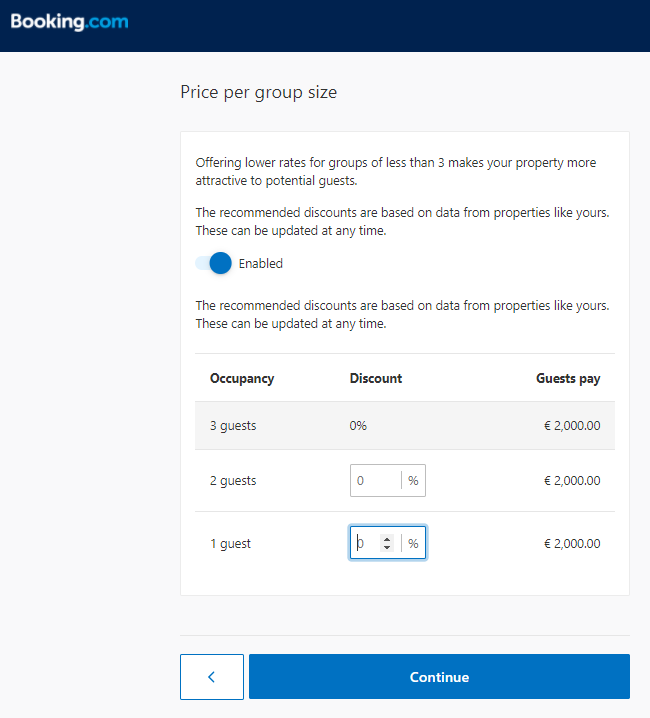
You can edit the standard rate plan to disable the price per group size or update the percentage if you wish.
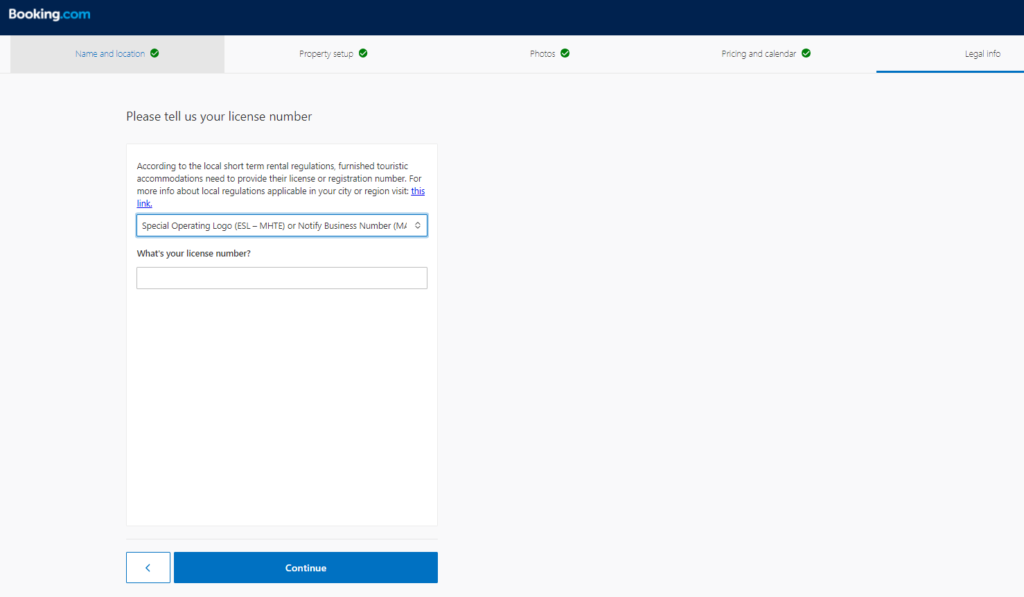
STEP 5: Legal Information
This differs from one state/country to another, follow the steps accordingly.
STEP 6: Review and complete
This differs from one state/country to another.
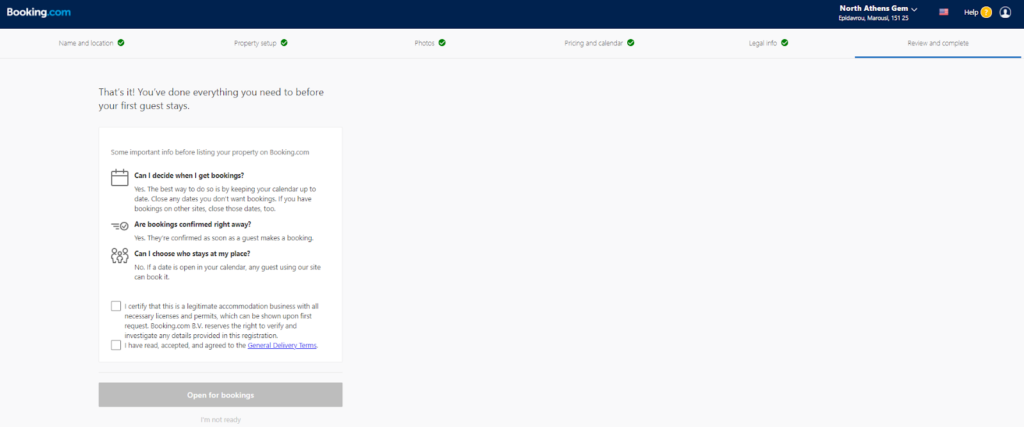
After clicking the “open for bookings”, you’ll see this screen.
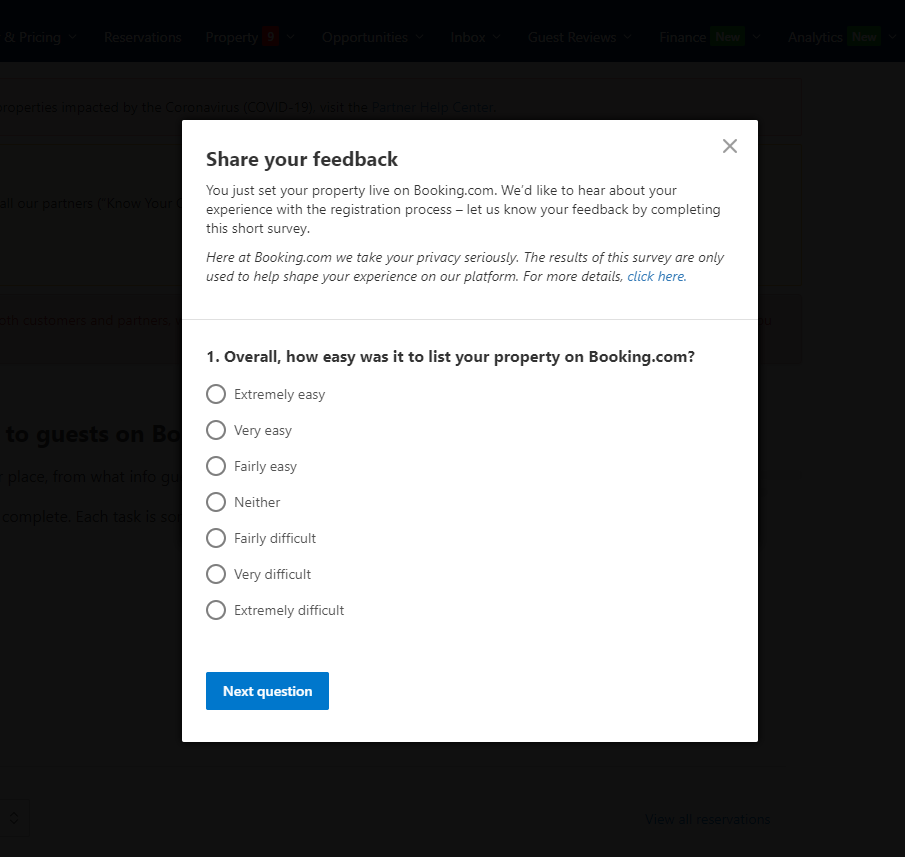
Don’t forget to share your experience, there will be 5 questions.
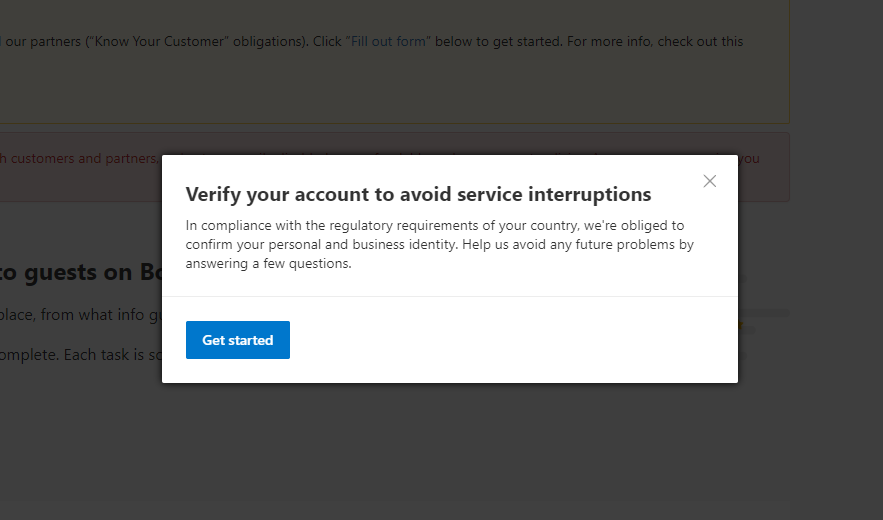
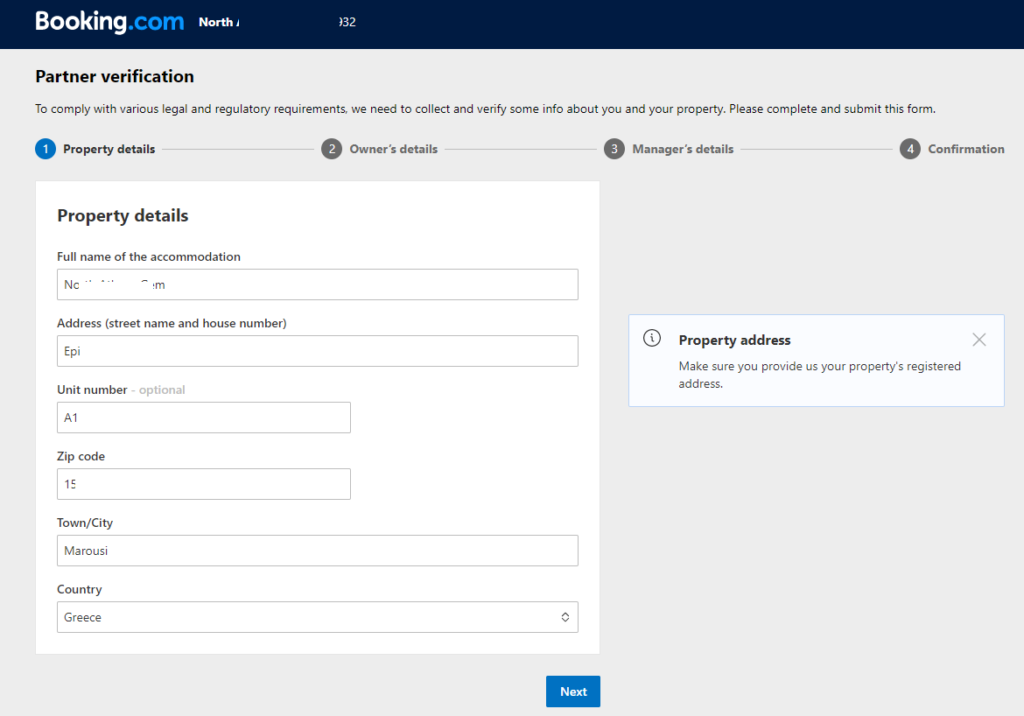
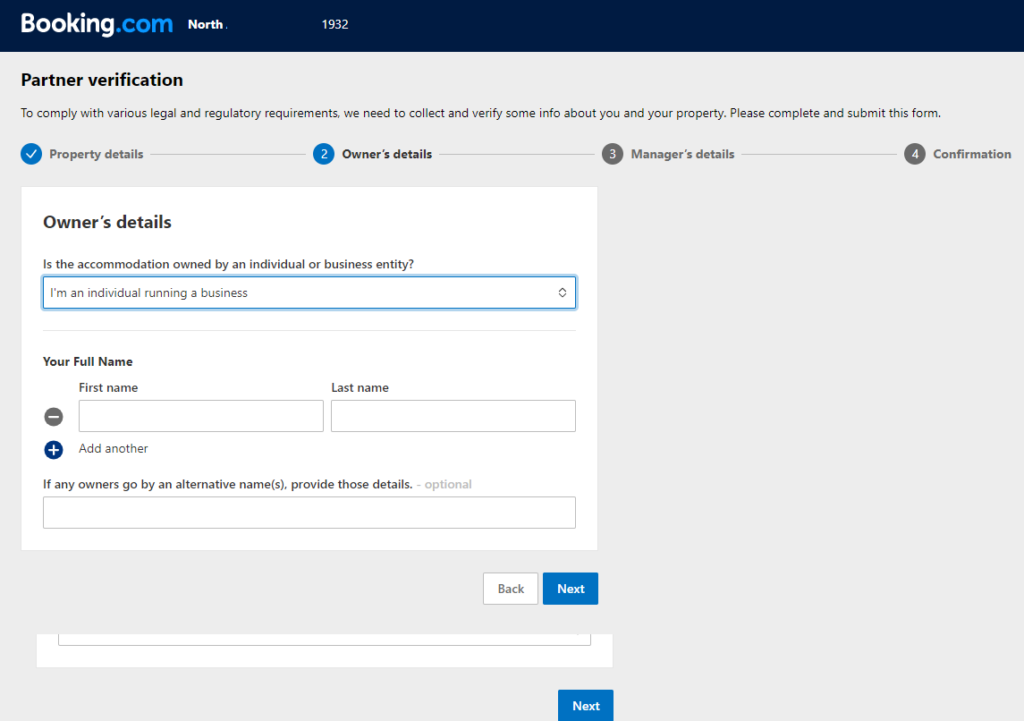
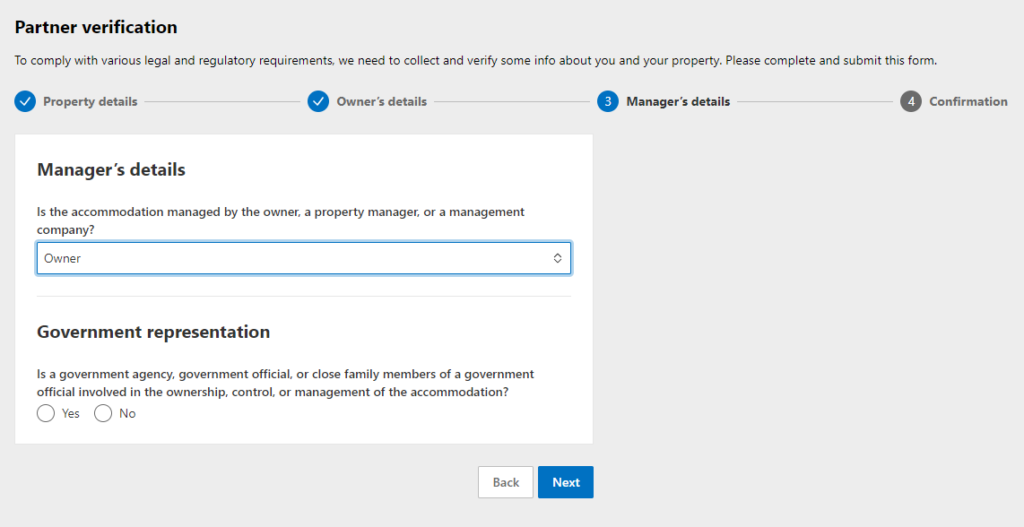
STEP 7: Verify your partner account
The options will be different according to your choices.
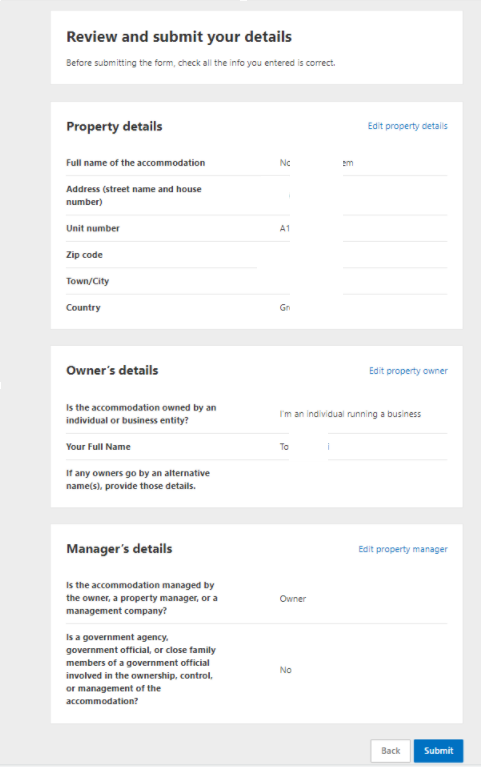
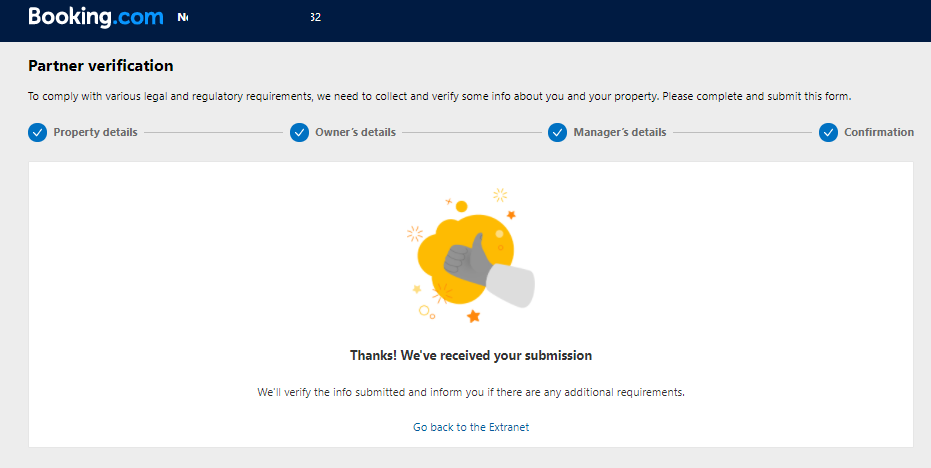
You’ll receive an email from Booking.com with a summary of your settings.
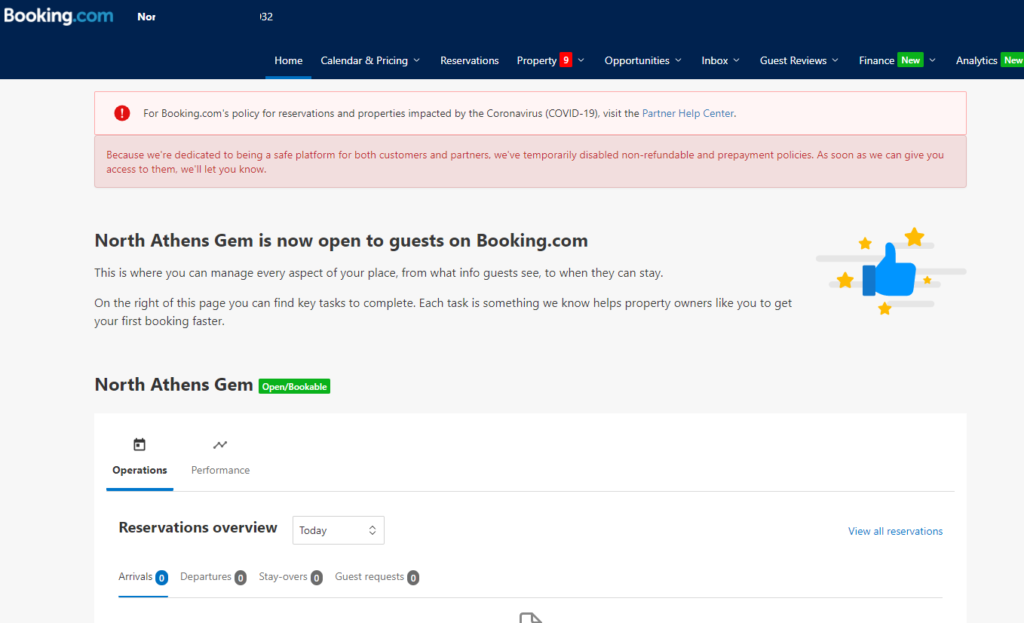
Access to the Booking.com dashboard
After Booking.com is finished reviewing your property, they will send you an email and inform you whether your listing has been approved. If it is, they will include your Property ID and inform you that you will receive another email with a link to create a secure password in order to access and use your Booking.com property dashboard.
Booking.com Extranet URL: https://admin.booking.com/
Booking.com Extranet Dashboard
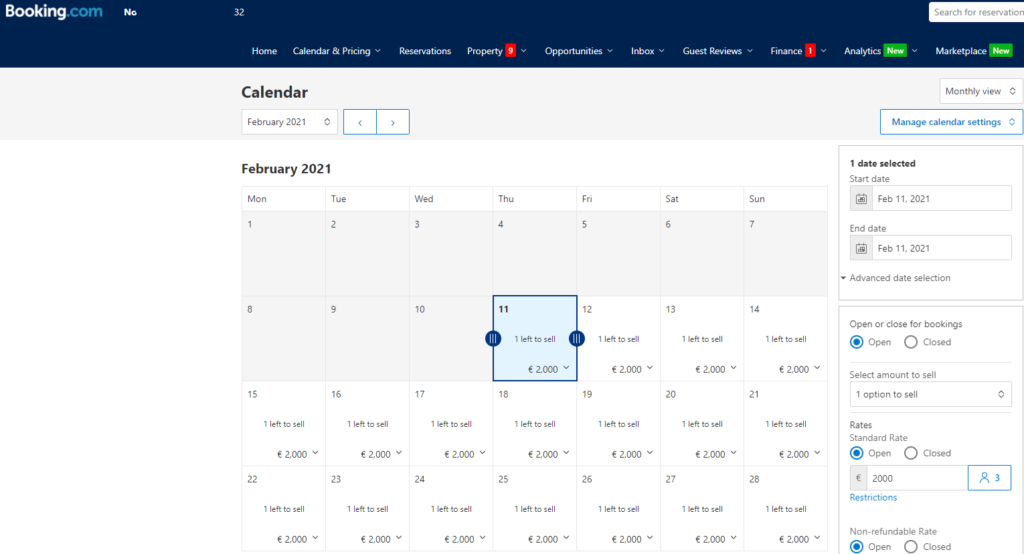
Calendar Tool
You can adjust the availability and daily rates. Dates without set rates will remain not bookable.
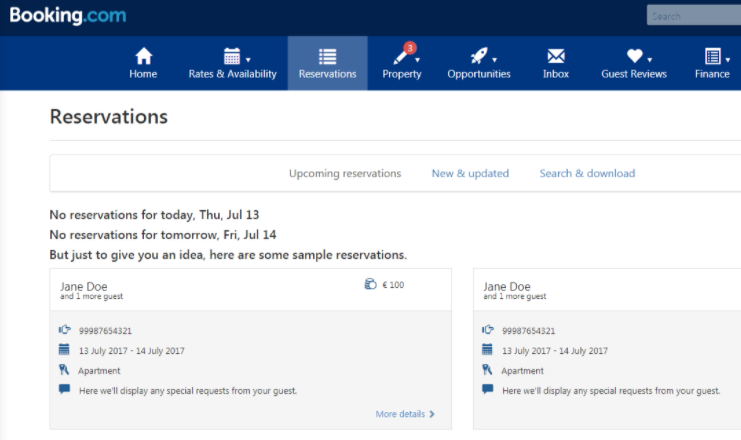
Reservations
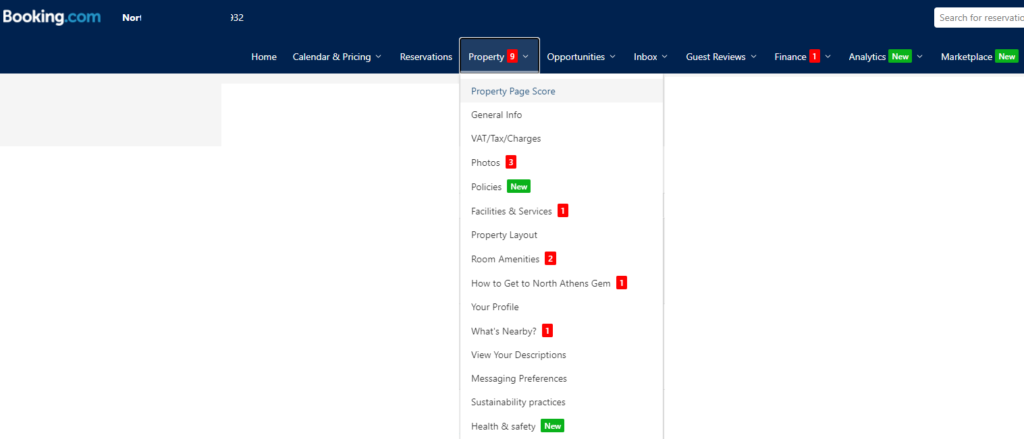
Property
You can edit your property details here, some might not be available.
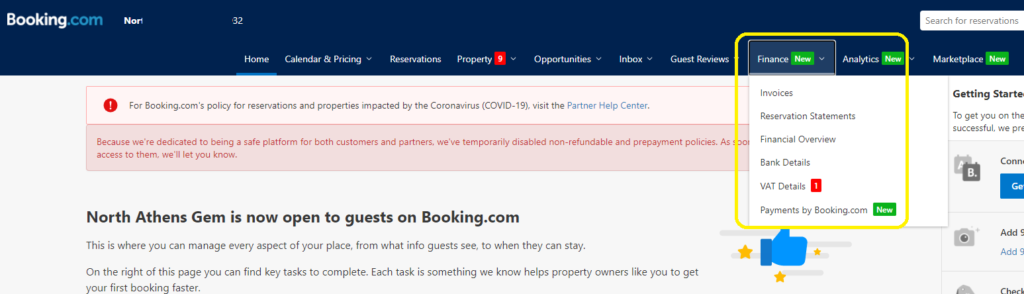
Finance
You can set/update your payout information, invoices from Booking, and others.
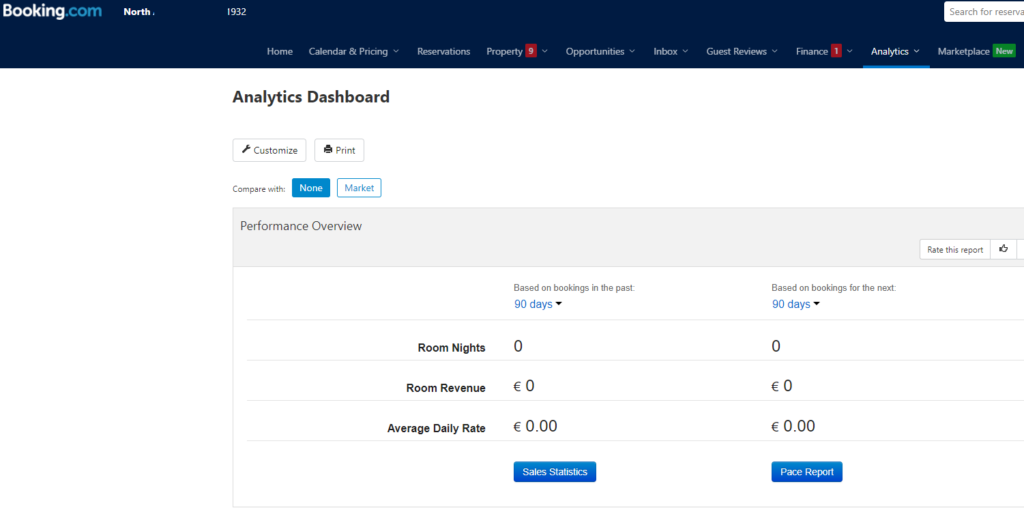
Analytics
Congratulations! You now have created a listing on Booking.com! All you need now is to keep your calendars synchronized across all your channels. The easiest way to do this is to use Hosthub’s Channel Manager and you’ll be synchronizing in no time!
If despite our guide above, you still want a professional to create your listing on Booking.com, we can help you there too. Hosthub offers a service that can copy your content from any vacation rental channel to any other, for a very reasonable fee. Visit our Revenue Booster page to find out more.