In this guide, we’ll provide step-by-step instructions on how to create a listing on Airbnb!
Airbnb is the world leader in travel rentals, with more than 10 million nights booked worldwide.
In order to create a listing on Airbnb, you need to have a personal account.
Visit Airbnb’s sign-up page and click on “Get started”. If you already have an account, log in using your Google, Facebook, or e-mail account. If you don’t have an Airbnb account, click on the “Sign up” link at the bottom of the (pop-up) sign-up window and fill out the form.
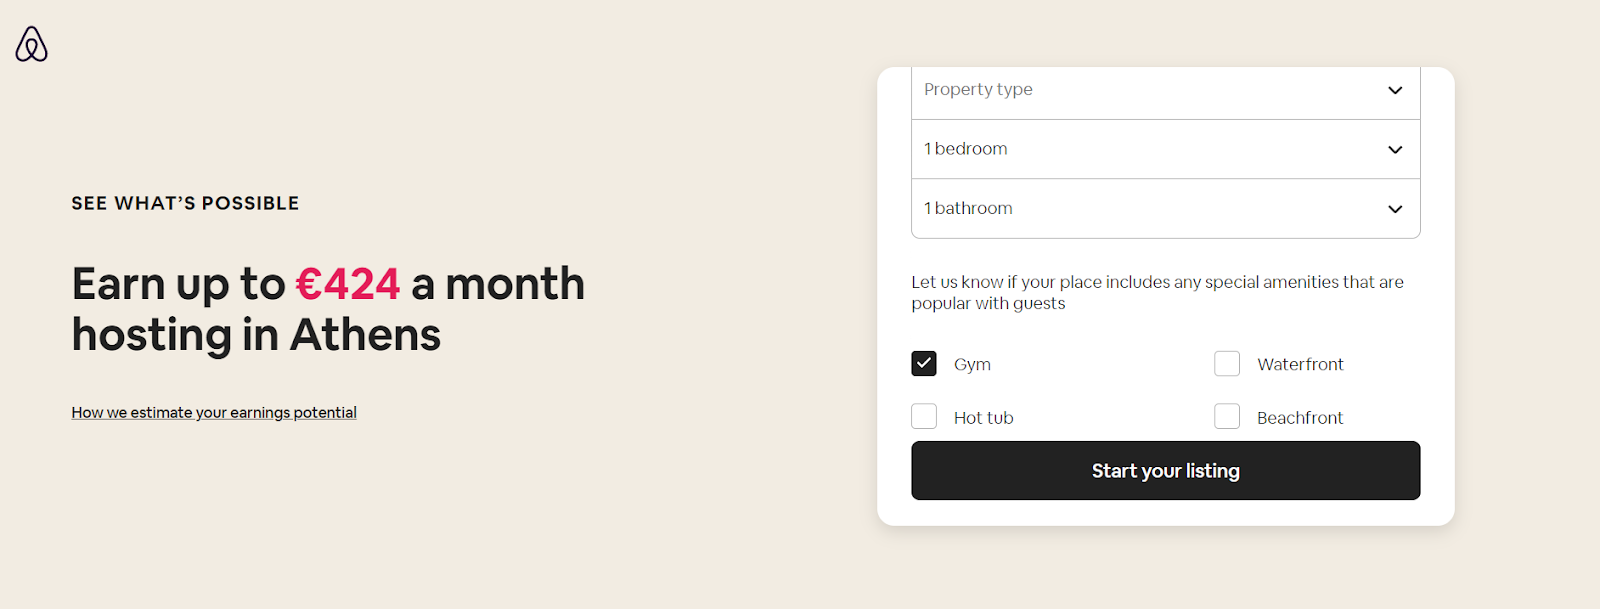
Go to Airbnb’s sign-up page, fill out your property’s address and basic descriptions.

Make your listing on Airbnb stand out by giving more amenities. Click on “let us know…” You can add this later as well (on step 3). Then click on “start your listing”.
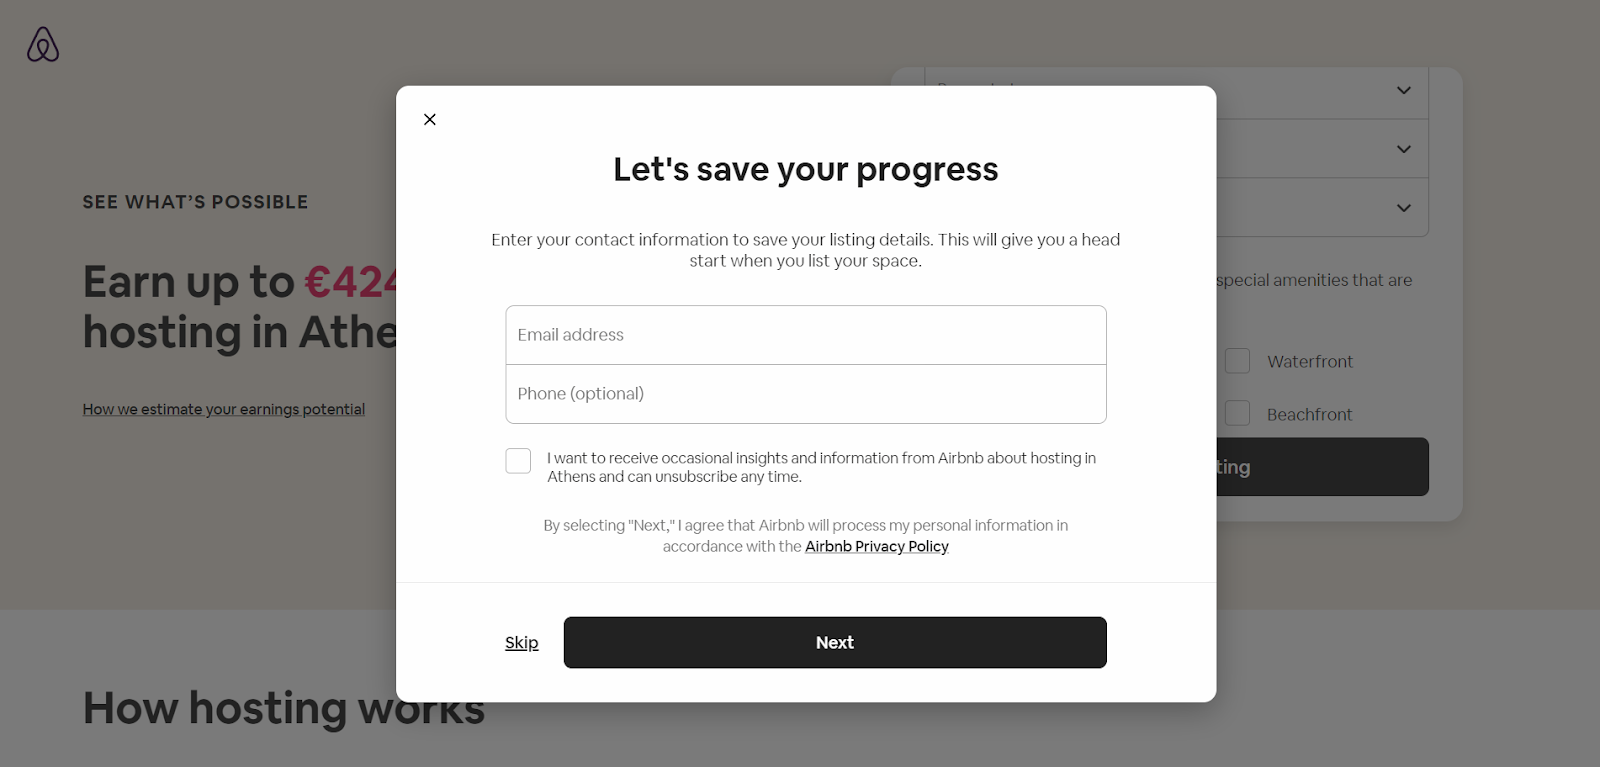
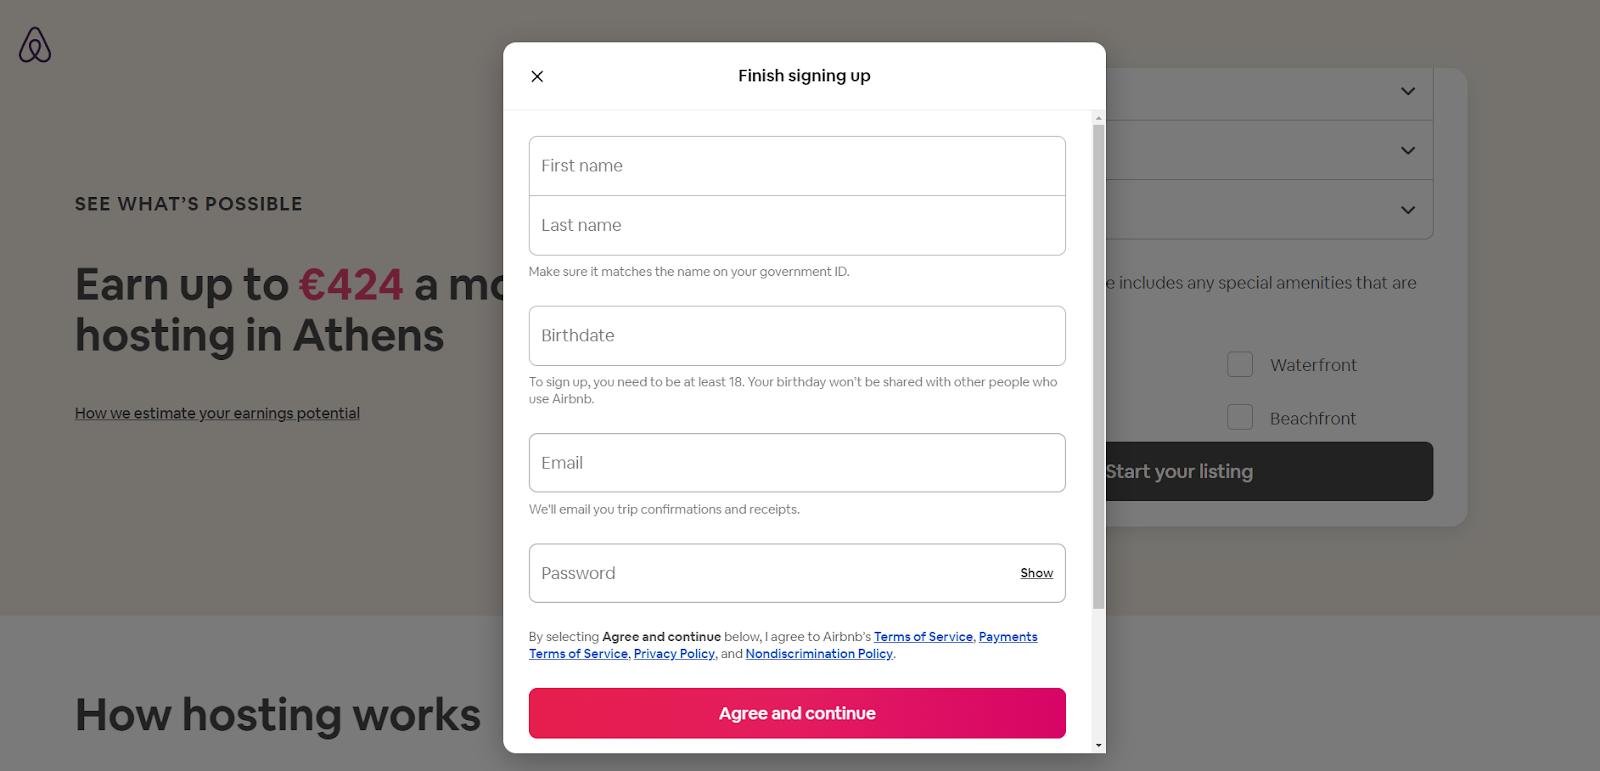
Create your account, If you don’t have one yet.
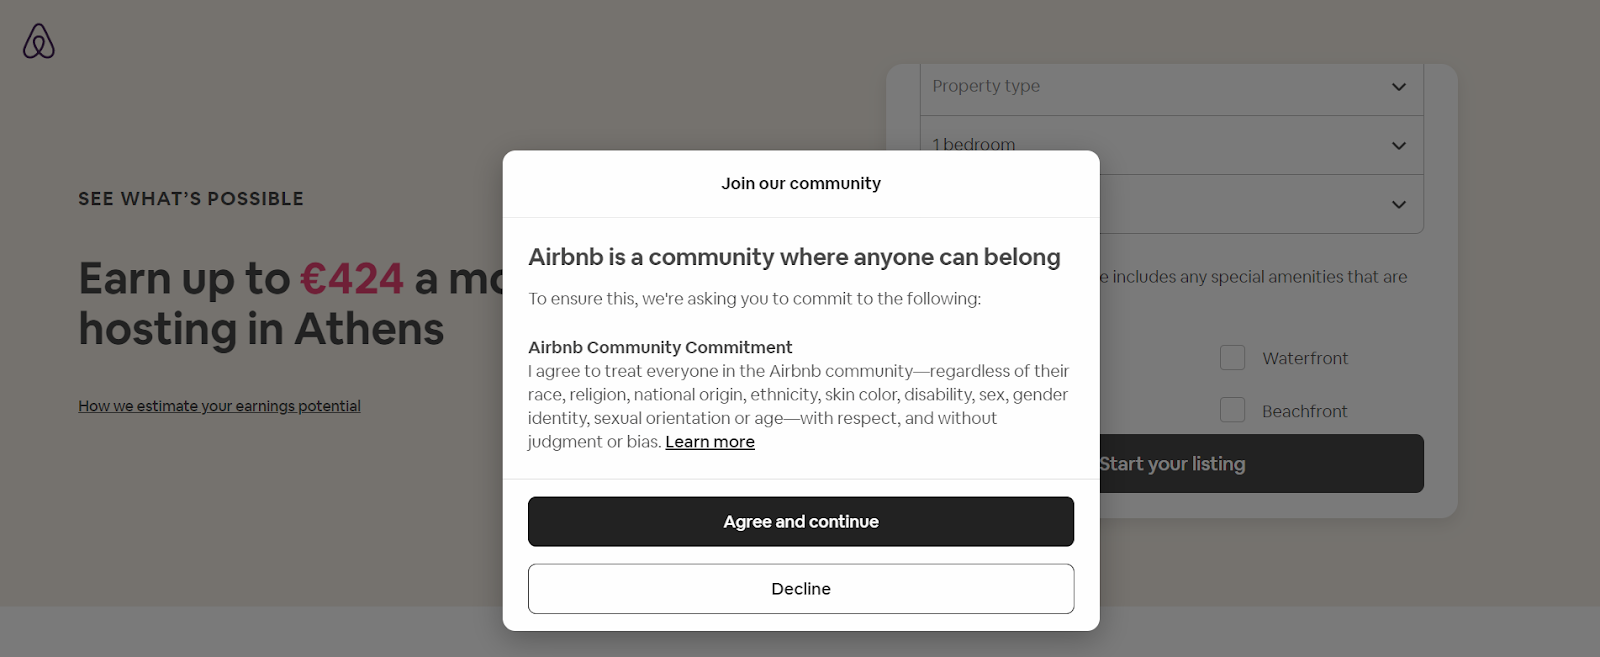
Should Airbnb “locate” your City from your IP address (i.e. Athens), it will display the average weekly earnings of other Airbnb hosts in the same area. That’s a good motivation to proceed with listing your place! You may change your “default” City if needed (i.e. if your place is not where you’re currently browsing from). Average weekly earnings displayed will change accordingly; also once you select the type of place: a) Entire place, b) Private room, or c) Shared room.
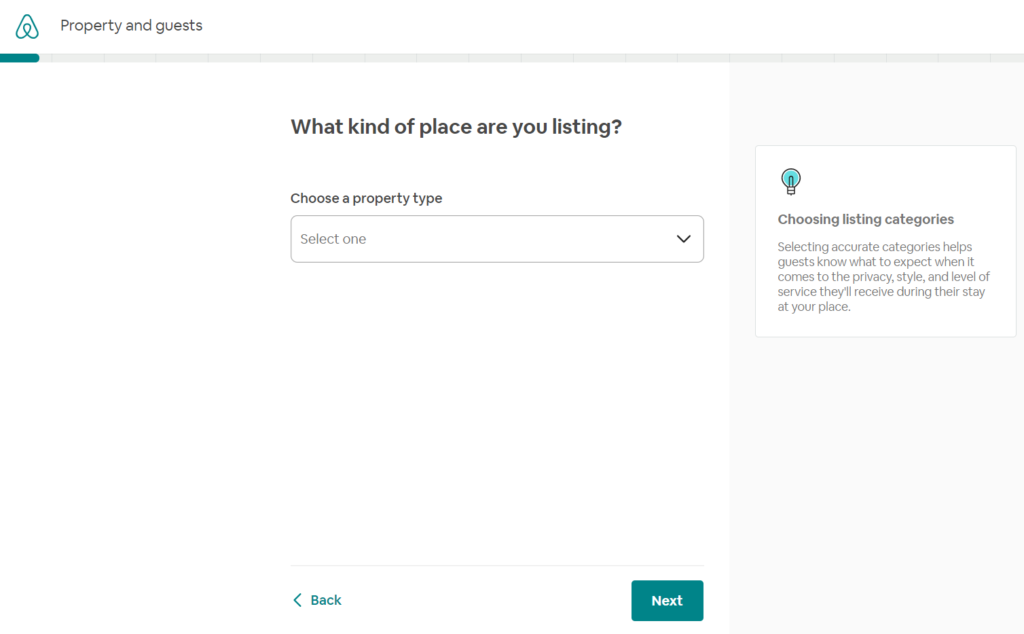
STEP 1: Start with the basics
Here are the questions that you should be prepared to fill out.
- Is this listing a home, hotel, or something else?
Depending on your answer, the options for the rest of the questions will be automatically adjusted.
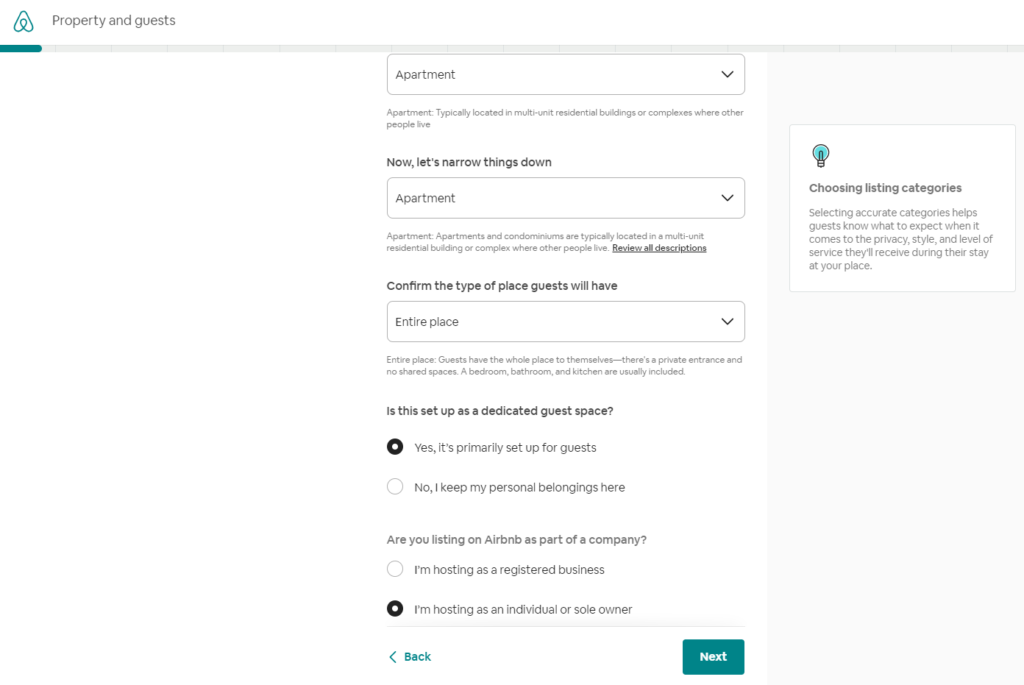
- What type of property is this?
- What will guests have (Entire place, Private room, Shared room)?
- Is this set up as a dedicated guest place?
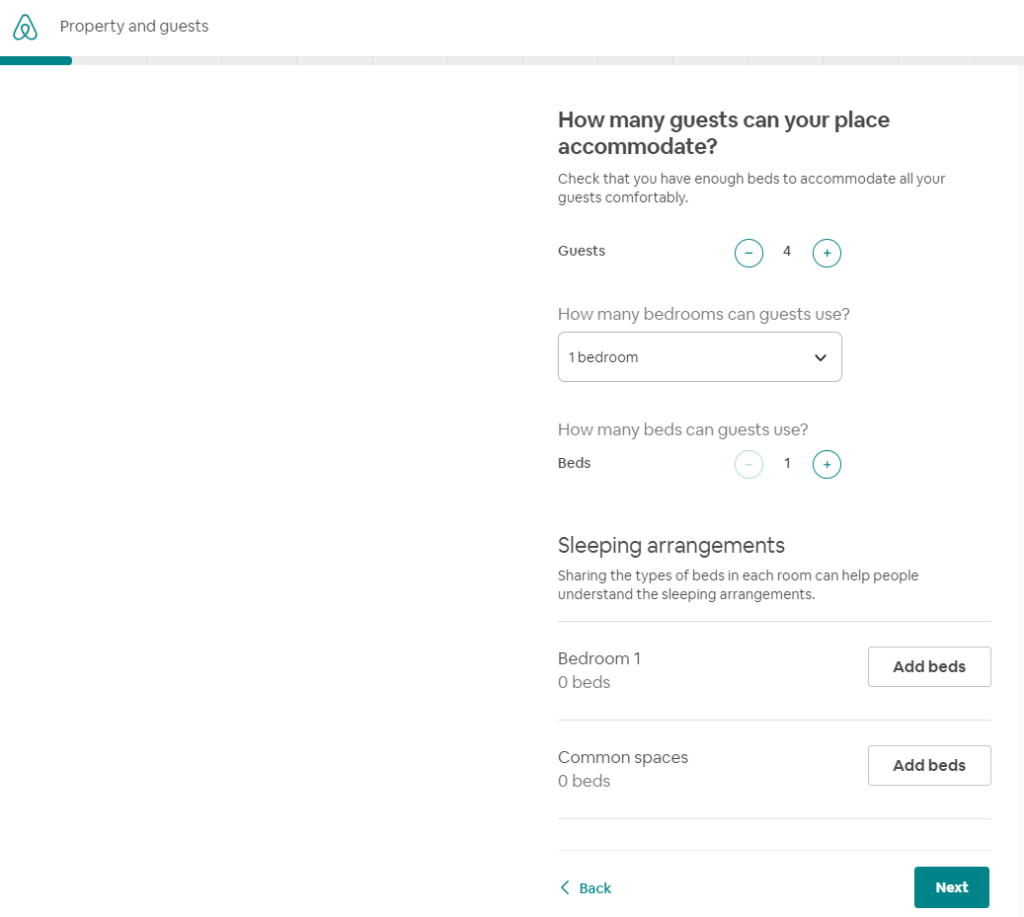
- How many guests can your place accommodate?
- How many beds can guests have?
- What kind of beds does your place have (Double, Queen, Single)?
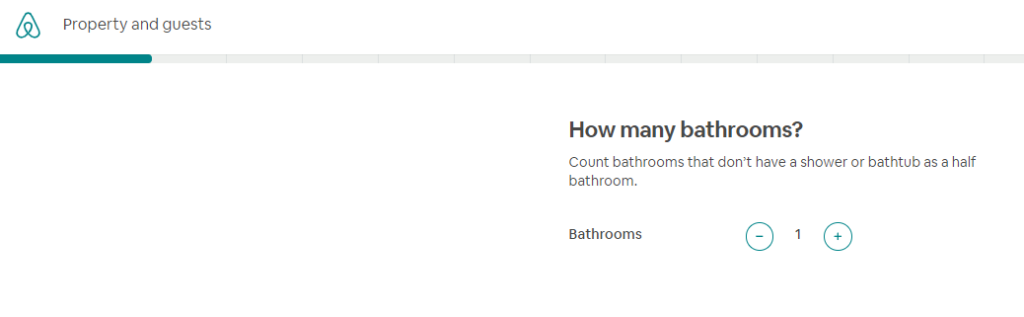
- How many bathrooms?
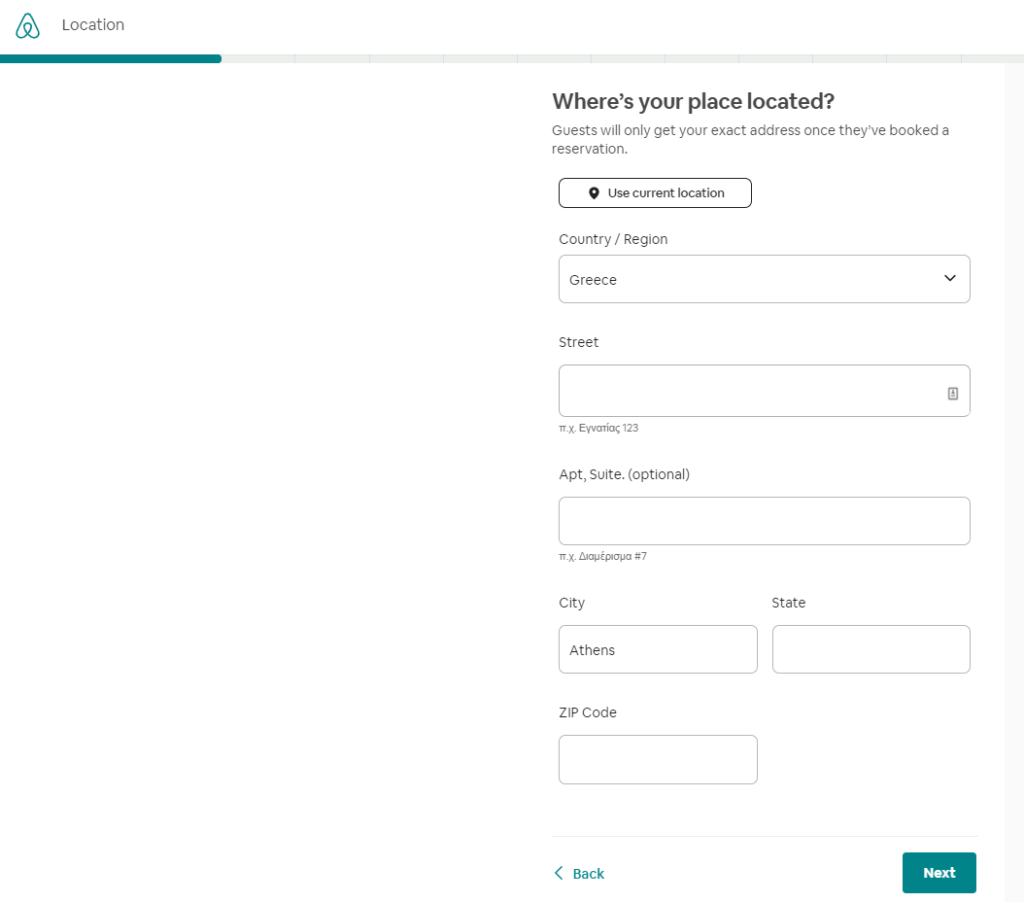
- Where is your place located?
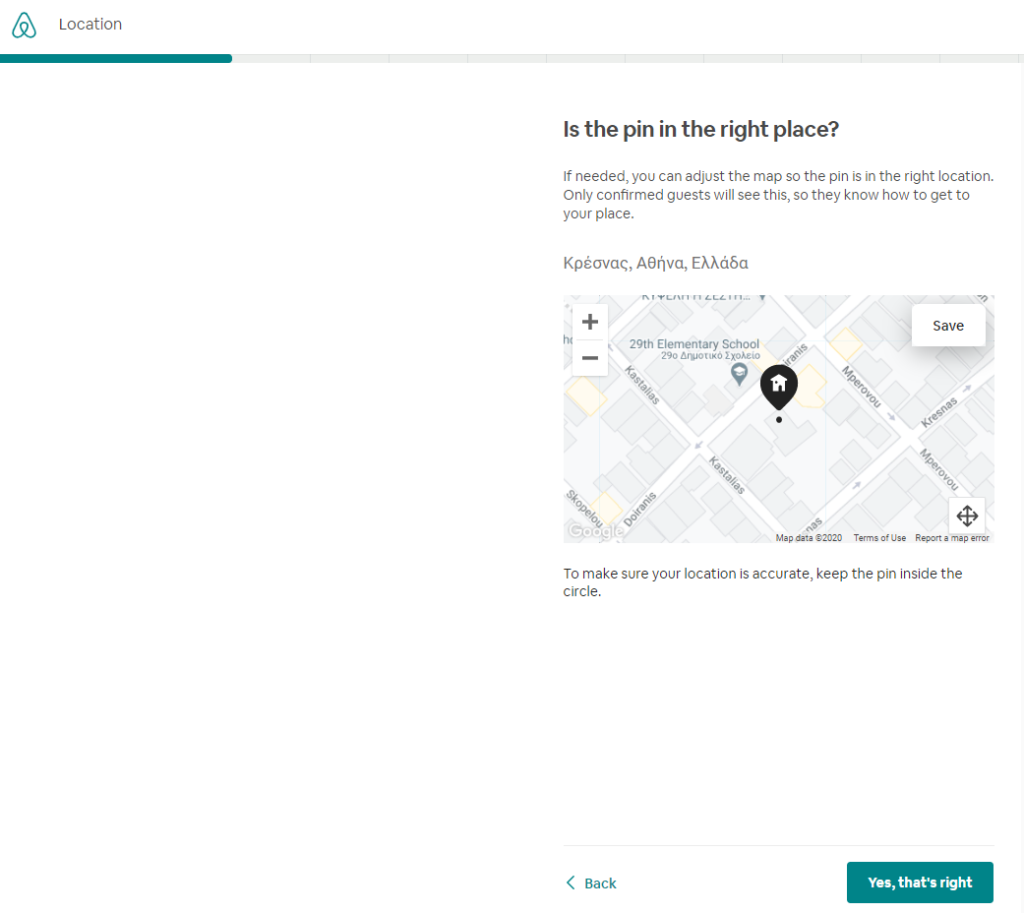
- Verify on a map
Related FAQ #1: What do the different room types mean?
Airbnb listings are categorized into 3 room types:
- Shared rooms: Guests share the entire space with the host or others and don’t have a private room to themselves.
- Private rooms: Guests share some common areas with the host (i.e. kitchen, living room, bathroom) but they have their own private room for sleeping.
- Entire homes/apartments: Guests rent the entire unit and don’t have to share the space with the host or with anyone else.
It’s your responsibility to accurately describe your listing, so make sure you choose the appropriate room type.
Related FAQ #2: How do I list multiple rooms?
If you want to list multiple rooms in your place, you can create a separate listing for each space you have available. Each room will have its own calendar and listing page that should accurately reflect the number of beds and amenities, as well as what space will be shared with others.
STEP 2: Set the location
Fill out the address and pin the exact location.
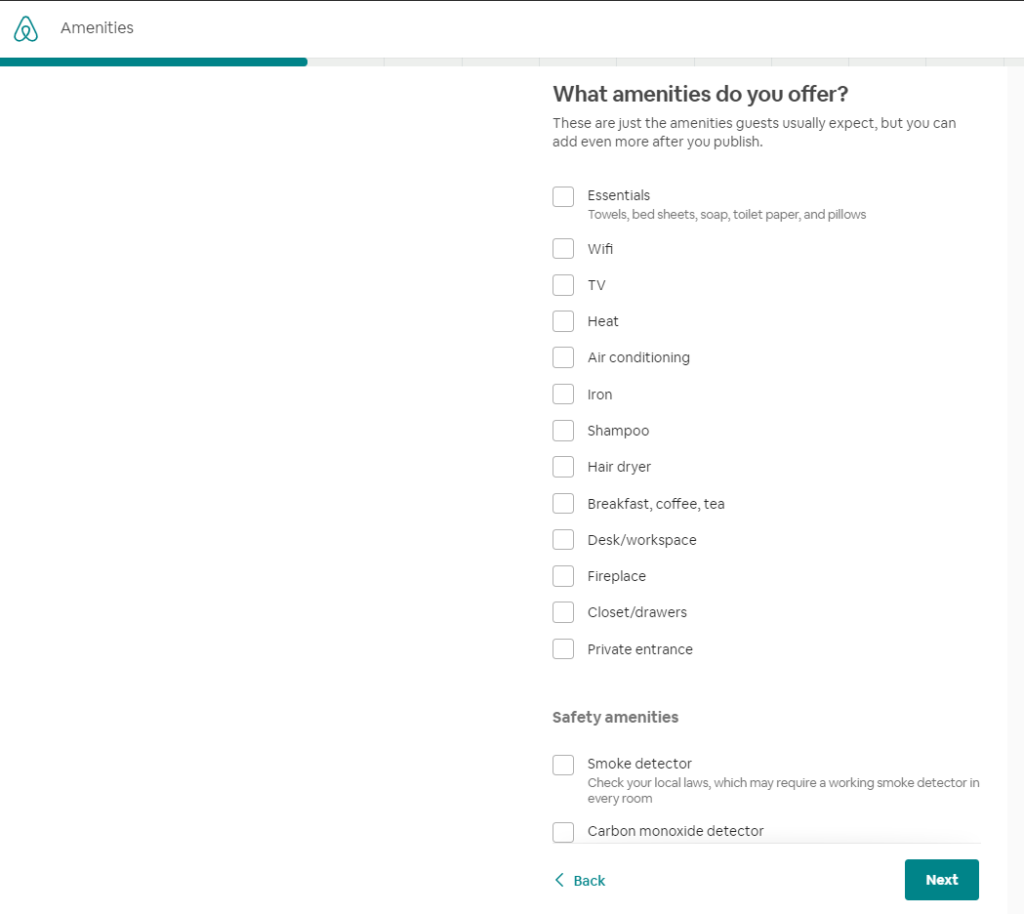
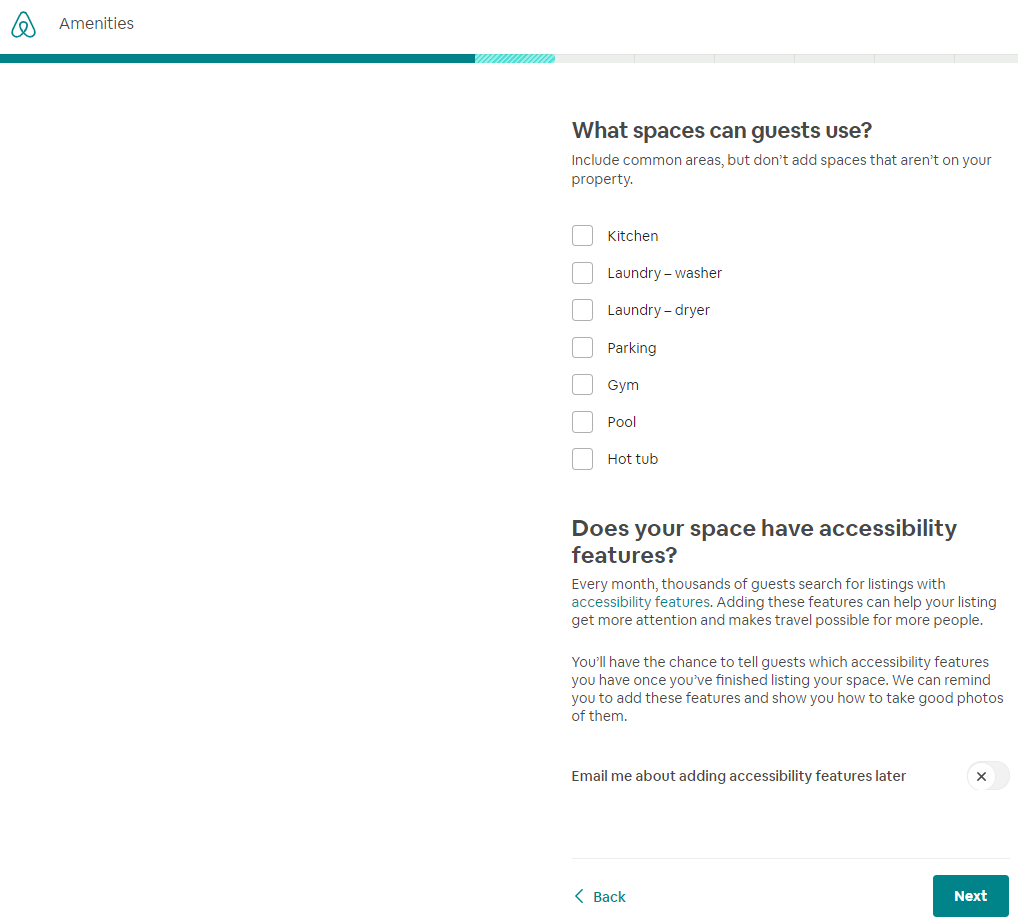
STEP 3: Amenities
Showcase your property’s amenities.
Safety amenities are very important for most guests and, in fact, in some areas, they are required by law so be prepared to answer/have the following:
- Smoke detector
- Carbon monoxide detector
- First aid kit
- Safety card
- Fire extinguisher
- Lock-on bedroom door
Note: Having a fire extinguisher and/or a smoke detector not only increases the safety of your place but also makes it stand out on Airbnb search results.
Also important: What spaces can guests use?
- Pool
- Kitchen
- Laundry-washer
- Laundry-dryer
- Parking
- Elevator
- Hot tub
- Gym
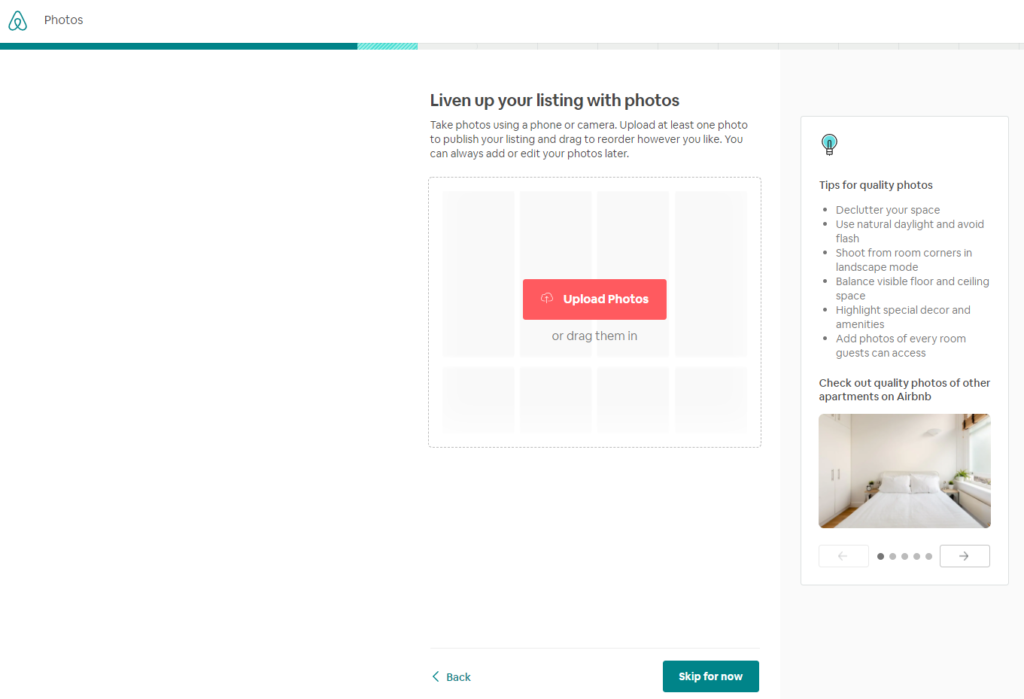
STEP 4: Set the scene – Photos, short description, title
Photos: According to Airbnb, many hosts have at least 8 photos (recommended: approx. 20). You can start with just one photo and come back later to add more. Including photos of all the spaces a guest can use (i.e. living room, bedrooms, bathrooms, additional rooms) helps guests imagine staying at your place.
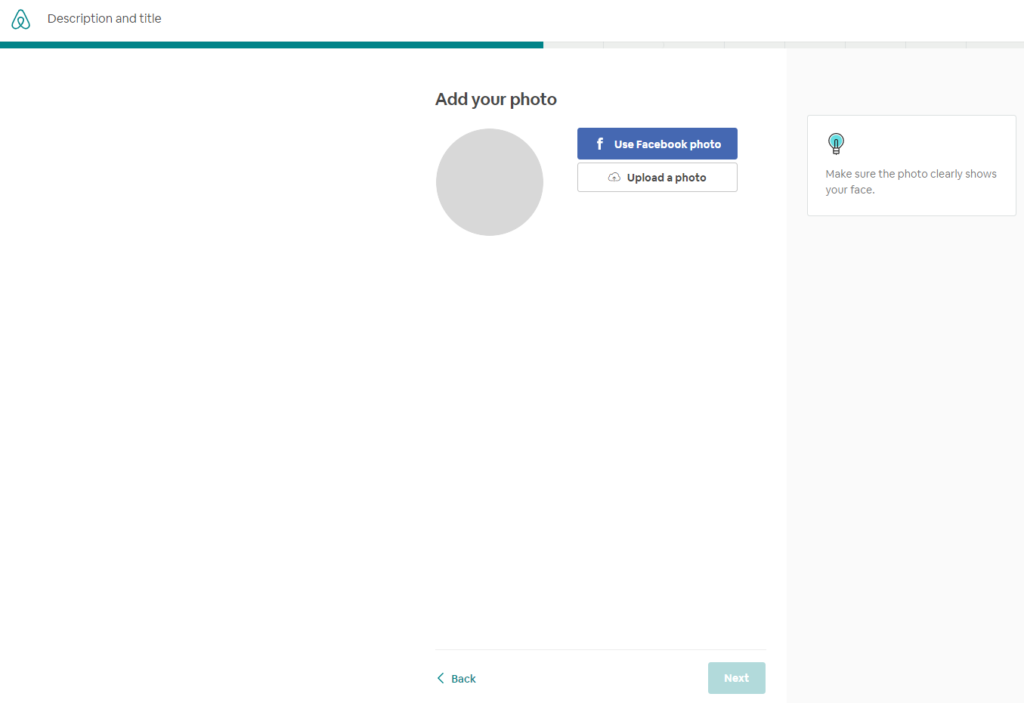
It is also really important to choose the right profile photo (more on that in our next article on building the perfect vacation rental listing).
⭐Here are a few tips from Airbnb for taking your own photos⭐
- A few photos are better than none: Start with some of your own photos when you create a new listing—cell phone photos are fine.
- Resolution matters: Take photos that are at least 1024 x 683px. When in doubt, a bigger photo is better.
- Take your photos in landscape format: Vertical photos won’t showcase your space as well.
- Set the scene: Clean up, remove clutter, and pretend you’re preparing for your first guest.
- Take photos during the day: Open the blinds and turn on the lights to brighten your space.
- Highlight unique amenities: Guests love to stay in spaces with character. Consider including photos of your space’s exterior, too.
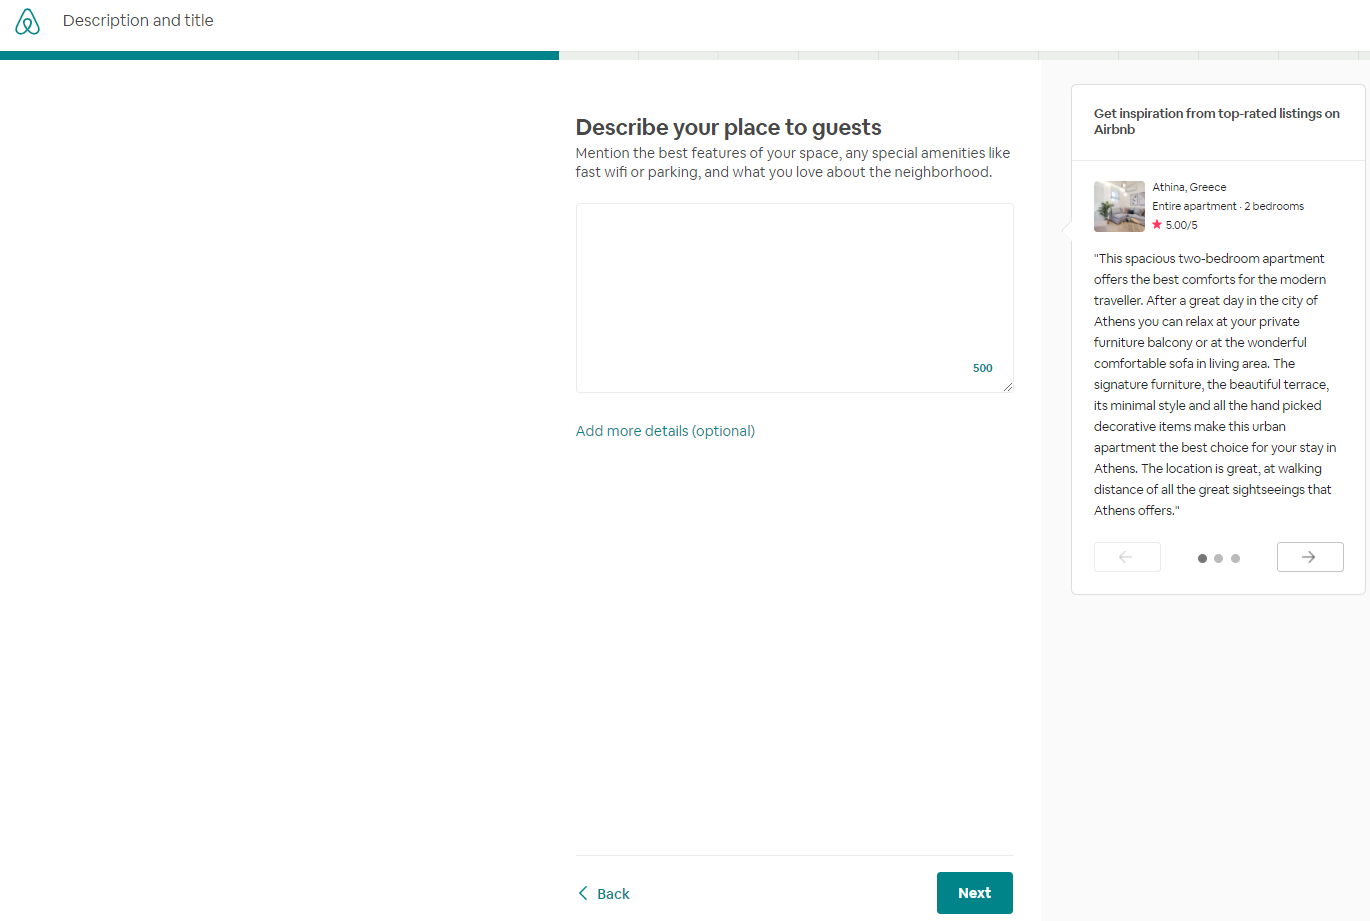
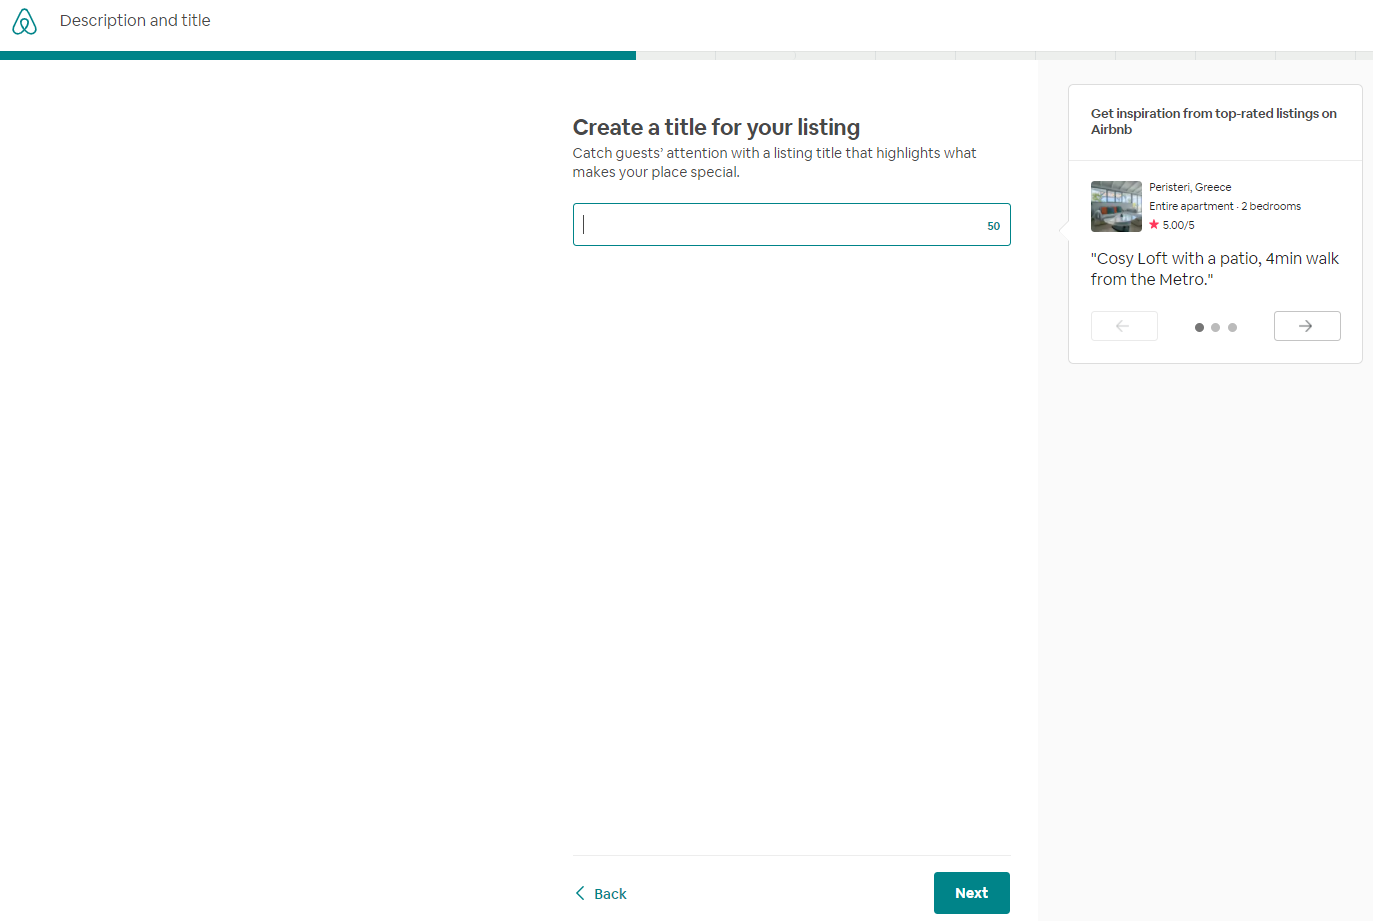
 Set the description and title
Title: Listing name in 50 characters or less. Make it stick out!
Summary: Describe the décor, light, what’s nearby, etc.
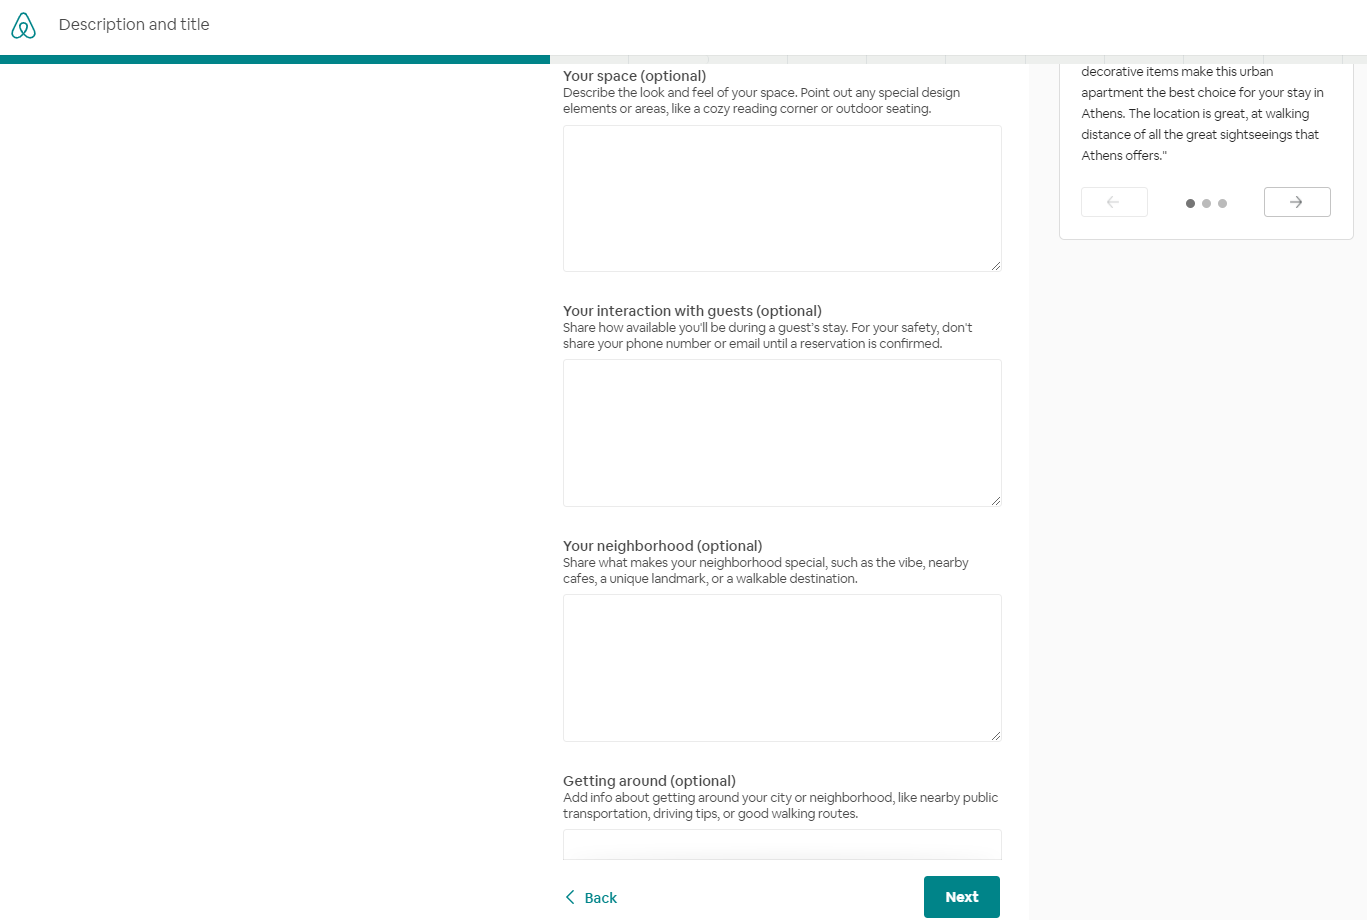
The space: Provide more information about what makes your space unique.
Guest access: Let guests know parts of the space they will be able to access.
Guest interaction: Inform guests if you will be available to offer help during their stay
Other things to note: Mention other details that guests should know that may be relevant to their stay
The neighborhood: Other than adding photos (see “Photos” above), let guests learn more about your neighborhood
My place is great for: Families (with kids), Big groups, Furry friends (pets).
For many guests, this is the first thing they look at! So make sure you check the boxes, if applicable! Note: In “Step 5” (see below) you will be asked again for “house rules” regarding infants/children and pets.
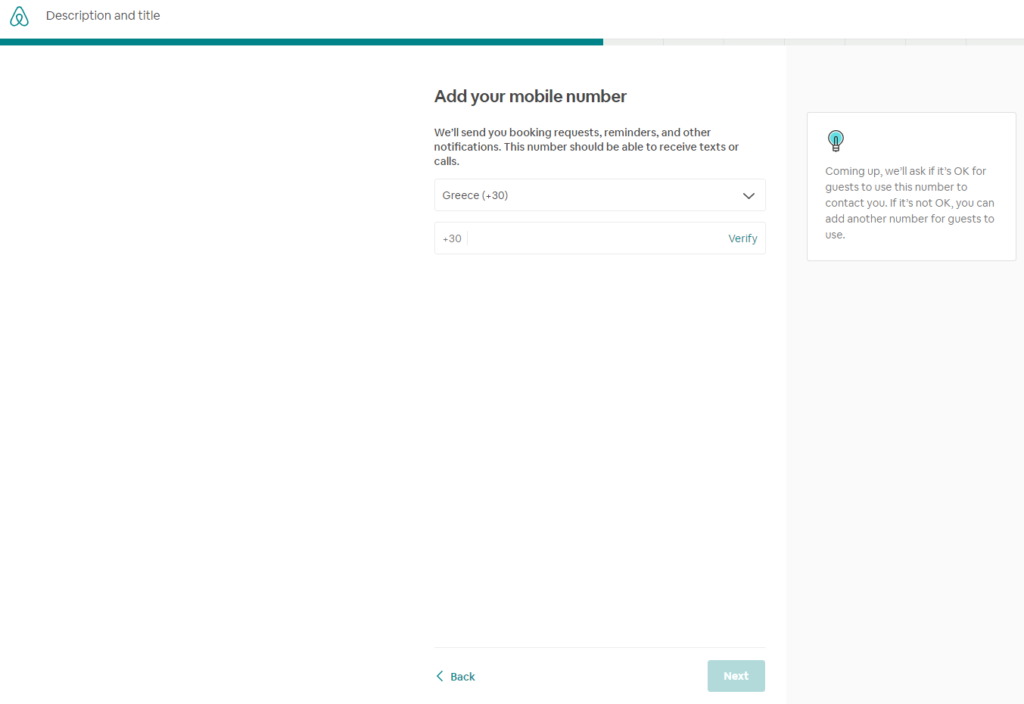
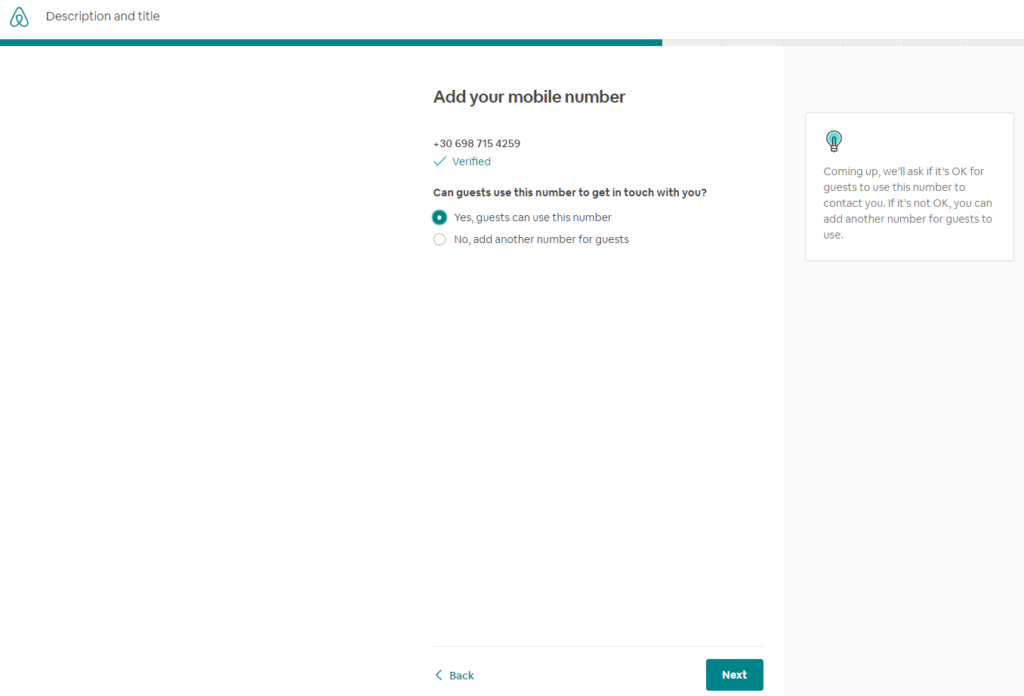
Set your host profile, let your guests know why they would trust you to host them. Upload a photograph of yours, put your number where Airbnb can send you the booking requests, you can also make it visible to the guests.
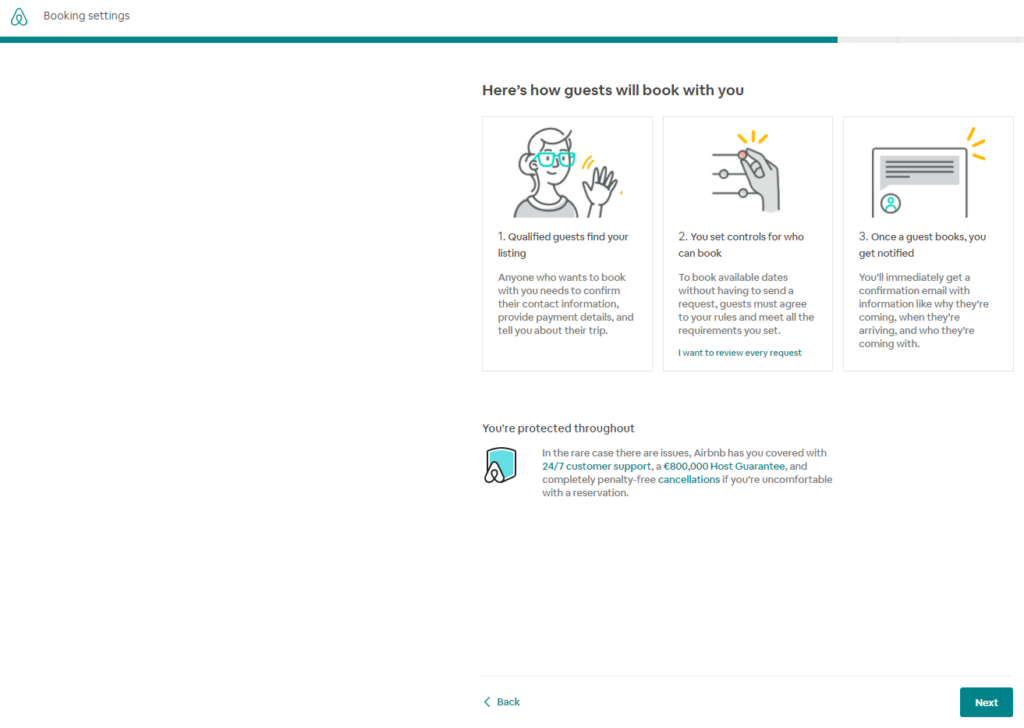
STEP 5: Get ready for guests (set up your booking settings, house rules, pricing and figure out your hosting calendar)
The final step before your listing on Airbnb goes live includes questions/settings regarding house rules, booking options, calendars, and prices.
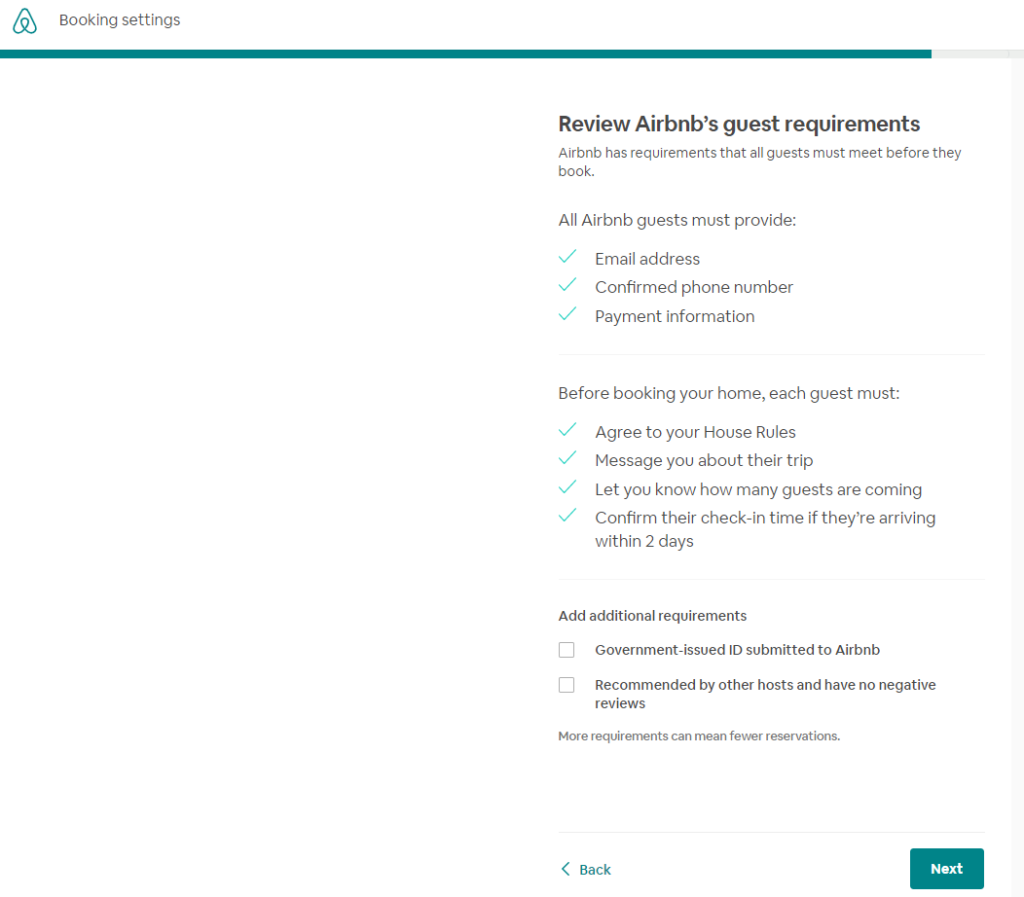
What are your guest requirements? Should you wish to require a government-issued ID (some hosts need it for tax purposes in some countries) and recommended by other hosts, check the corresponding boxes.
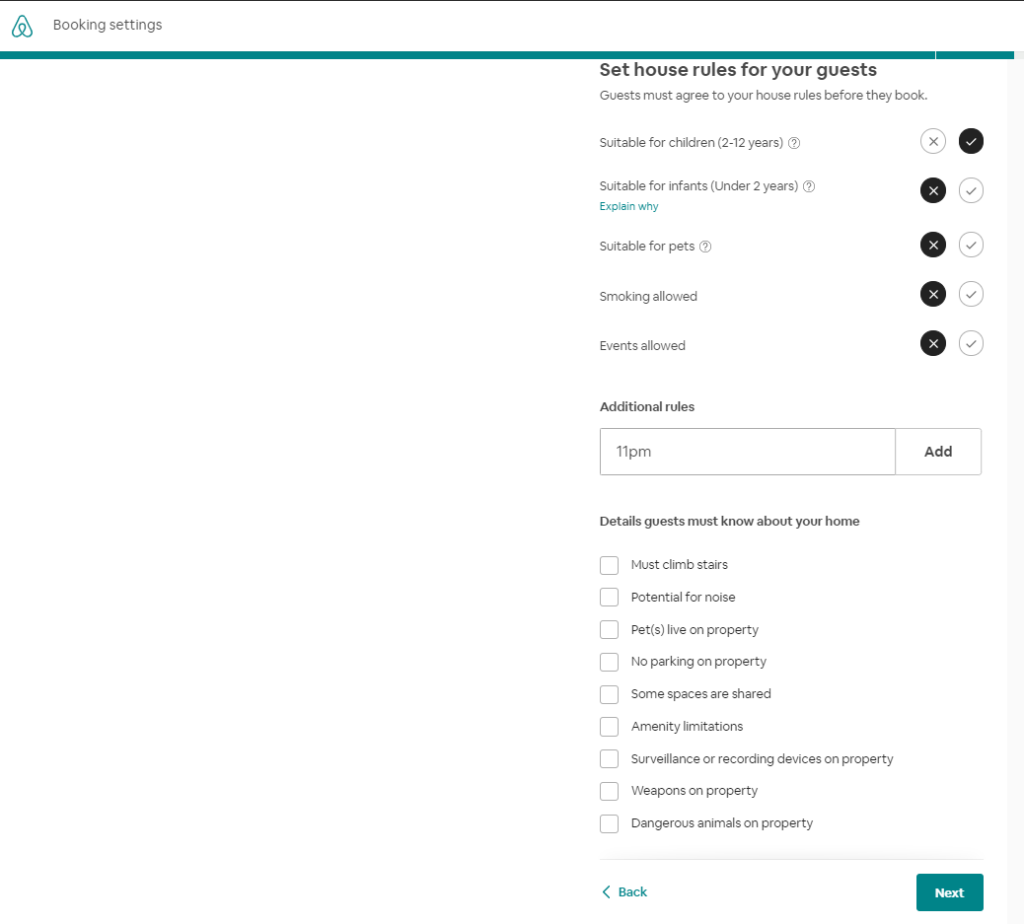
Set house rules for your guests (answer with Yes/No)
- Suitable for children (2-12 years)
- Appropriate for infants (under 2 years)
- Acceptable for pets
- Smoking allowed
- Events or parties allowed
Important: What you should know if you specify that your listing is safe or suitable for children.
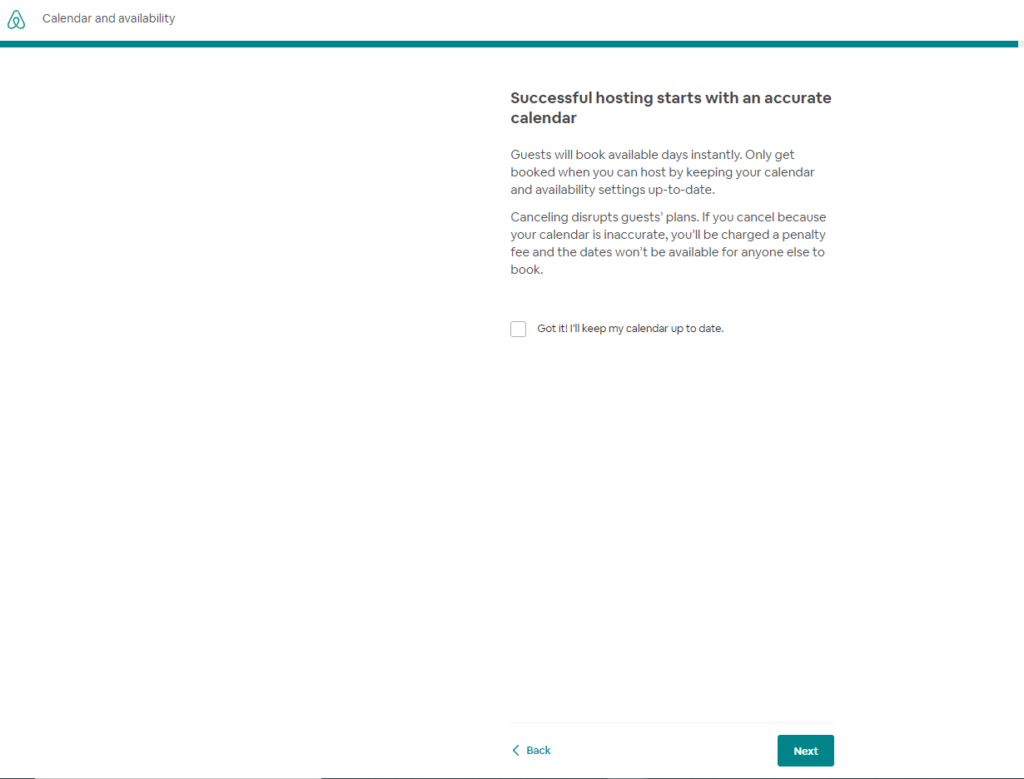
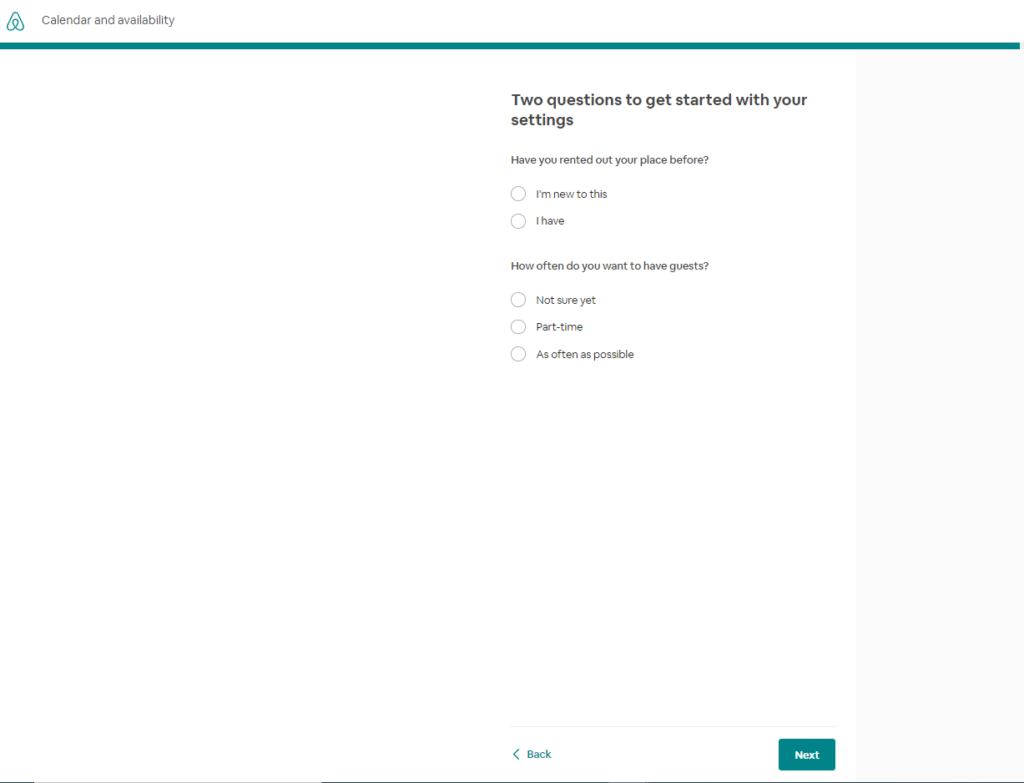
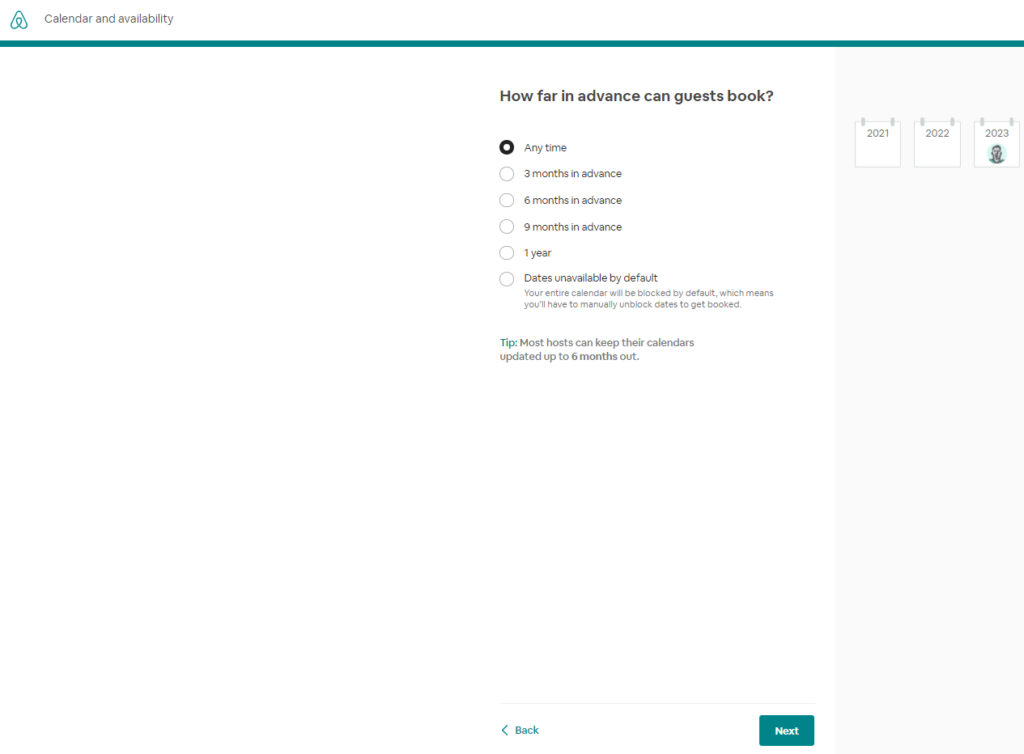
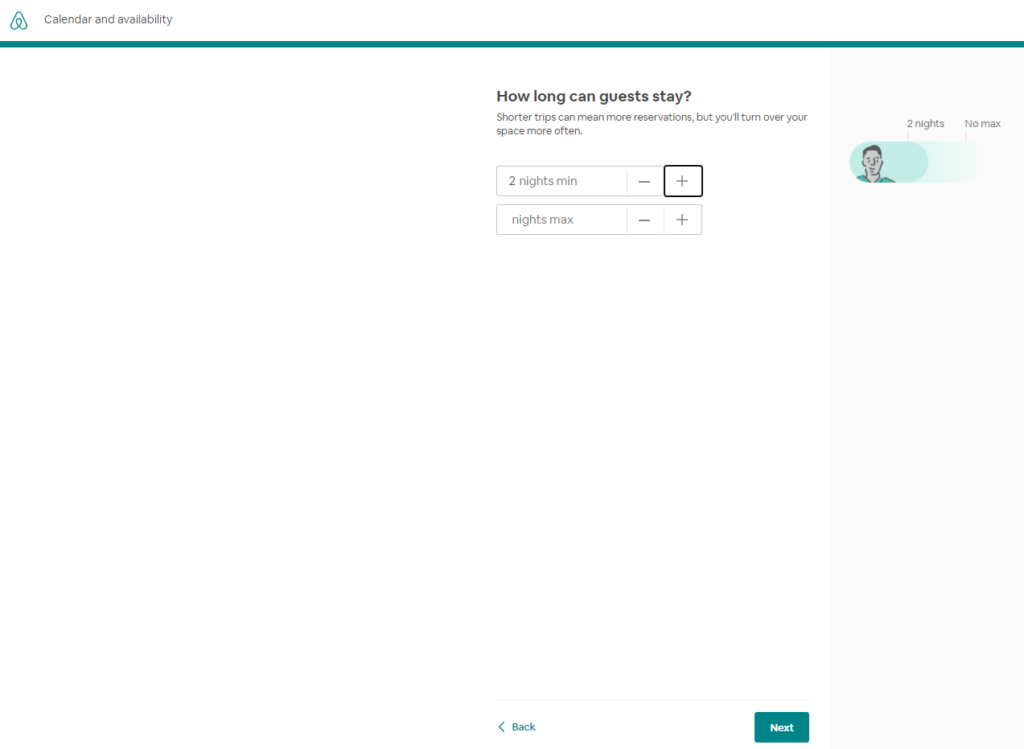
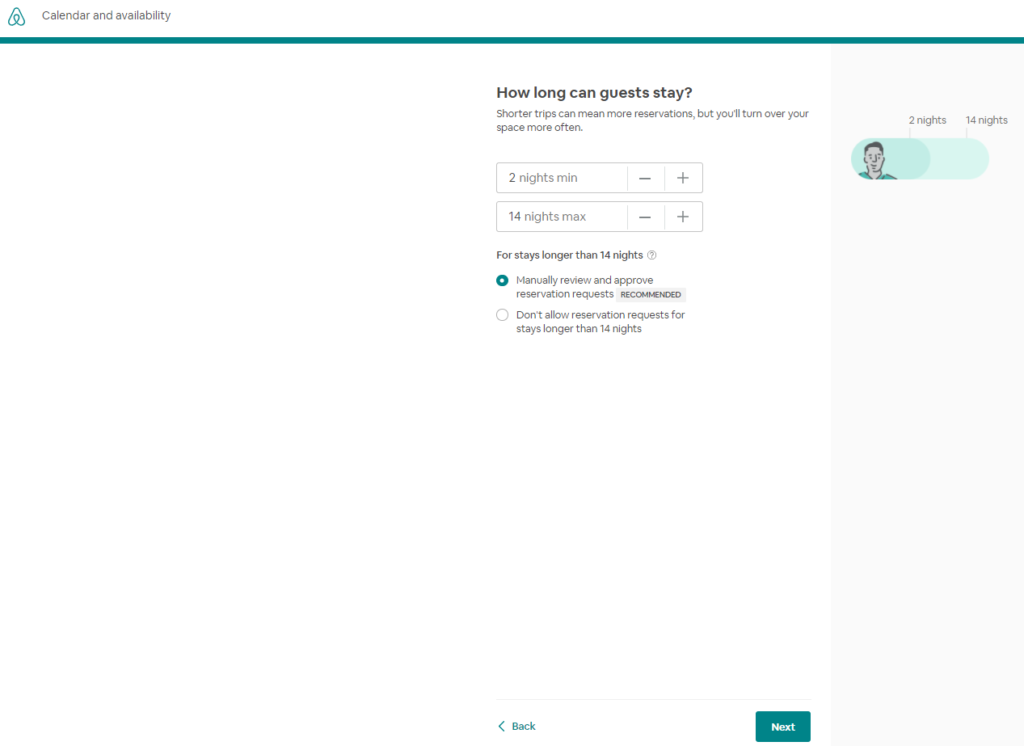
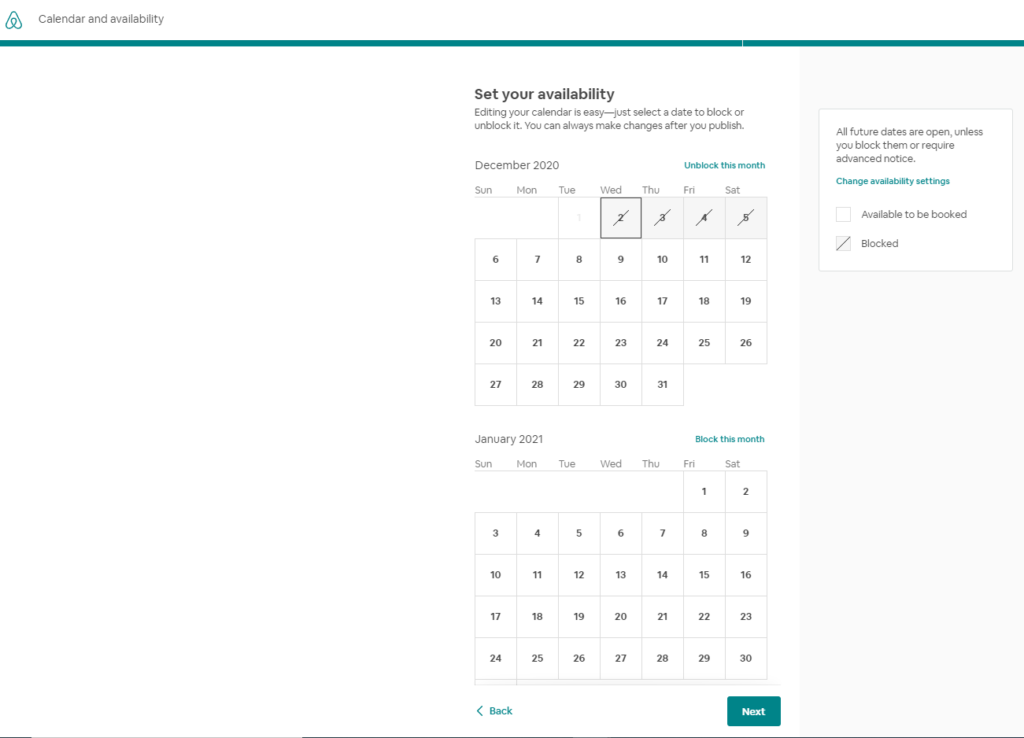
Calendar settings
Successful hosting starts with your calendar (and syncing it with Hosthub, of course!). As Airbnb states, guests will book available dates instantly. Only get booked when you can host by keeping your calendar and availability settings up-to-date.
Cancelling disrupts guests’ plans. If you cancel because your calendar is inaccurate, you’ll be charged a penalty fee and the dates won’t be available for anyone else to book (starting to appreciate Hosthub more, aren’t you?)
Update your calendar (block / unblock dates)

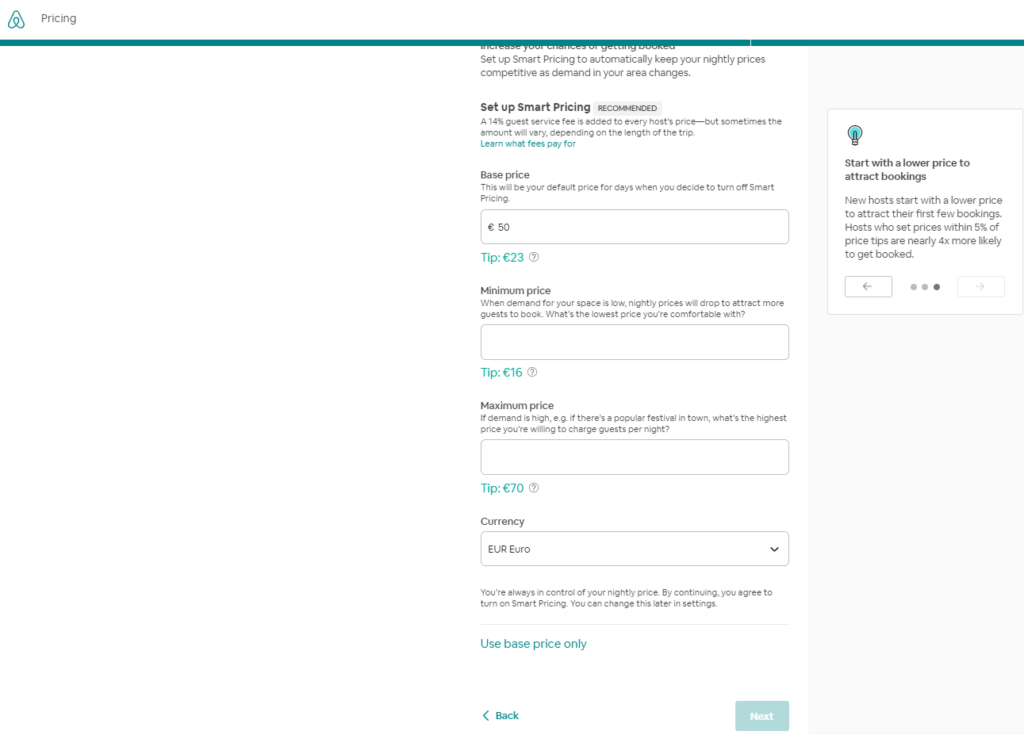
Pricing / Discounts
Airbnb allows you to set a fixed price or based on demand.
Price adapts to demand: You tell Smart Pricing to automatically adjust your price to match demand, but only within a price range that you set.
Price is fixed: Set a base price. Airbnb gives you tips that you can accept or ignore.
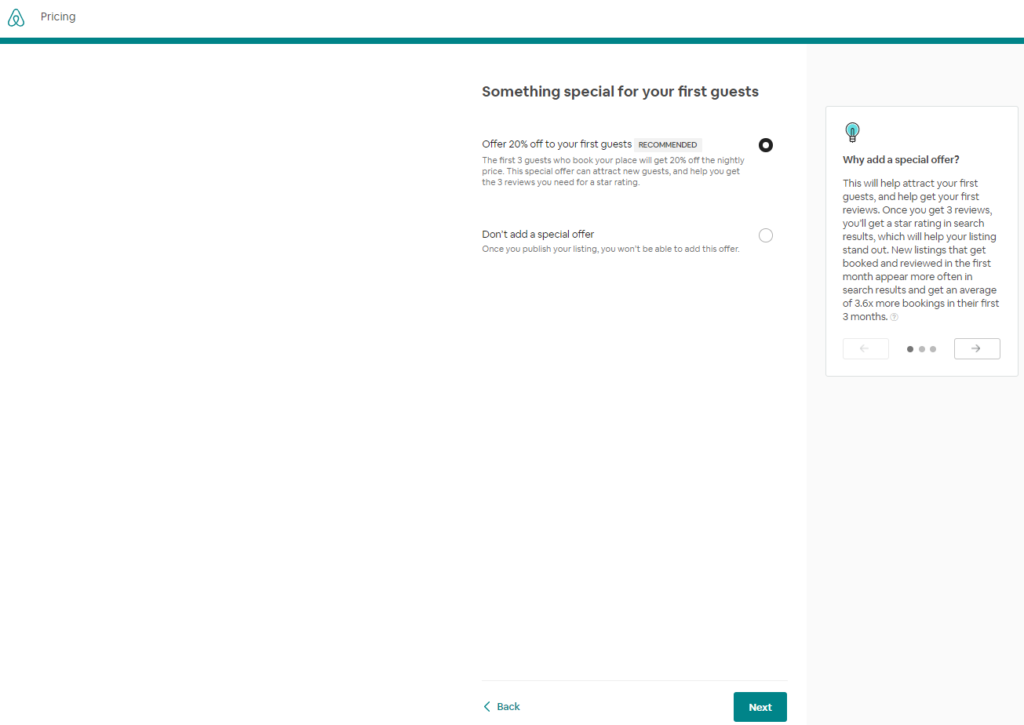
Discounts: You may also offer discounts on first guests and weekly or monthly discounts (optional).
If you have a base price, you can use weekend pricing to change your nightly price for every Friday night and Saturday night. Weekend pricing does not work if you have Smart Pricing turned on. In that case, Smart Pricing prices will override any price you add in Weekend pricing.
Set weekend pricing
To change your nightly price for Fridays and Saturdays:
- Go to Manage Listings on airbnb.com
- Select the listing you want to edit
- Select Pricing
- Under Extra charges and currency, look for Weekend pricing and enter your nightly price
There are a few things to know about weekend pricing:
- You can remove weekend pricing at any time simply by un-checking the box. If you turn weekend pricing off, prices on Friday and Saturday nights revert to your base price.
- Pending and accepted reservations are not affected by price changes, since your guest has already submitted their payment information.
- Weekend pricing does not work if you have Smart Pricing turned on. To override the Smart Pricing price for any night, change the price directly in your calendar.
Custom pricing
Any custom weekly and monthly prices you set after turning on weekend pricing will not be overridden. However, if you turn on weekend pricing after setting custom prices, weekend pricing will replace all Friday and Saturday nightly prices on your calendar.

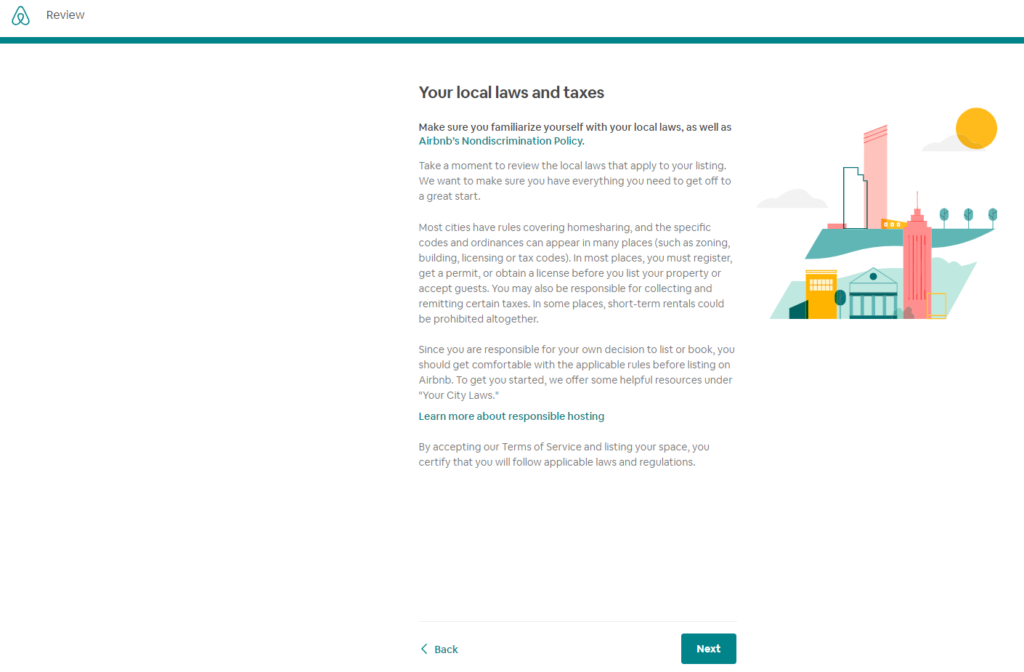
Review Local Laws and Taxes
Finally, Airbnb advises you to check your local laws and taxes. More information, here.
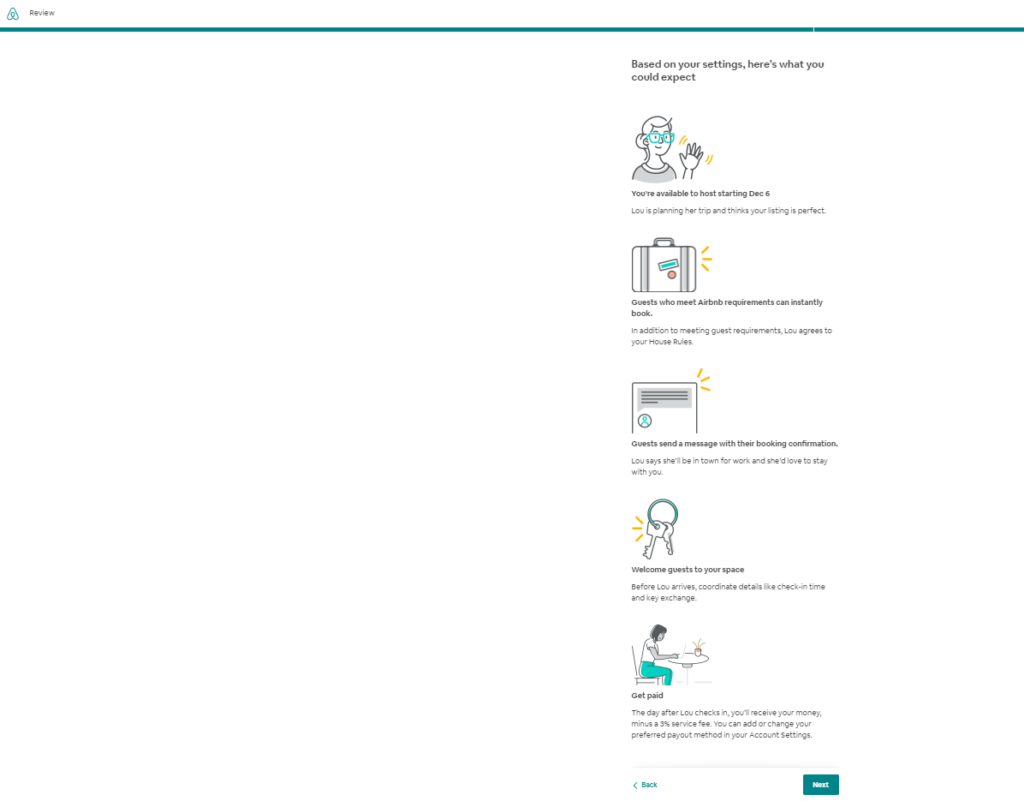
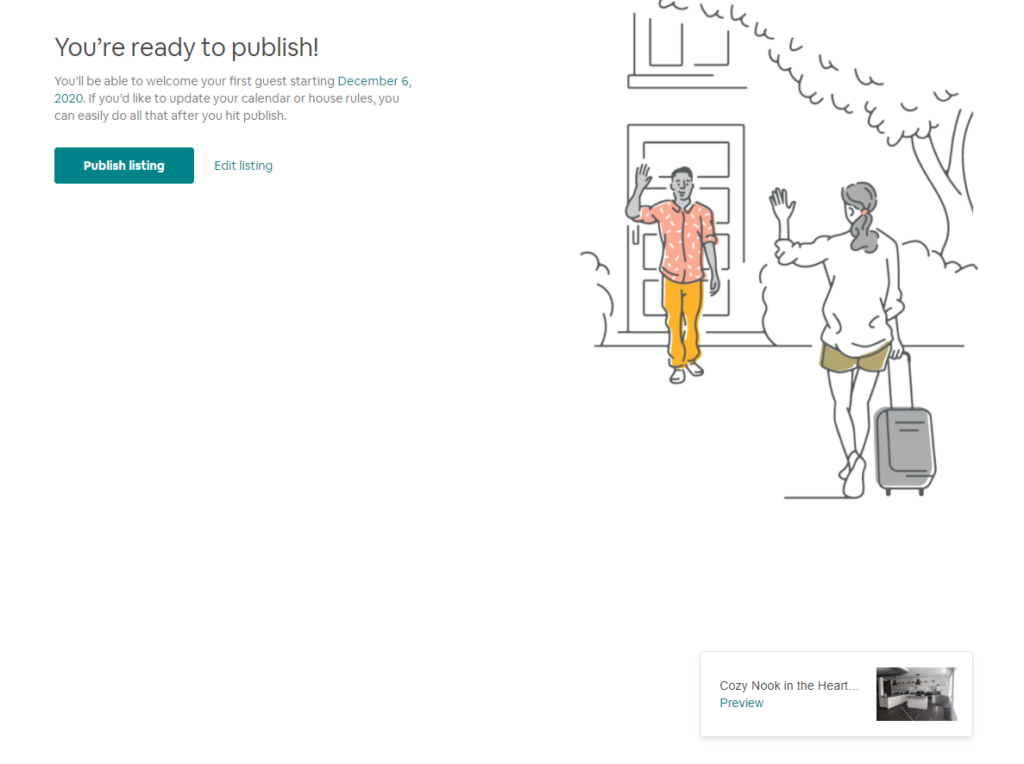
Once you complete the 5 steps, your listing is ready to go live. Finally, please note that you can “snooze” or deactivate your listing at any time.
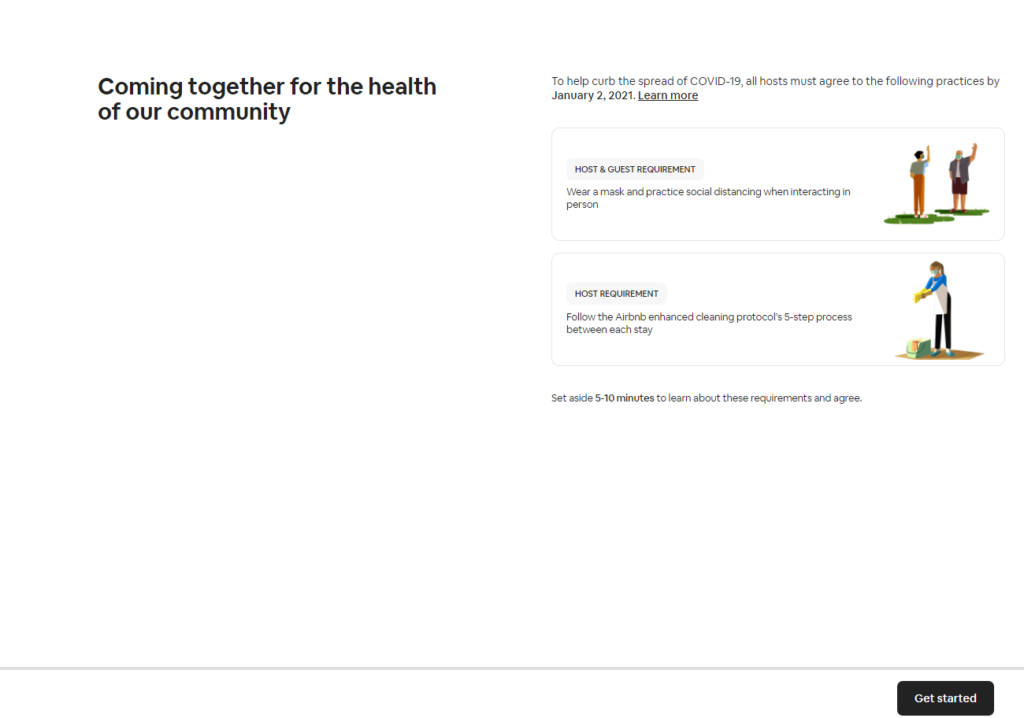
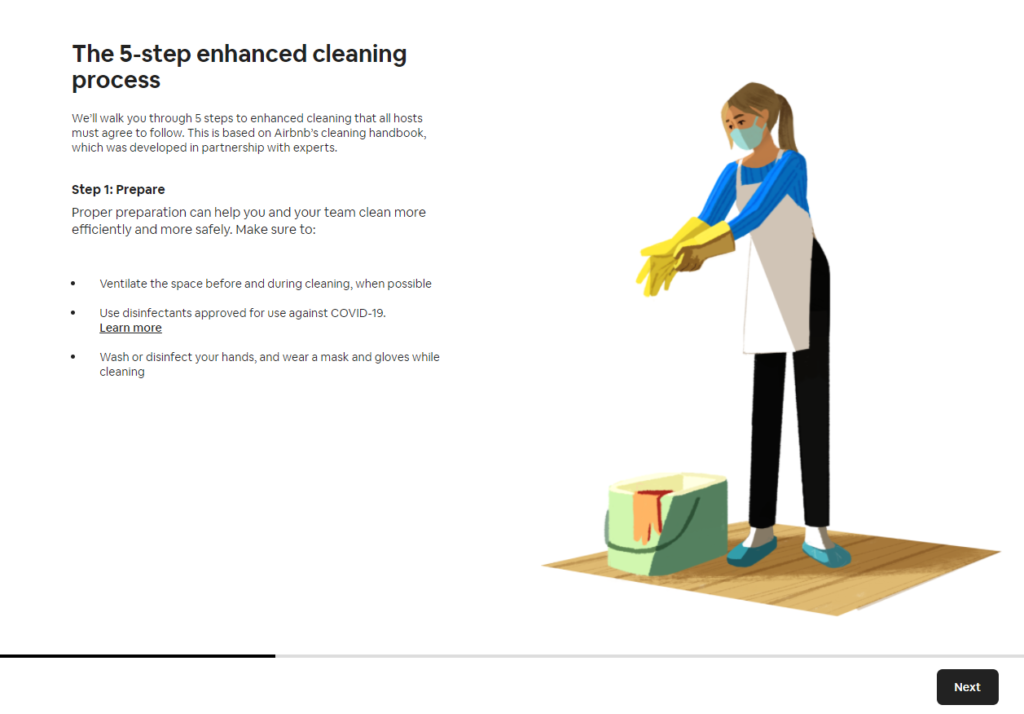
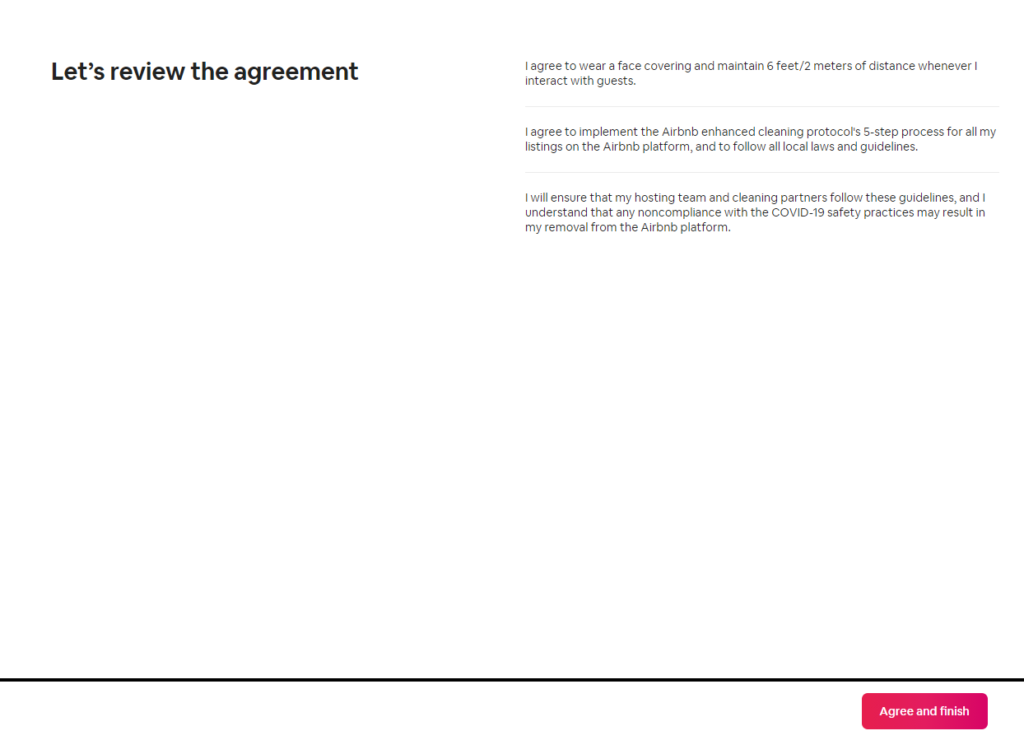
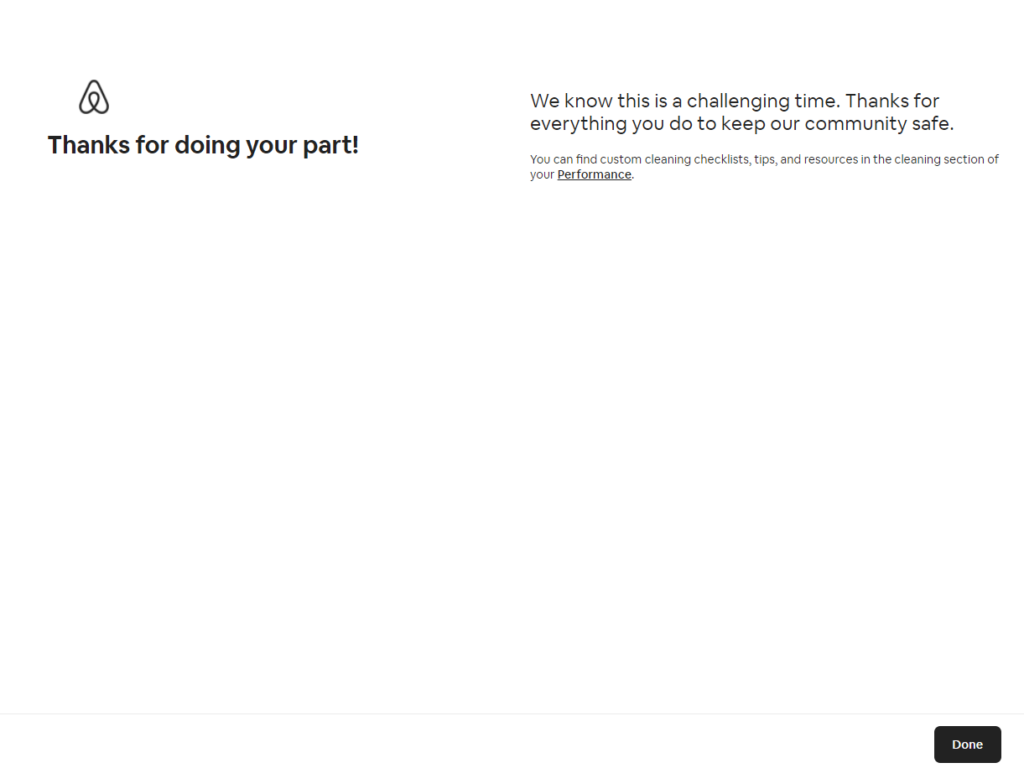
Check and agree with the community health standards, it is important to know these things to protect yourself, your guests, and the community.

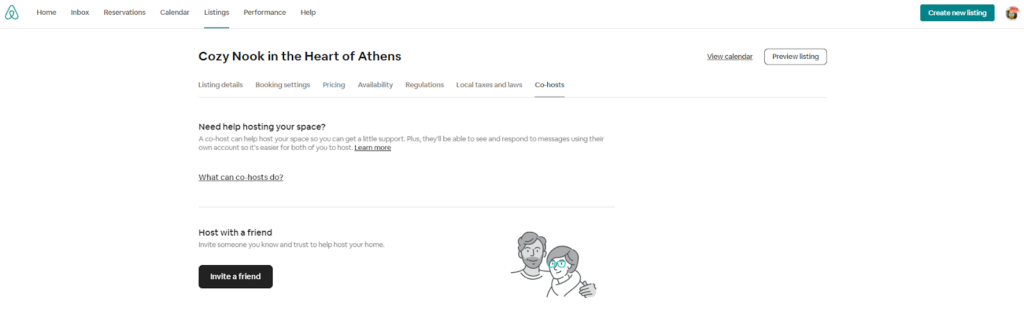
Finally, something to consider: Would you like help hosting your place?
If you need support hosting your space, you can add a family member, trusted friend, or neighbor to help with the logistics.
To add a co-host:
Go to Your Listing > Manage Listing and select Co-hosts
You can either Invite a Friend (someone you know) or Find a Co-host from the Airbnb community. Local co-hosts can help with your listing by using their own account.
Congratulations! You now have created a listing on Airbnb! All you need now is to keep your calendars synchronized across all your channels. The easiest way to do this is to use Hosthub’s Channel Manager and you’ll be synchronizing in no time!
If despite our guide above, you still want a professional to take care of your new listing, we can help you there too. Hosthub offers a service that can copy your content from any vacation rental channel to any other, for a very reasonable fee. Visit our Revenue Booster page to find out more.